How to Create Custom Shapes PowerPoint Slides


Create unique custom shapes in PowerPoint using edit points, merge tools, and freeform drawing options
How to Create Custom Shapes in PowerPoint Slides
PowerPoint allows users to create custom shapes by modifying existing ones, merging multiple shapes, or drawing freehand.
Whether you need unique graphics for presentations or want to enhance slide design, custom shapes help in making presentations visually appealing.
Follow this step-by-step guide to create custom shapes in PowerPoint.
Steps to Create Custom Shapes in PowerPoint
Step 1: Open PowerPoint and Insert a Shape
Launch Microsoft PowerPoint and open a new or existing presentation. Navigate to the Insert tab in the top menu.
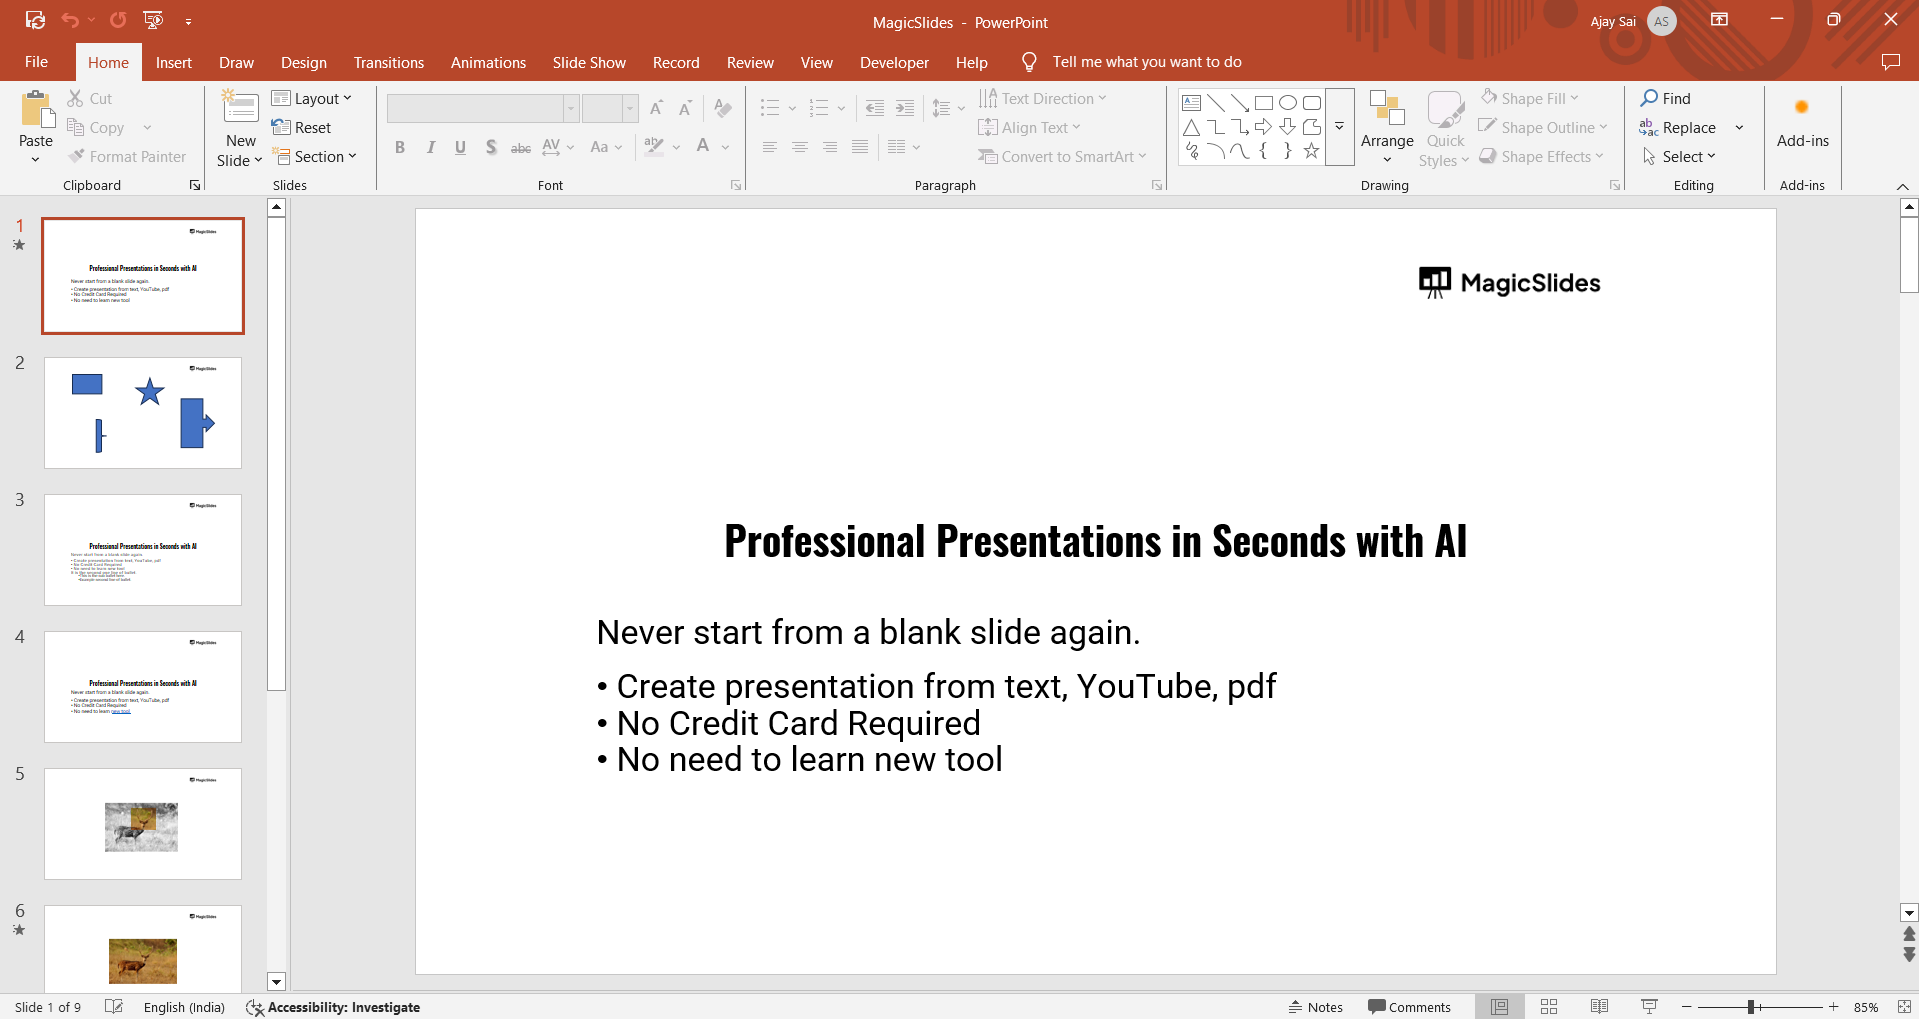
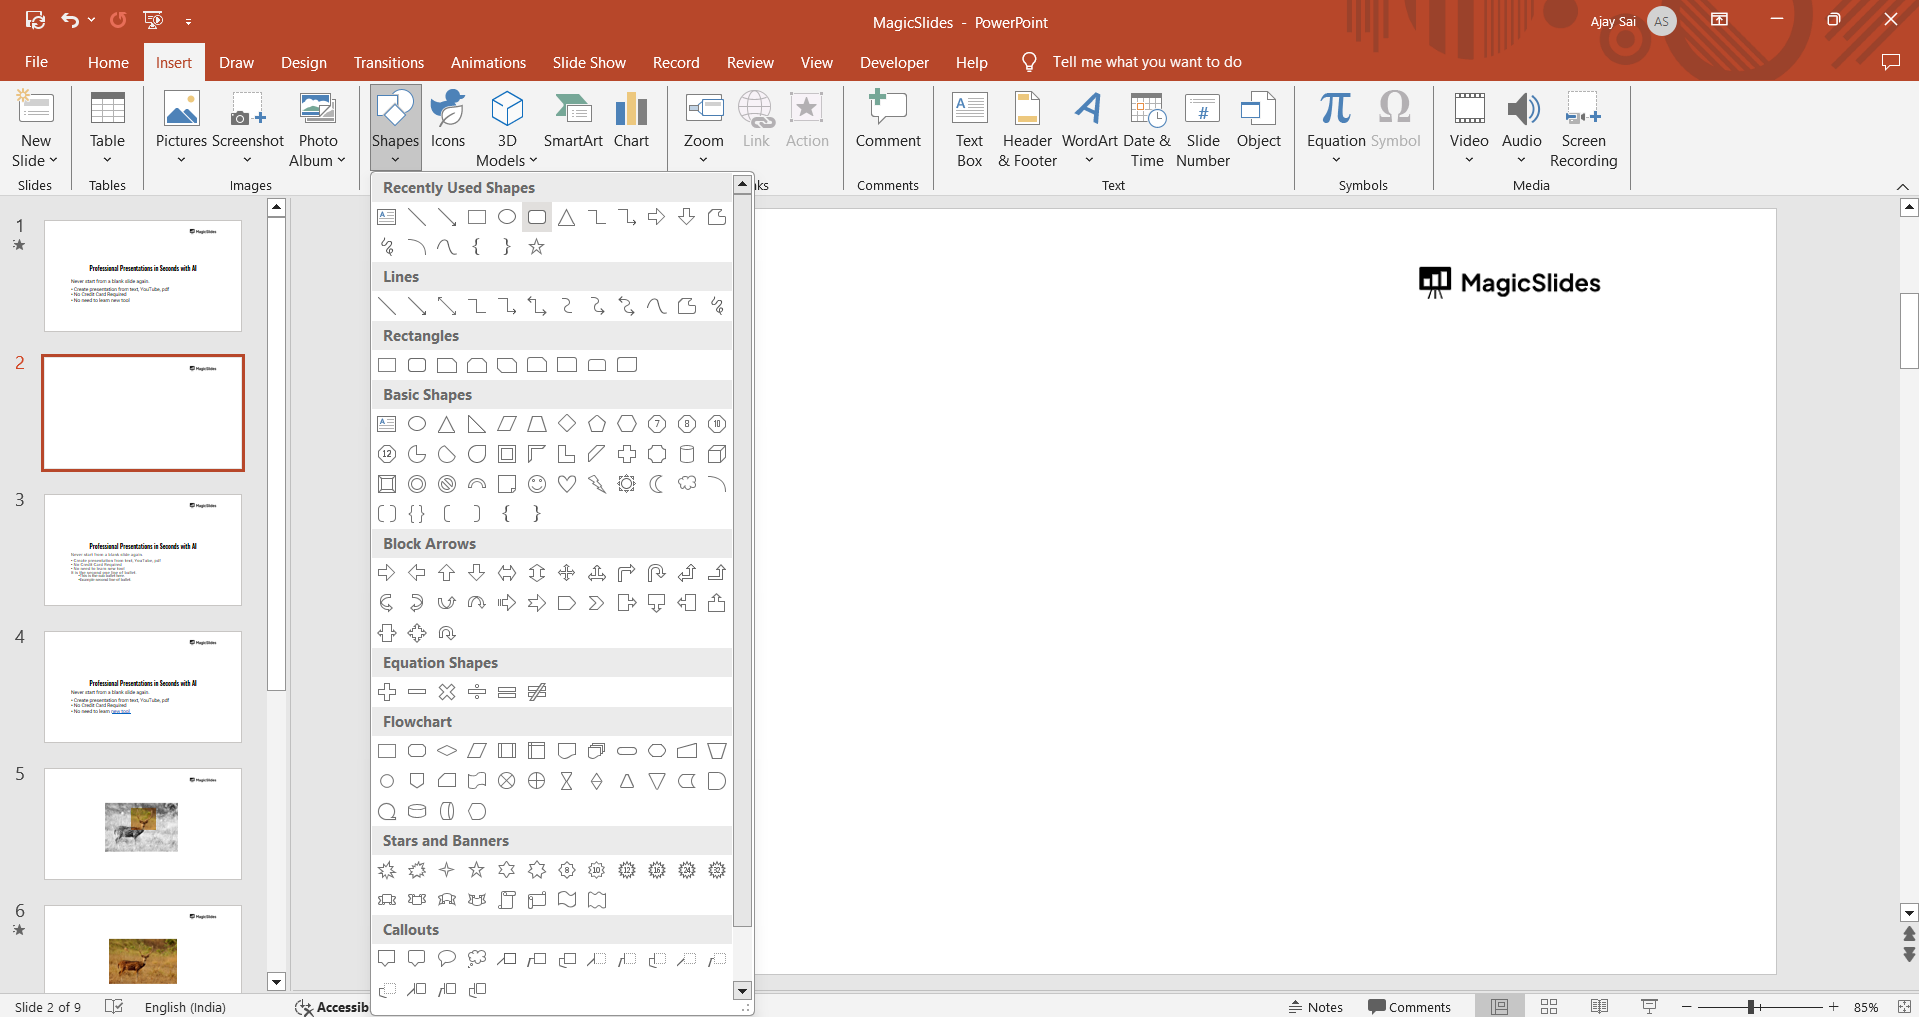
Click on Shapes and choose a shape from the dropdown menu. Click and drag on the slide to insert the shape.
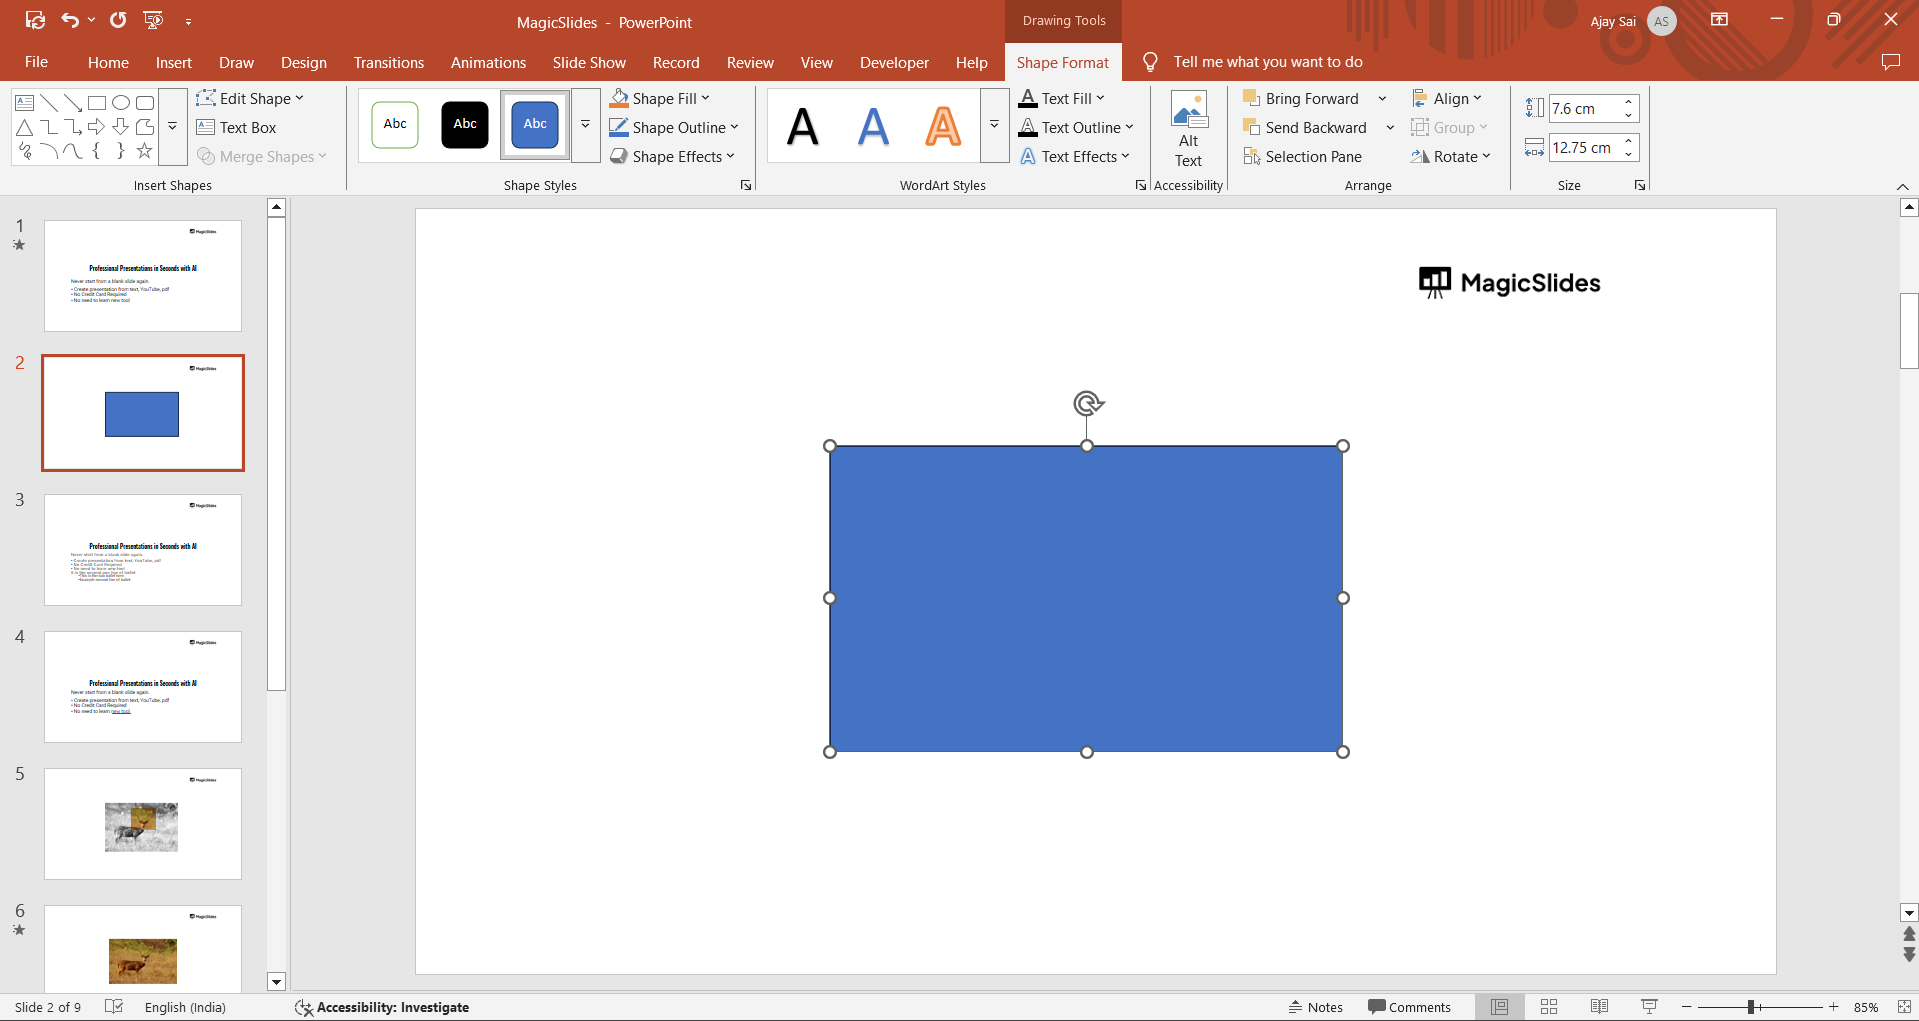
Step 2: Modify the Shape Using Edit Points
Select the shape and go to the Shape Format tab. Click Edit Shape → Edit Points to adjust its structure.
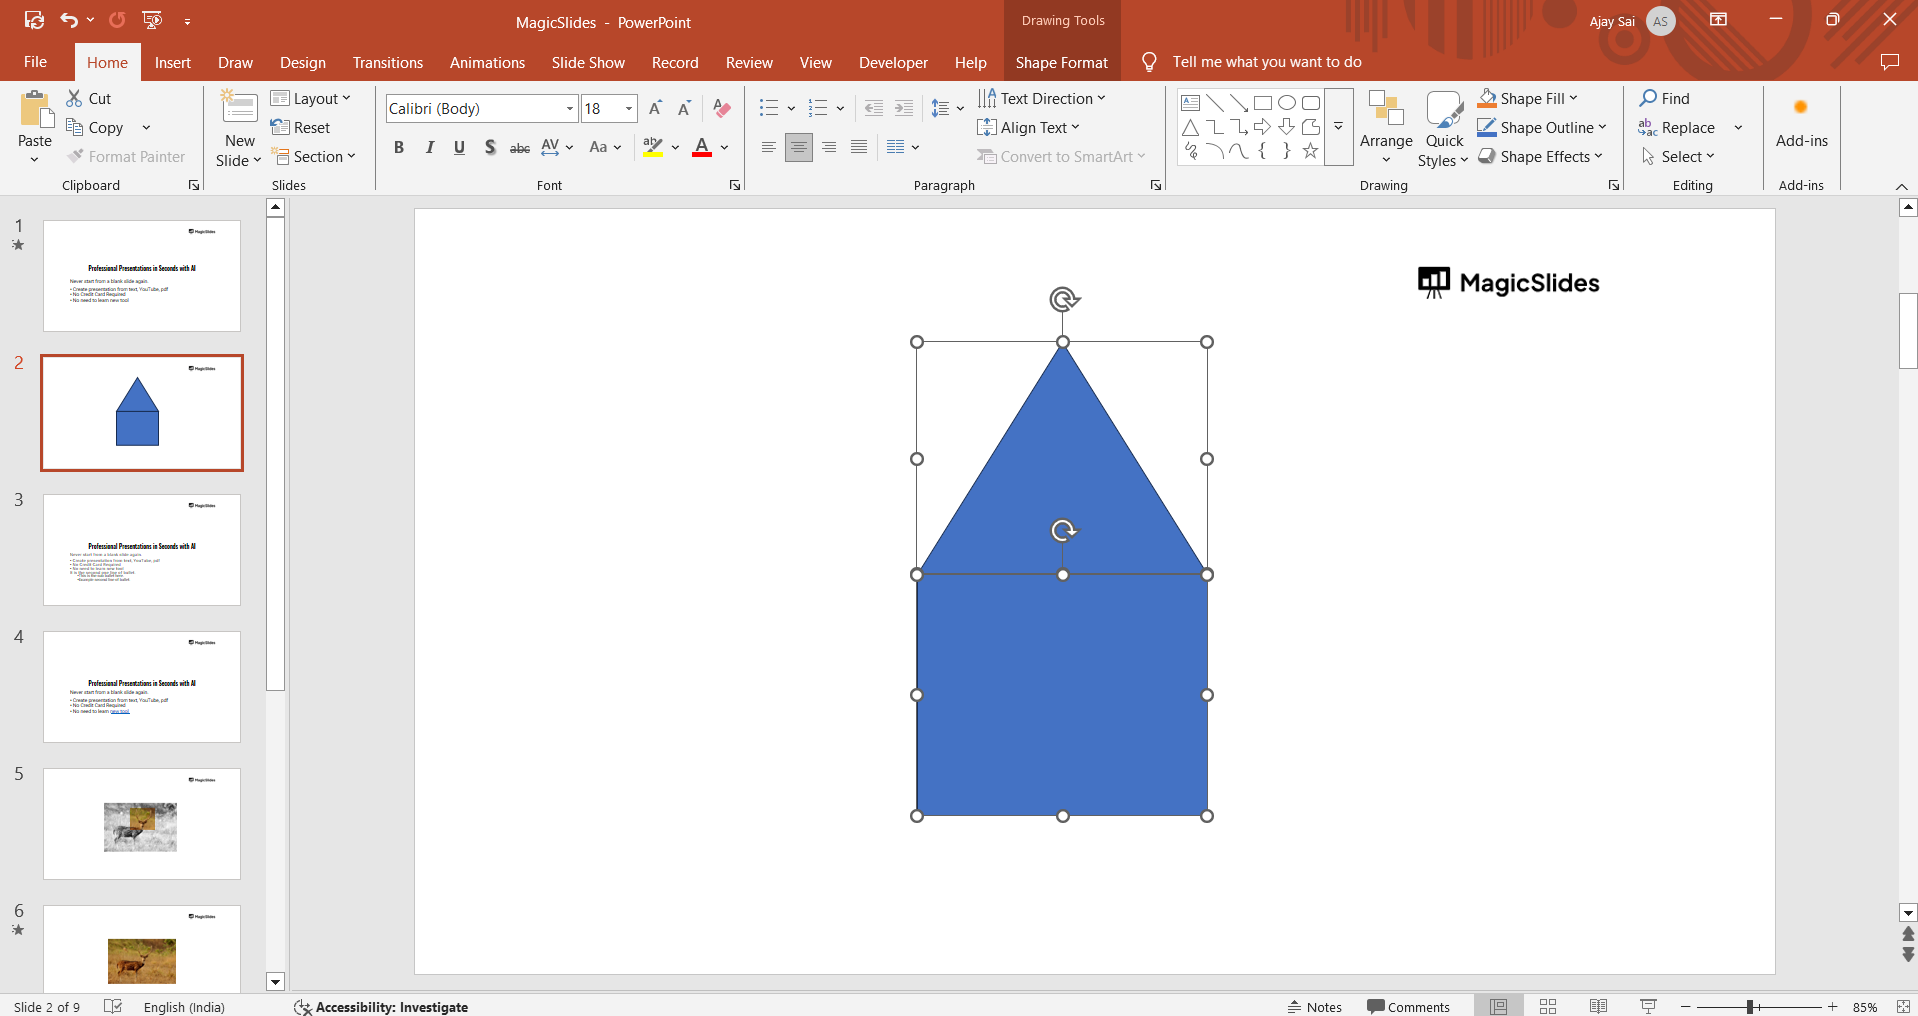
Drag the black points to reshape the object. Use red handles to refine curves and angles.
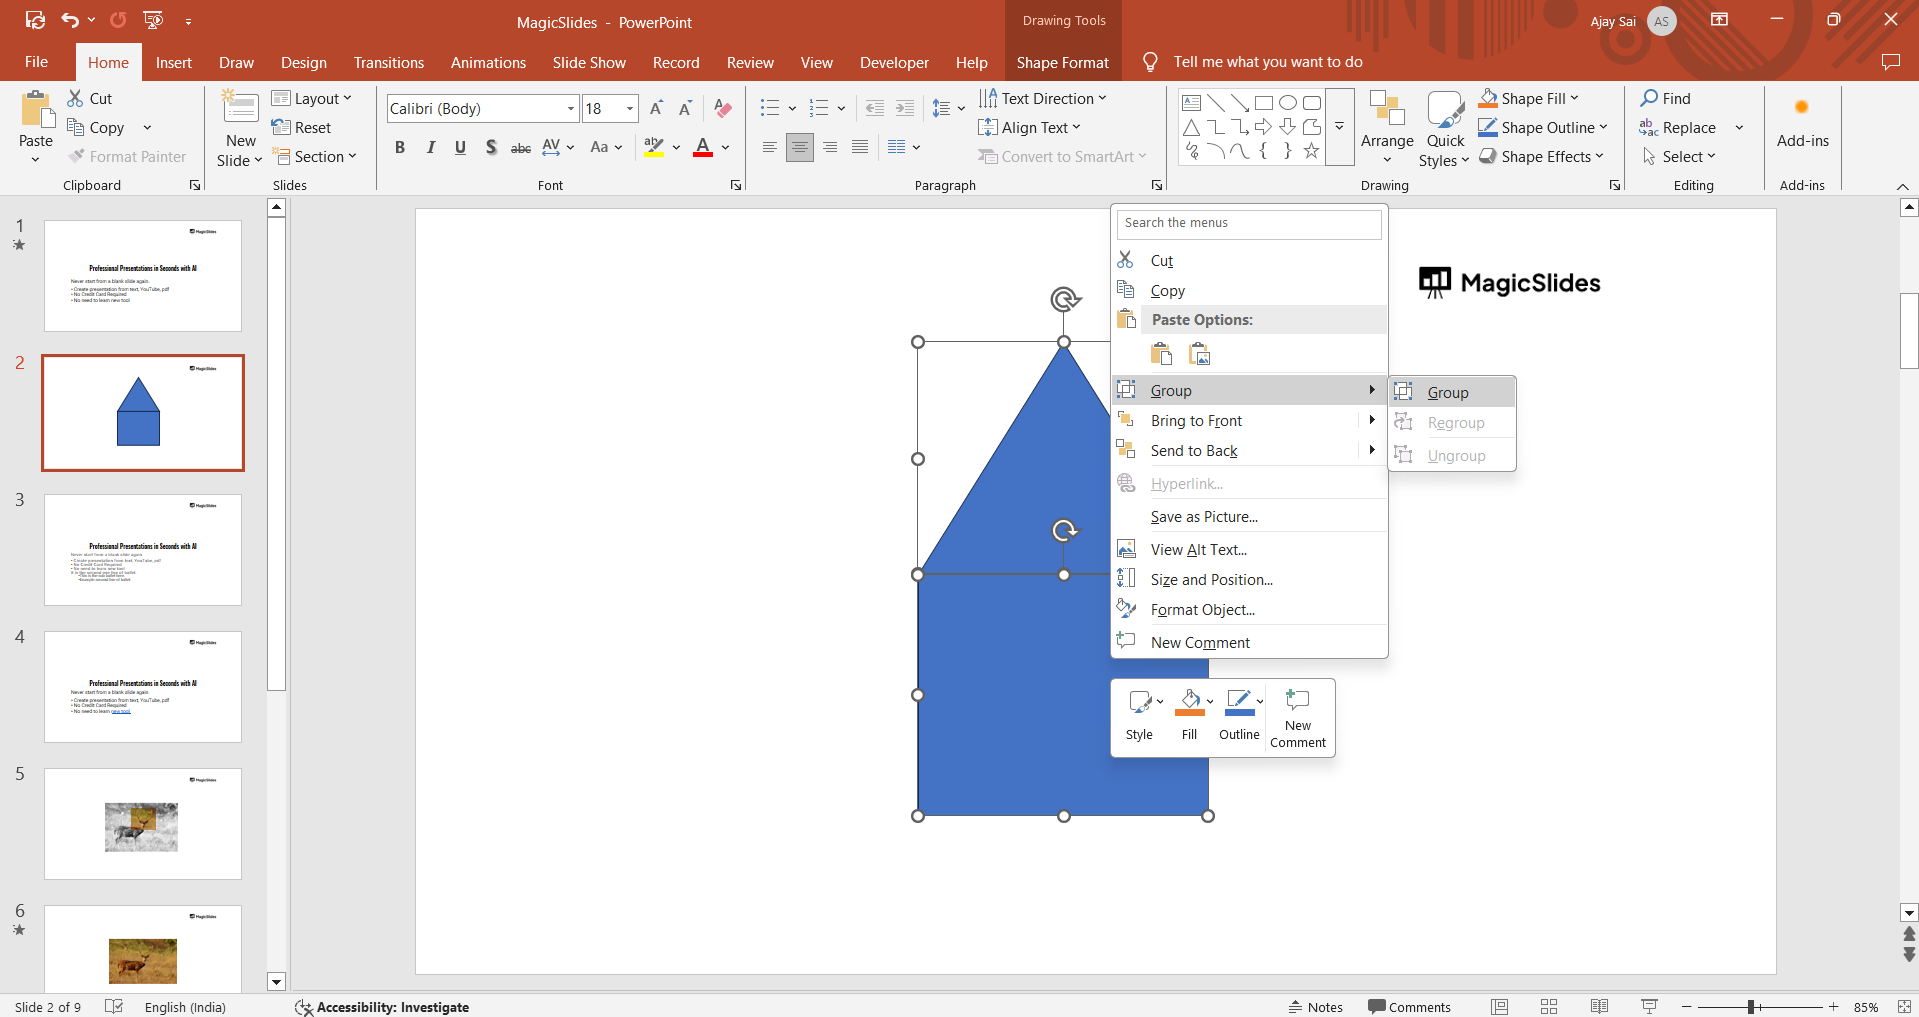
Step 3: Merge Shapes to Create a Custom Design
Insert another shape from the Shapes menu. Select both shapes by holding Shift and clicking on each.
Go to the Shape Format tab and click Merge Shapes. Choose an option: Union, Combine, Fragment, Intersect, or Subtract to create a new shape.
Step 4: Use the Freeform or Scribble Tool
Navigate to Insert → Shapes and select Freeform or Scribble. Click and drag to draw a custom shape manually.
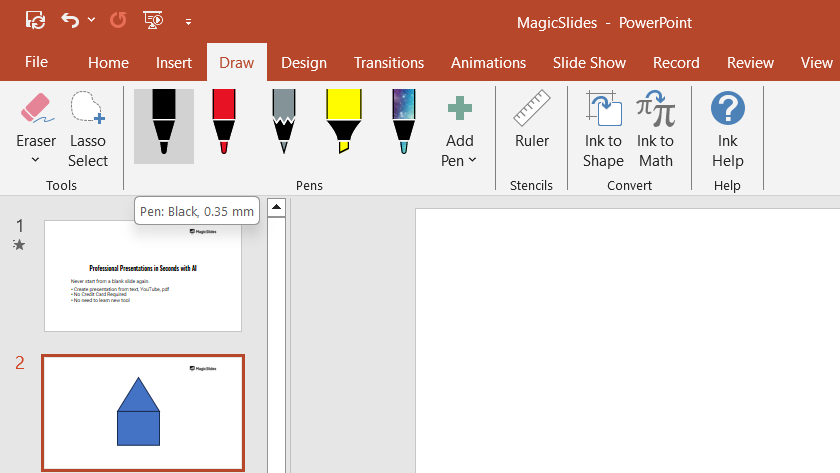
Once done, adjust the points as needed using the Edit Points tool.
Step 5: Customize the Shape with Colors and Effects
Select your custom shape and go to the Shape Format tab. Click Shape Fill to add a solid color, gradient, or texture.
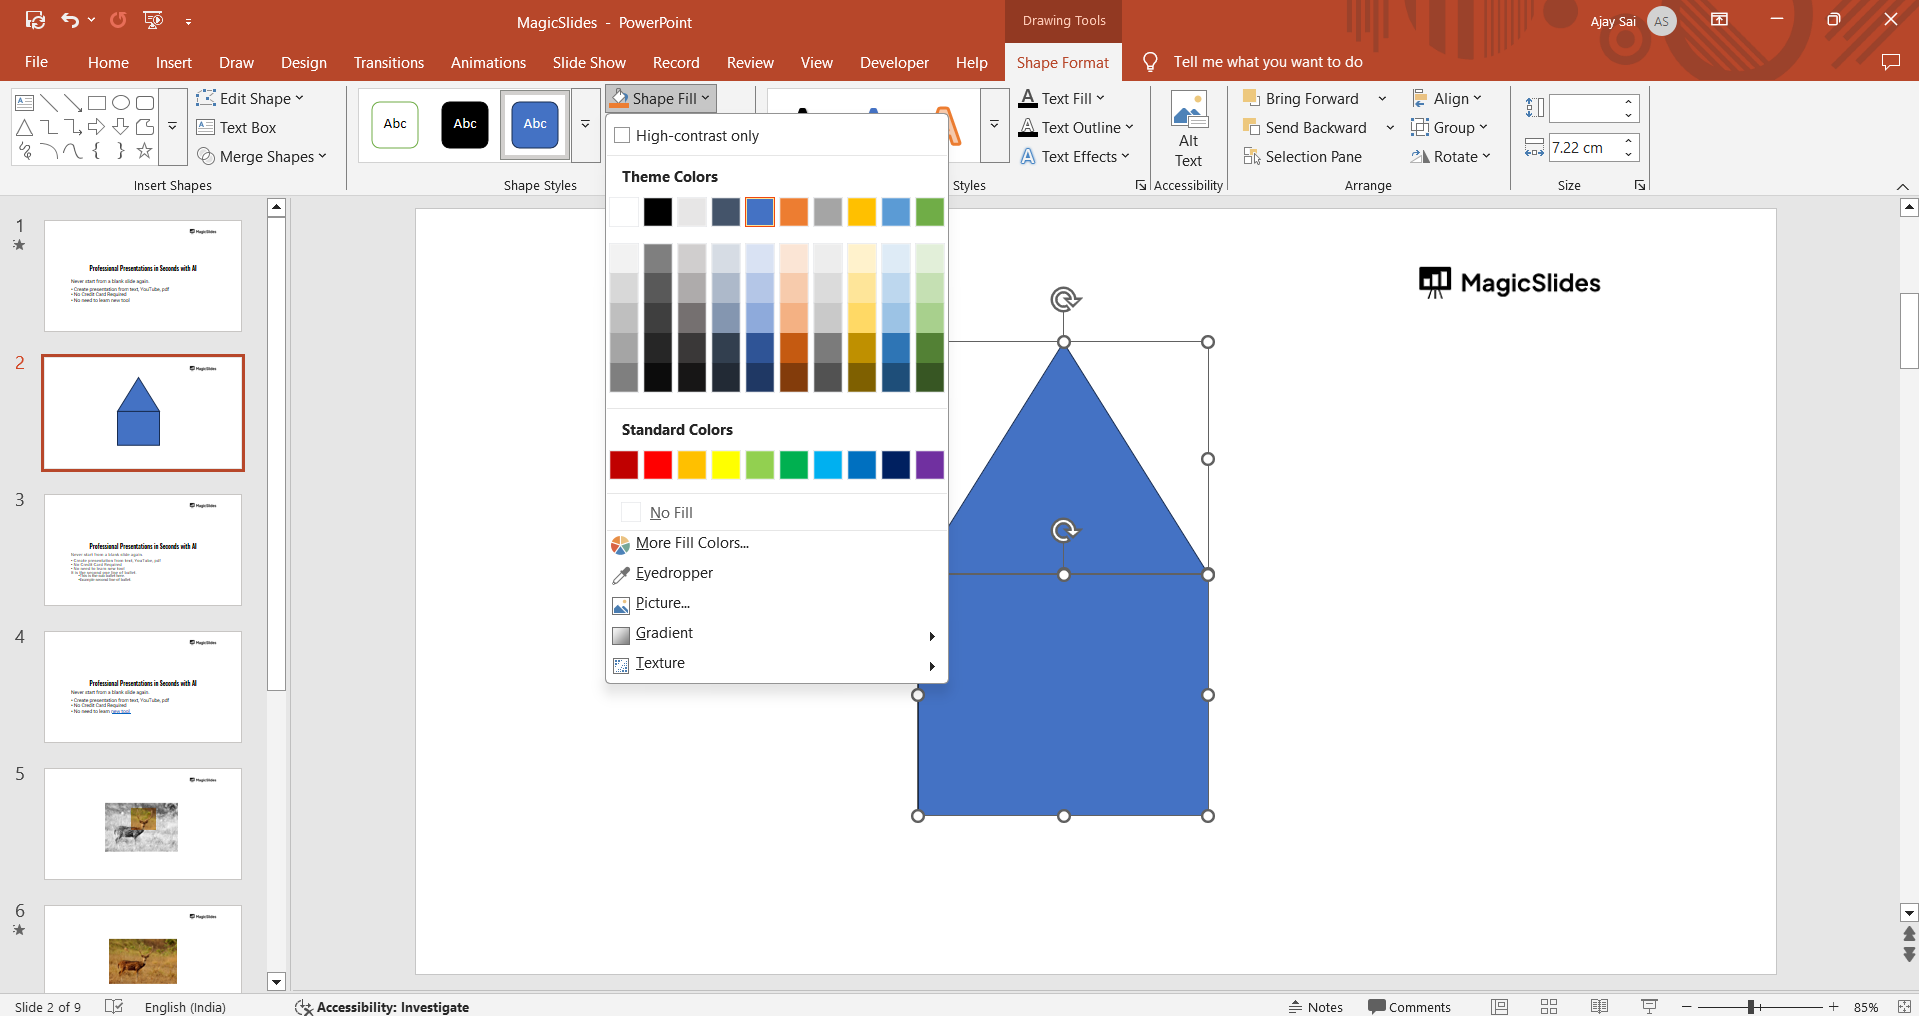
Use Shape Outline to adjust border color and thickness. Apply Shape Effects like shadow, reflection, or glow to enhance its appearance.
Step 6: Save and Reuse Your Custom Shape
Once satisfied with your design, right-click the shape and choose Save as Picture to use it later.
Alternatively, copy and paste it across slides to maintain consistency. After learning how to create custom shapes in PowerPoint, check out how to use Format Painter in PowerPoint to maintain consistency in your designs.
Custom shapes can enhance your PowerPoint slides, but if you’re looking for an even faster way to generate professional presentations, try MagicSlides.app. It uses AI to create stunning slides with custom elements in seconds!
Conclusion
Creating custom shapes in PowerPoint enhances the visual appeal of your presentation and allows for unique designs.
Whether using Edit Points, Merge Shapes, or Freeform tools, PowerPoint offers flexibility in shaping your slides to match your creative vision.
FAQs on Creating Custom Shapes in PowerPoint
Can I create my own shape in PowerPoint?
Yes, you can modify existing shapes, merge multiple shapes, or use the Freeform tool to create custom designs.
How do I merge two shapes in PowerPoint?
Select both shapes, go to Shape Format → Merge Shapes, and choose an option like Union or Intersect.
Can I save my custom shape for future use?
Yes, you can right-click the shape, select Save as Picture, and reuse it in other slides or presentations.
Now you’re ready to create stunning custom shapes to elevate your PowerPoint slides!


