How to curve words on Canva


Curving text in Canva enhances your designs, adding a unique, eye-catching touch to any project
Adding curved text to your designs can add flair and make elements stand out.
Canva makes it easy to create text in a curved shape, enhancing the appeal of your posters, social media posts, and other projects.
In this guide, we’ll walk through each step to help you create curved text in Canva for a more dynamic look.
How to Curve Words on Canva: A Step-by-Step Guide
Step 1: Open Canva and Start a New Project
Begin by logging into your Canva account and either opening an existing design or starting a new project.
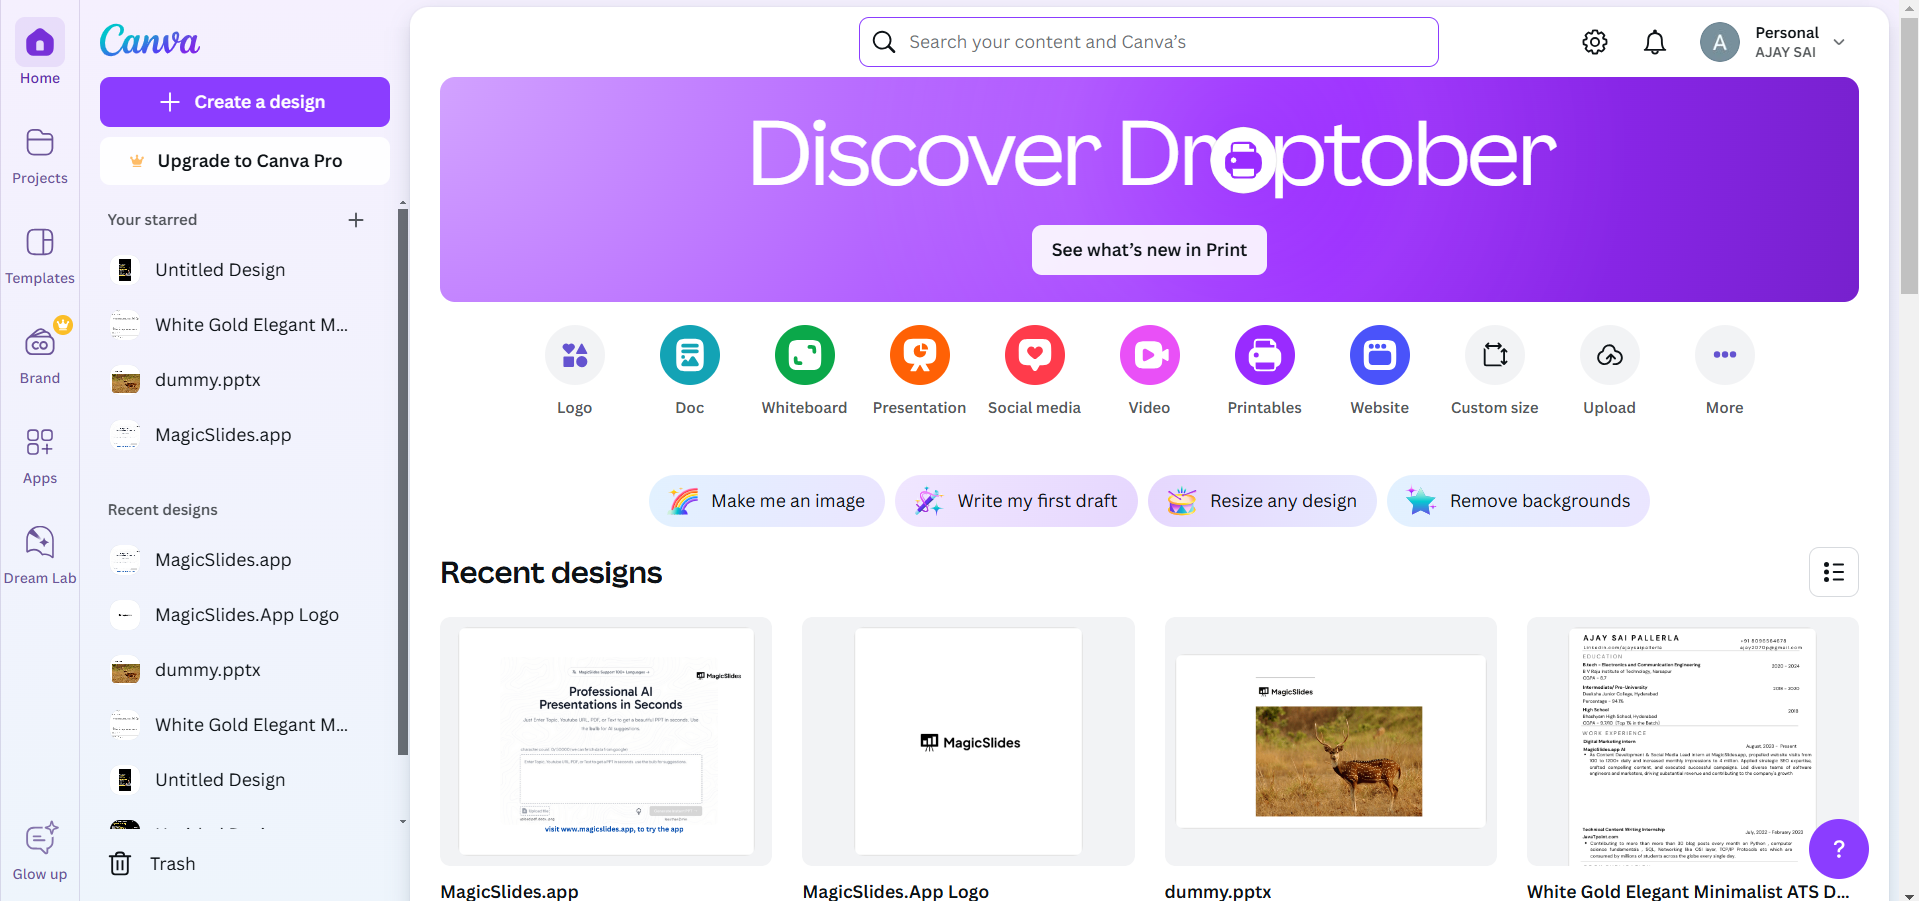
Choose your canvas size or design type, such as "Instagram Post" or "Poster."
Once you have your canvas open, you’re ready to start adding curved text.
Step 2: Insert a Text Box
To add text, go to the left-hand toolbar and click on "Text."
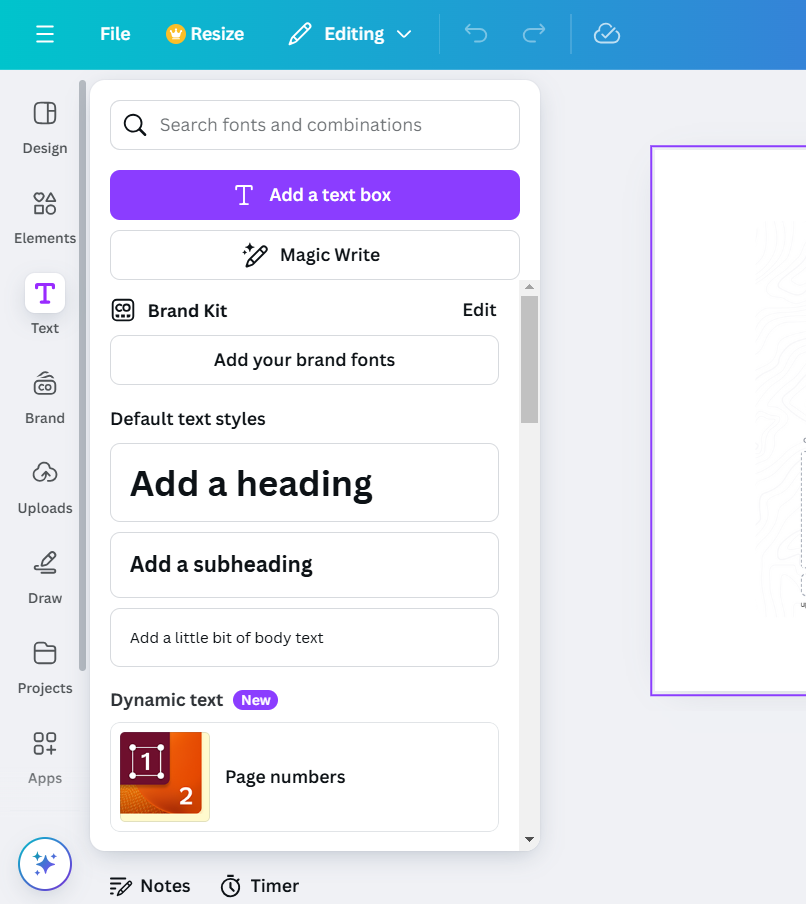
Choose either a preset text style or add your own by selecting "Add a heading," "Add a subheading," or "Add a little bit of body text."
Type the words you’d like to curve in the text box, and then customize the font style, size, and color as desired before curving the text.
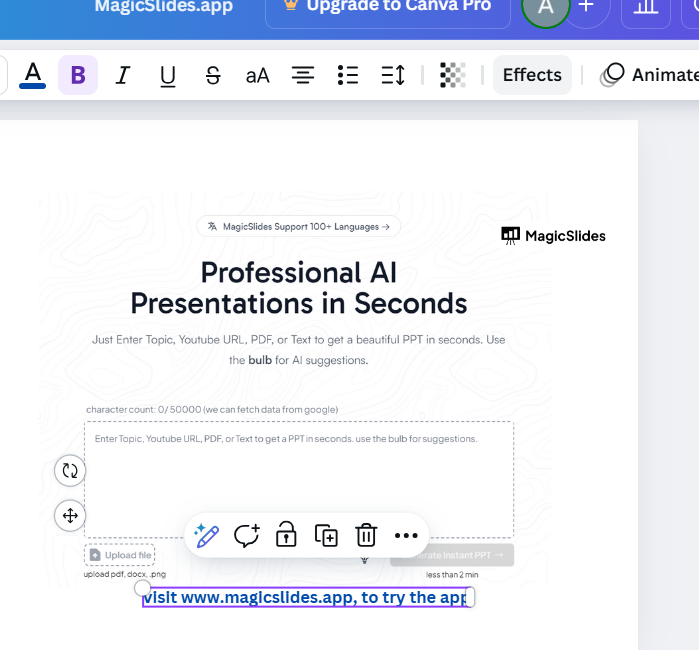
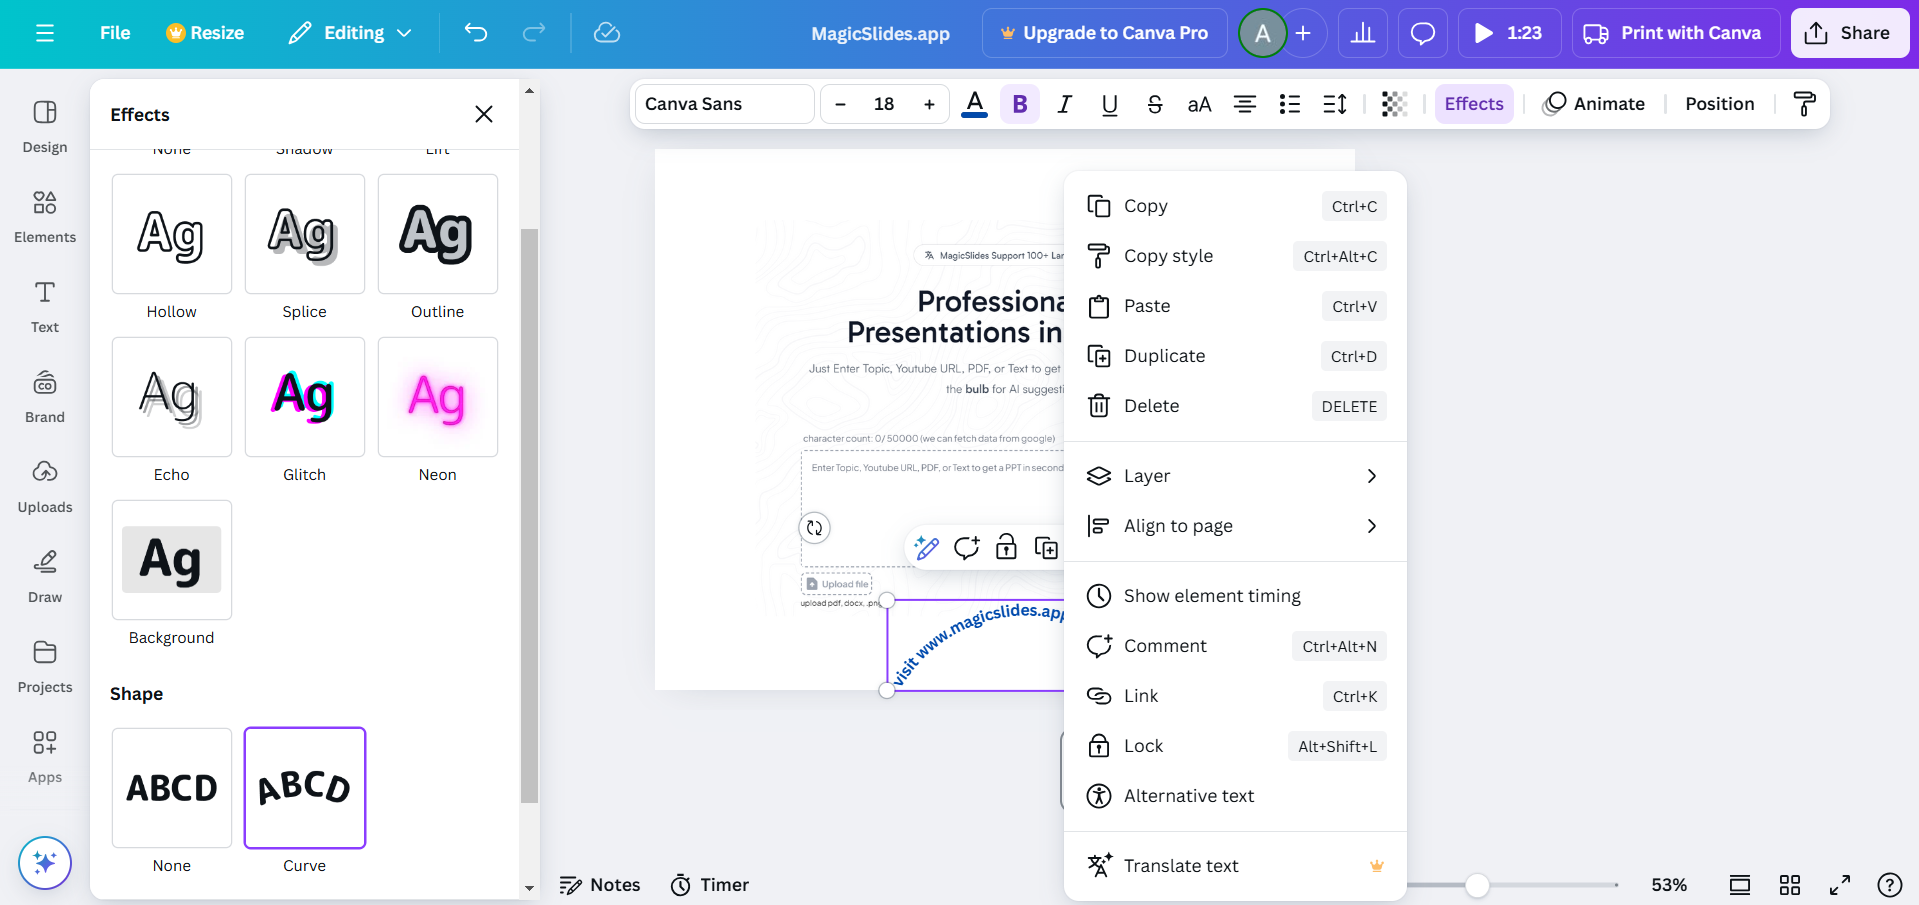
Step 3: Open the Curve Text Effect
With the text box selected, navigate to the "Effects" button located at the top of your screen.
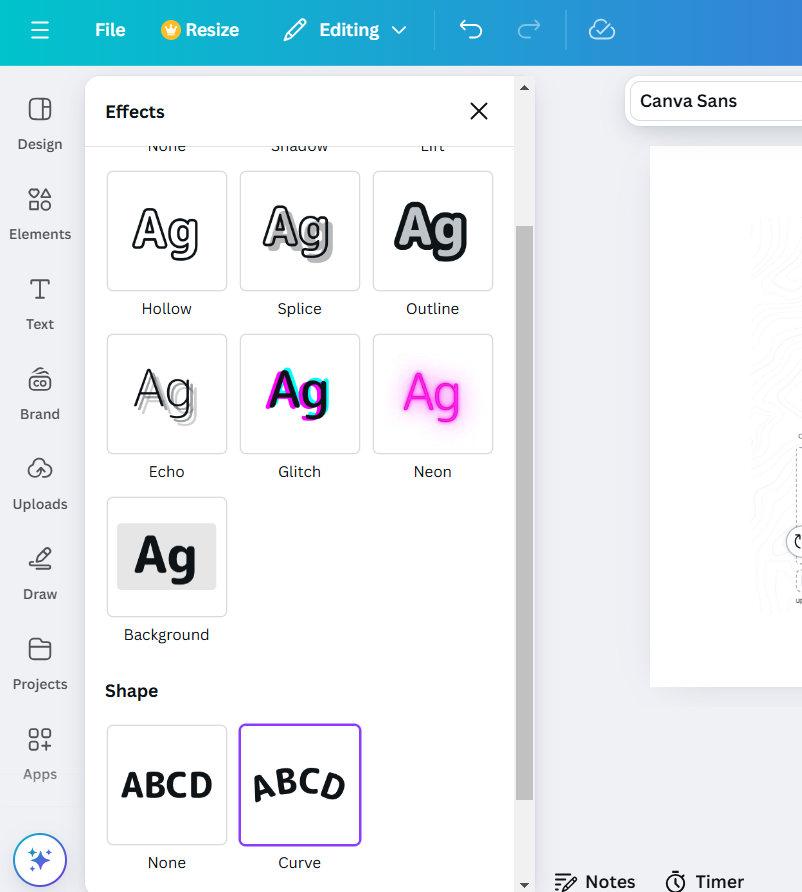
Clicking "Effects" will open a panel with different text effects. Select the "Curve" option to apply the curve effect to your text instantly.
Step 4: Adjust the Curve
Once the curve effect is applied, you’ll see a sliding scale under the "Curve" option. Use this slider to adjust the curvature of your text.
Dragging the slider to the left will curve the text upward, while dragging it to the right will create a downward curve.
Adjust it until you achieve the look you want for your design.
Step 5: Fine-Tune and Position the Curved Text
After adjusting the curve, you can further customize the look by changing font size, color, or other effects in the toolbar.
Position the curved text by dragging it to your preferred location on the canvas, ensuring it complements other design elements.
After curving words on Canva, enhance your designs by learning how to unlock a page on Canva to access and edit restricted elements.
Conclusion
Creating curved text in Canva adds a creative touch to any project and draws attention to your words.
Whether you're designing social media posts, logos, or custom graphics, Canva's curve effect offers a quick and easy way to make your text more visually interesting.
Experiment with different curves and positions to find the perfect style for your design.
FAQs are here to help!
Can I change the curve direction on Canva?
Yes, adjusting the curve slider lets you curve text either upward or downward, based on your preference.
Can I use curved text with different fonts?
Absolutely! Canva’s curve effect works with all font types, so you can customize the text style to fit your design.
Can I change the curve after adding other effects?
Yes, you can revisit the "Effects" panel anytime to adjust the curve even after applying other effects, like shadow or glow.


