How to have two Effects on Canva


Combine two effects in Canva effortlessly to create visually dynamic, unique, and professional-looking designs
Canva is a versatile design tool that allows users to create stunning visuals using various effects.
While Canva typically allows one effect per element, you can creatively combine two effects for a more dynamic design.
This guide provides a step-by-step process to achieve this layered effect and elevate your Canva creations.
How to Apply Two Effects on Canva | Steps to Apply Two Effects on Canva
Step 1: Select Your Design Element
Open your Canva project and choose the text or element you want to enhance.

Click on the element to activate the editing toolbar.
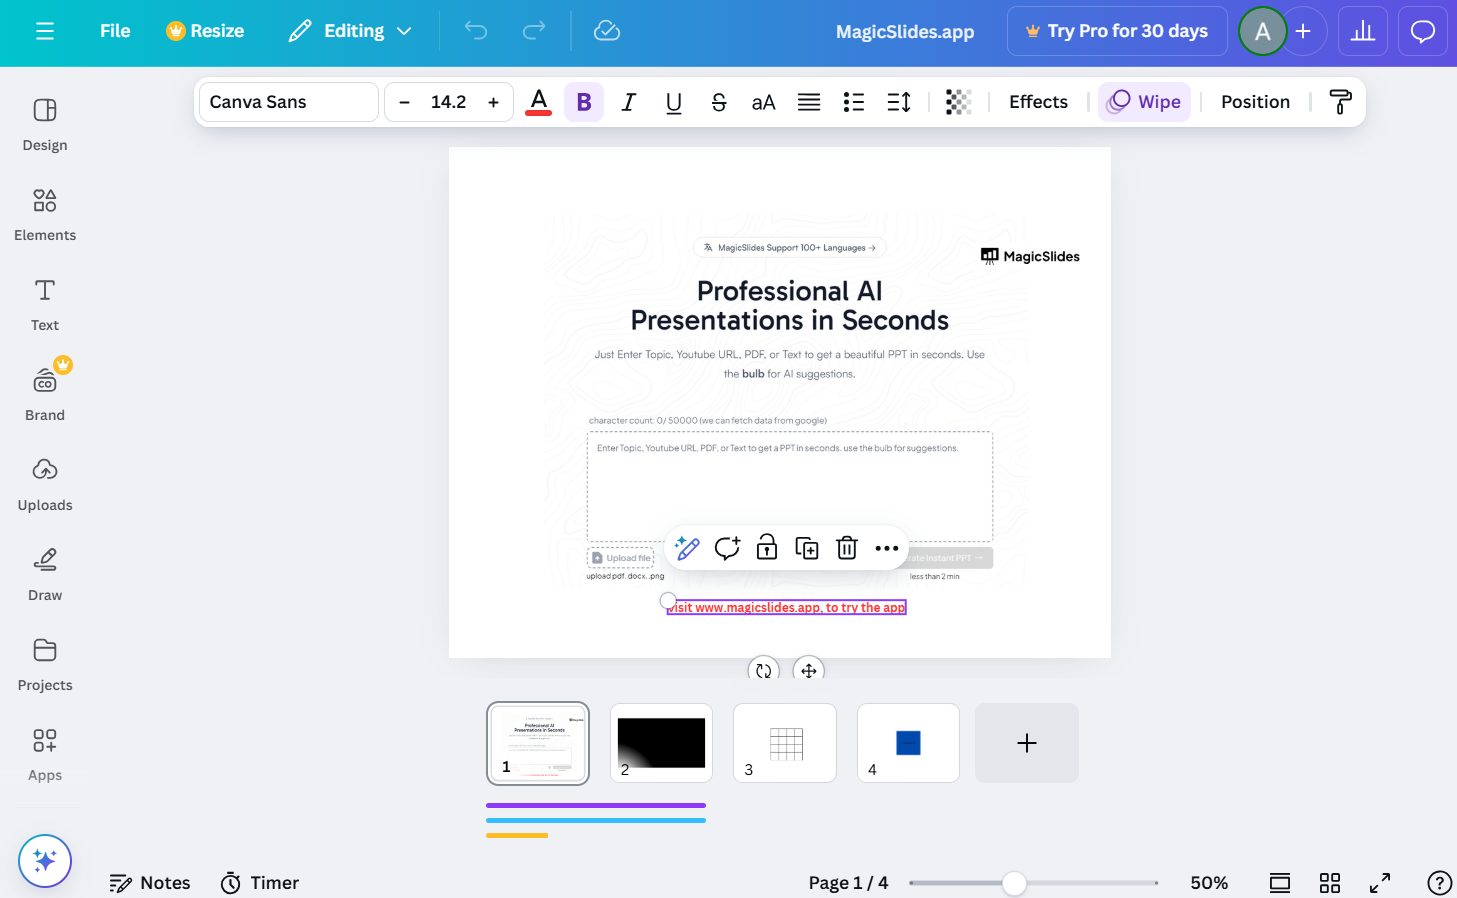
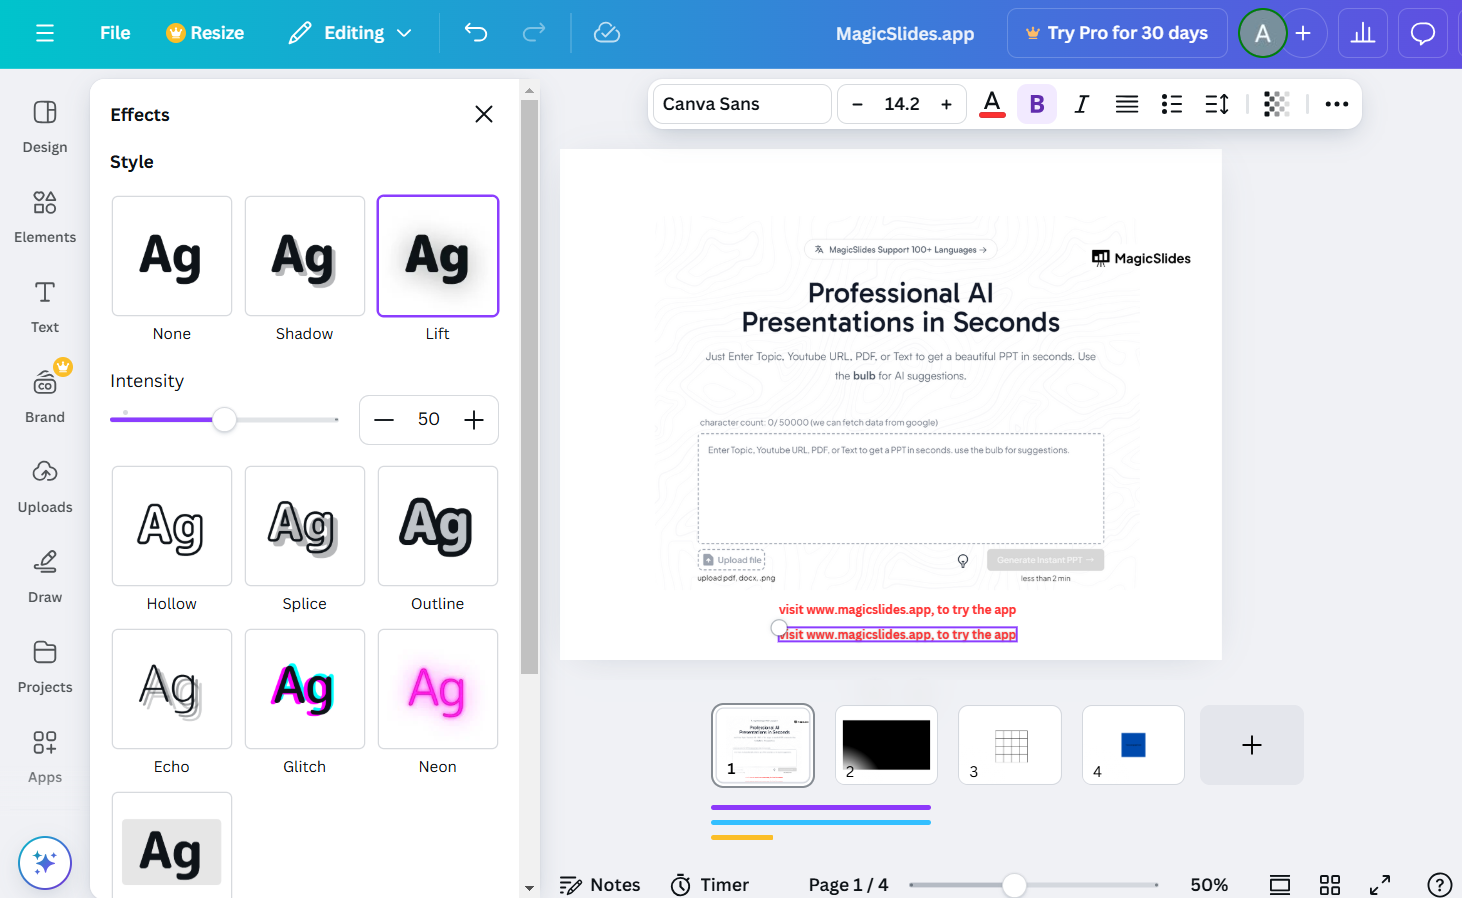
Step 2: Apply the First Effect
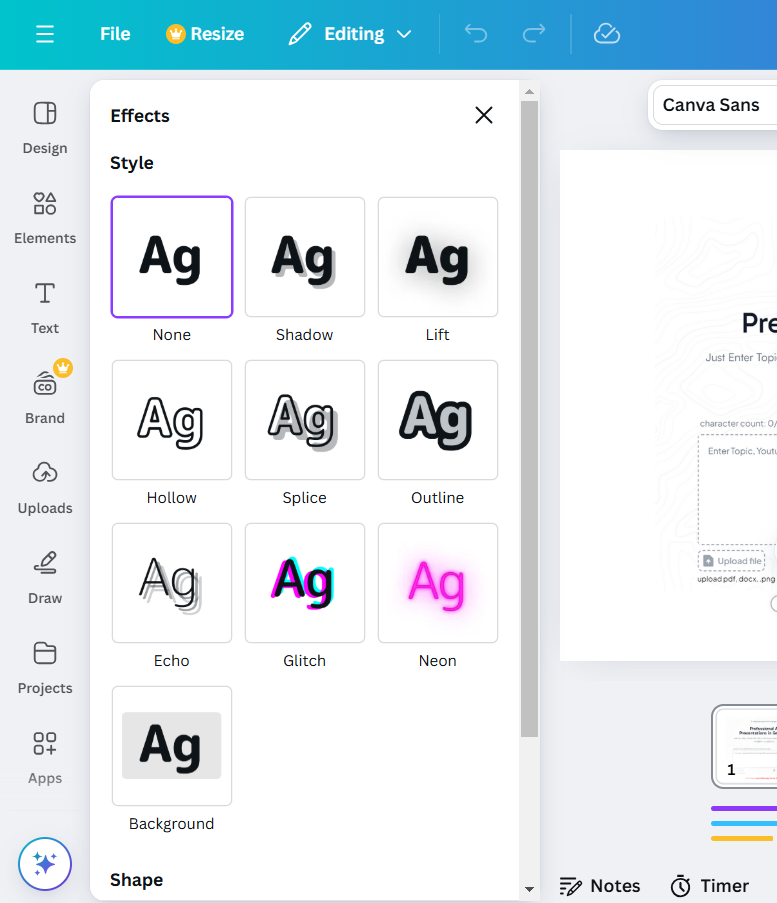
With the element selected, click on the “Effects” option in the toolbar.
Choose your desired effect (e.g., shadow, neon, glitch) and customize it using the available sliders.
Step 3: Duplicate the Element
Right-click on the element and select “Duplicate” from the menu. Position the duplicate exactly on top of the original for seamless alignment.
Step 4: Apply the Second Effect to the Duplicate
Click on the duplicated element to edit it.
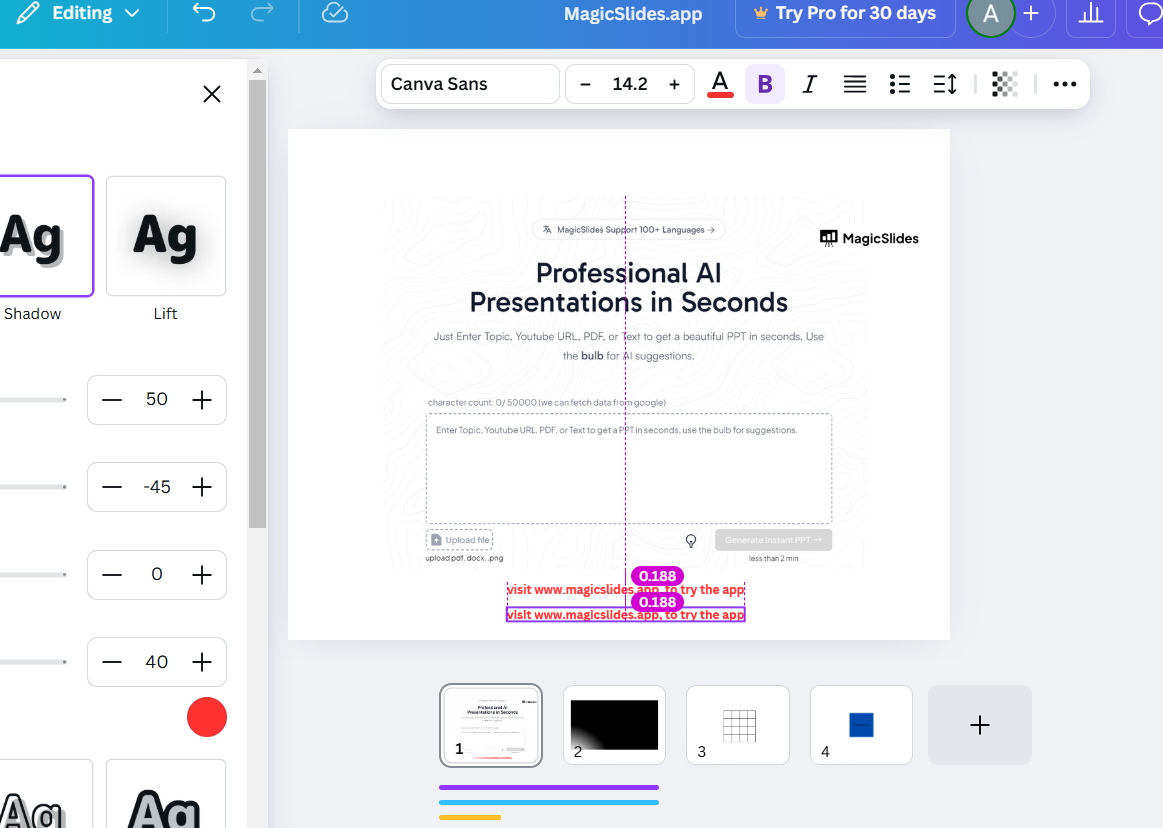
Go to the “Effects” tab again and select a different effect for the duplicate.
Adjust the intensity, direction, and other settings to complement the first effect.
Step 5: Fine-Tune the Layering
Use Canva’s positioning tools to align the elements perfectly.
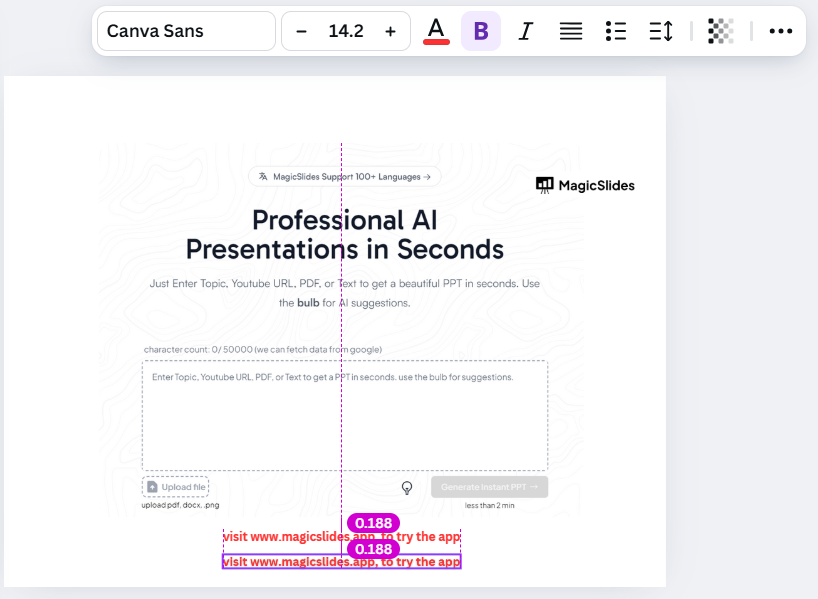
Experiment with transparency or colors to ensure both effects are visible and cohesive.
Step 6: Save and Preview Your Design
Save your changes and preview the design in fullscreen to check how the effects blend.
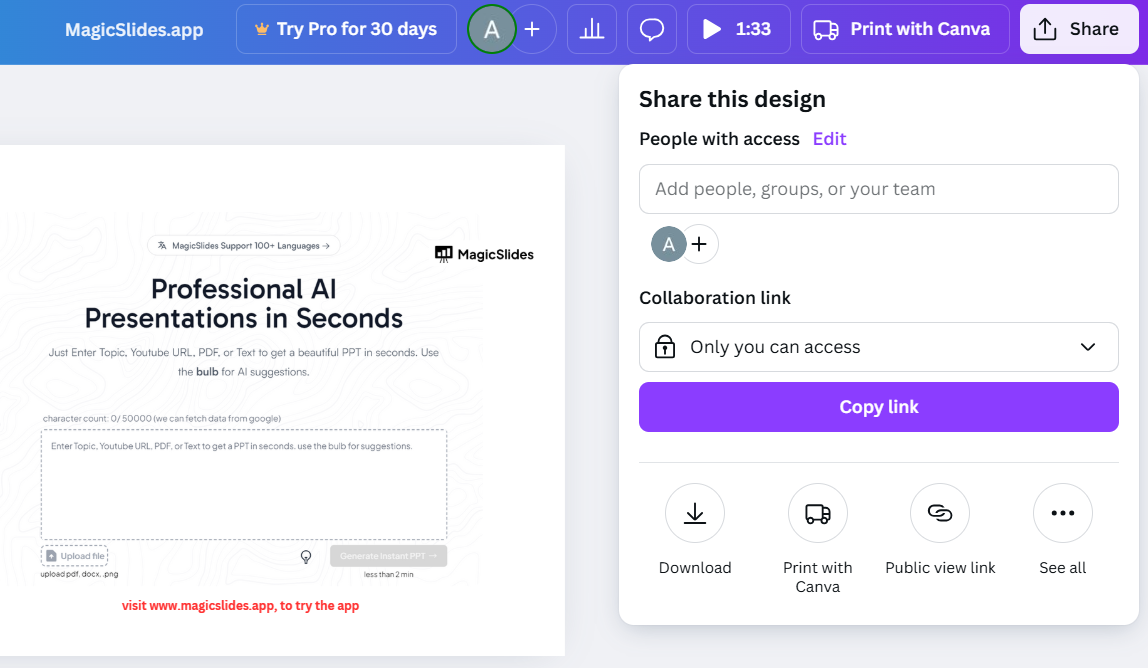
Make any final adjustments to achieve the desired look. Now that you know how to apply two effects on Canva, learn how to use frames in Canva to add more creative depth to your designs.
Conclusion
Combining two effects in Canva is a creative way to make your designs stand out.
While Canva’s tools allow only one effect per element, duplicating and layering elements unlocks endless possibilities.
By following these steps, you can master this technique and create eye-catching visuals for your projects.
FAQs on Applying Two Effects on Canva
Can I apply more than two effects on Canva?
Yes, by duplicating elements multiple times and layering different effects, you can combine more than two effects.
Will adding multiple effects impact the design’s quality?
No, but ensure that the effects are well-aligned and visually cohesive for a polished result.
Is this technique available in Canva’s free version?
Yes, layering effects using duplicated elements is accessible to all Canva users, including those with free accounts.
By mastering this simple yet powerful technique, you can take your Canva designs to the next level and impress your audience with unique visual effects.


