How to highlight part of a picture in Google Slides


Picture says a lot than a sentence, we need to crisp the necessary info to readers by highlighting a part of it, know it from us
Highlighting part of a picture in Google Slides can add emphasis to your presentations and help your audience focus on key details. Whether you're pointing out a specific part of an image or drawing attention to an important section, this guide will show you how to do it effectively. Follow these steps to enhance your Google Slides presentations with highlighted images.
How to highlight part of a picture in Google Slides
Step 1: Insert the Picture
Open Google Slides: Launch Google Slides and open the presentation where you want to include the picture.
Navigate to the Slide: Go to the specific slide where you want to insert the picture.

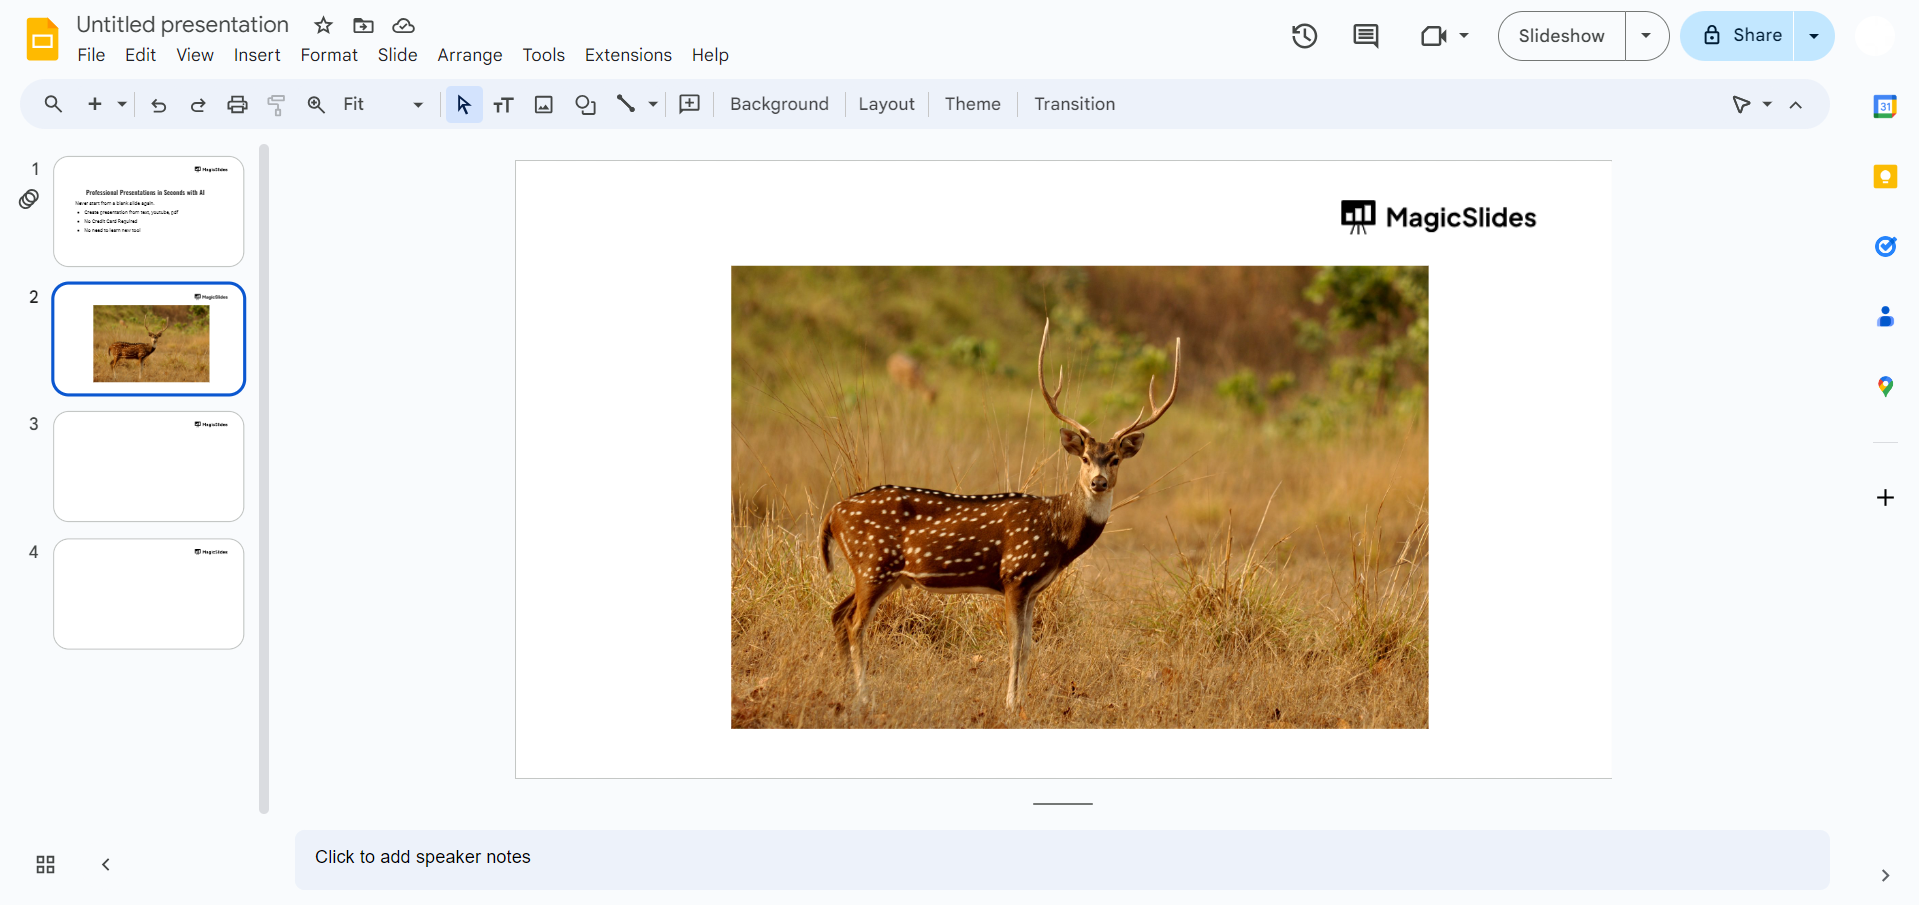
Insert the Picture: Click on "Insert" in the top menu, then choose "Image" and select "Upload from computer" or other sources like "Search the web," "Drive," etc. Select your image and click "Insert."
Step 2: Duplicate the Picture
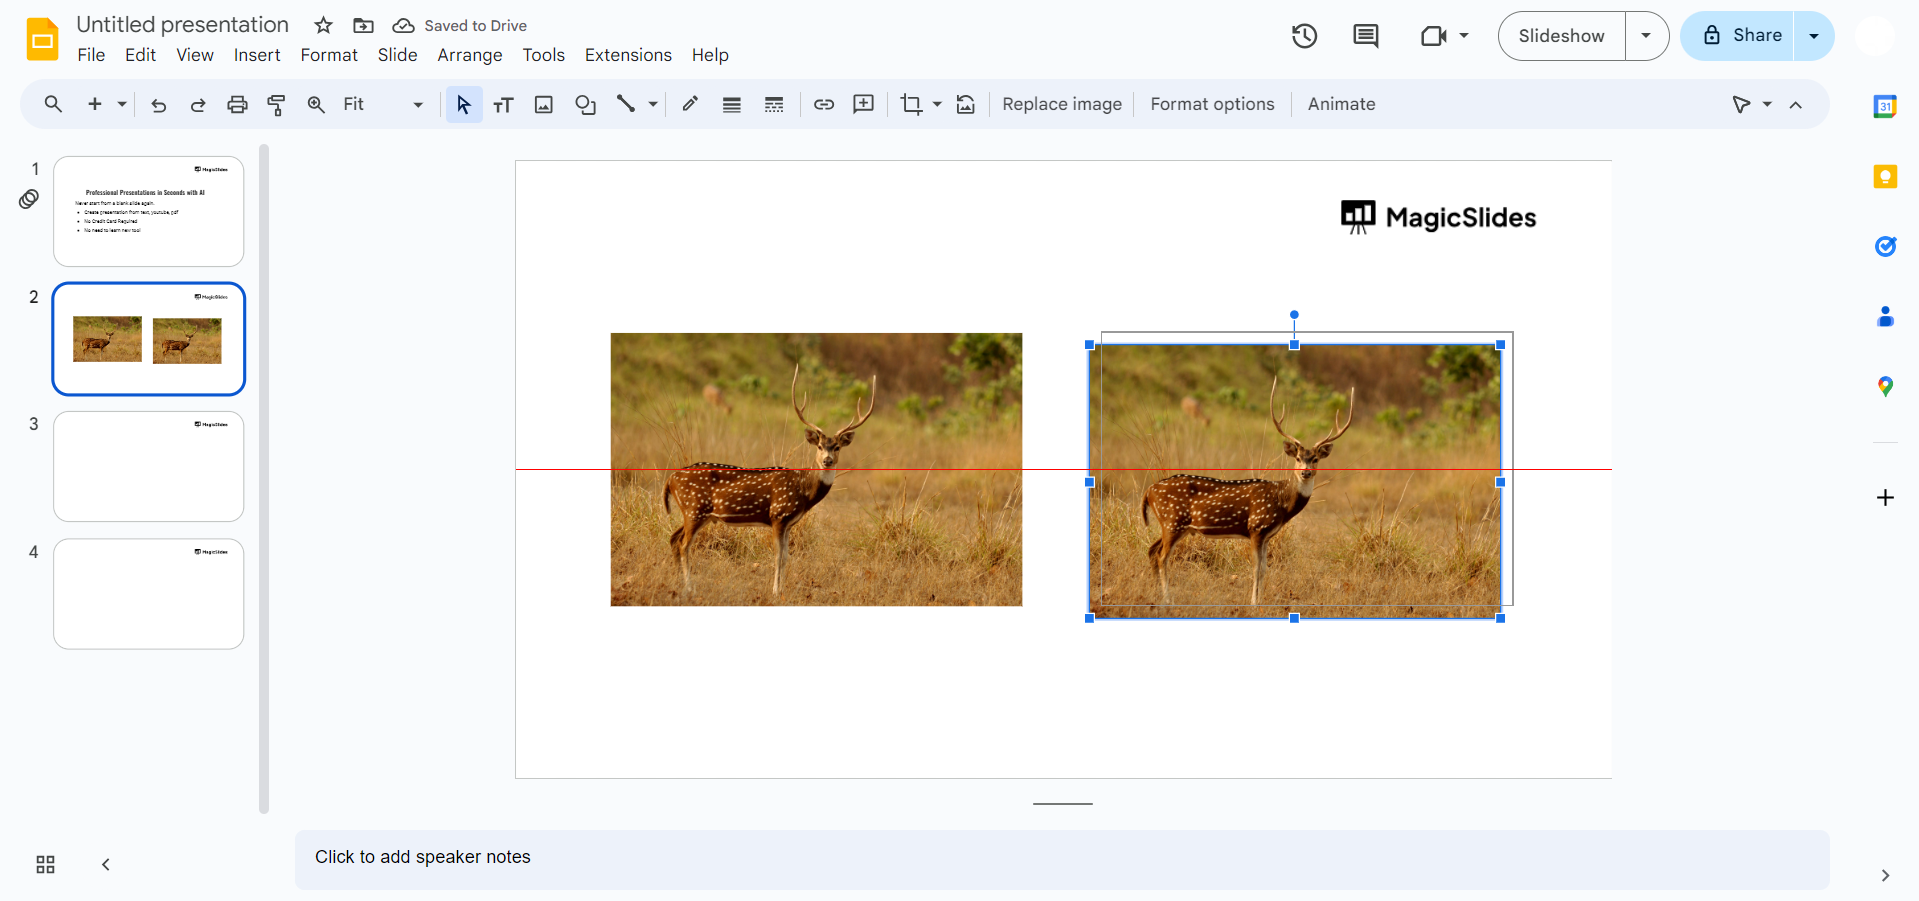
Select the Picture: Click on the image to select it.
Duplicate the Picture: Right-click on the picture and choose "Duplicate," or use the keyboard shortcut Ctrl+D (Cmd+D on Mac).
Step 3: Crop the Duplicate Picture
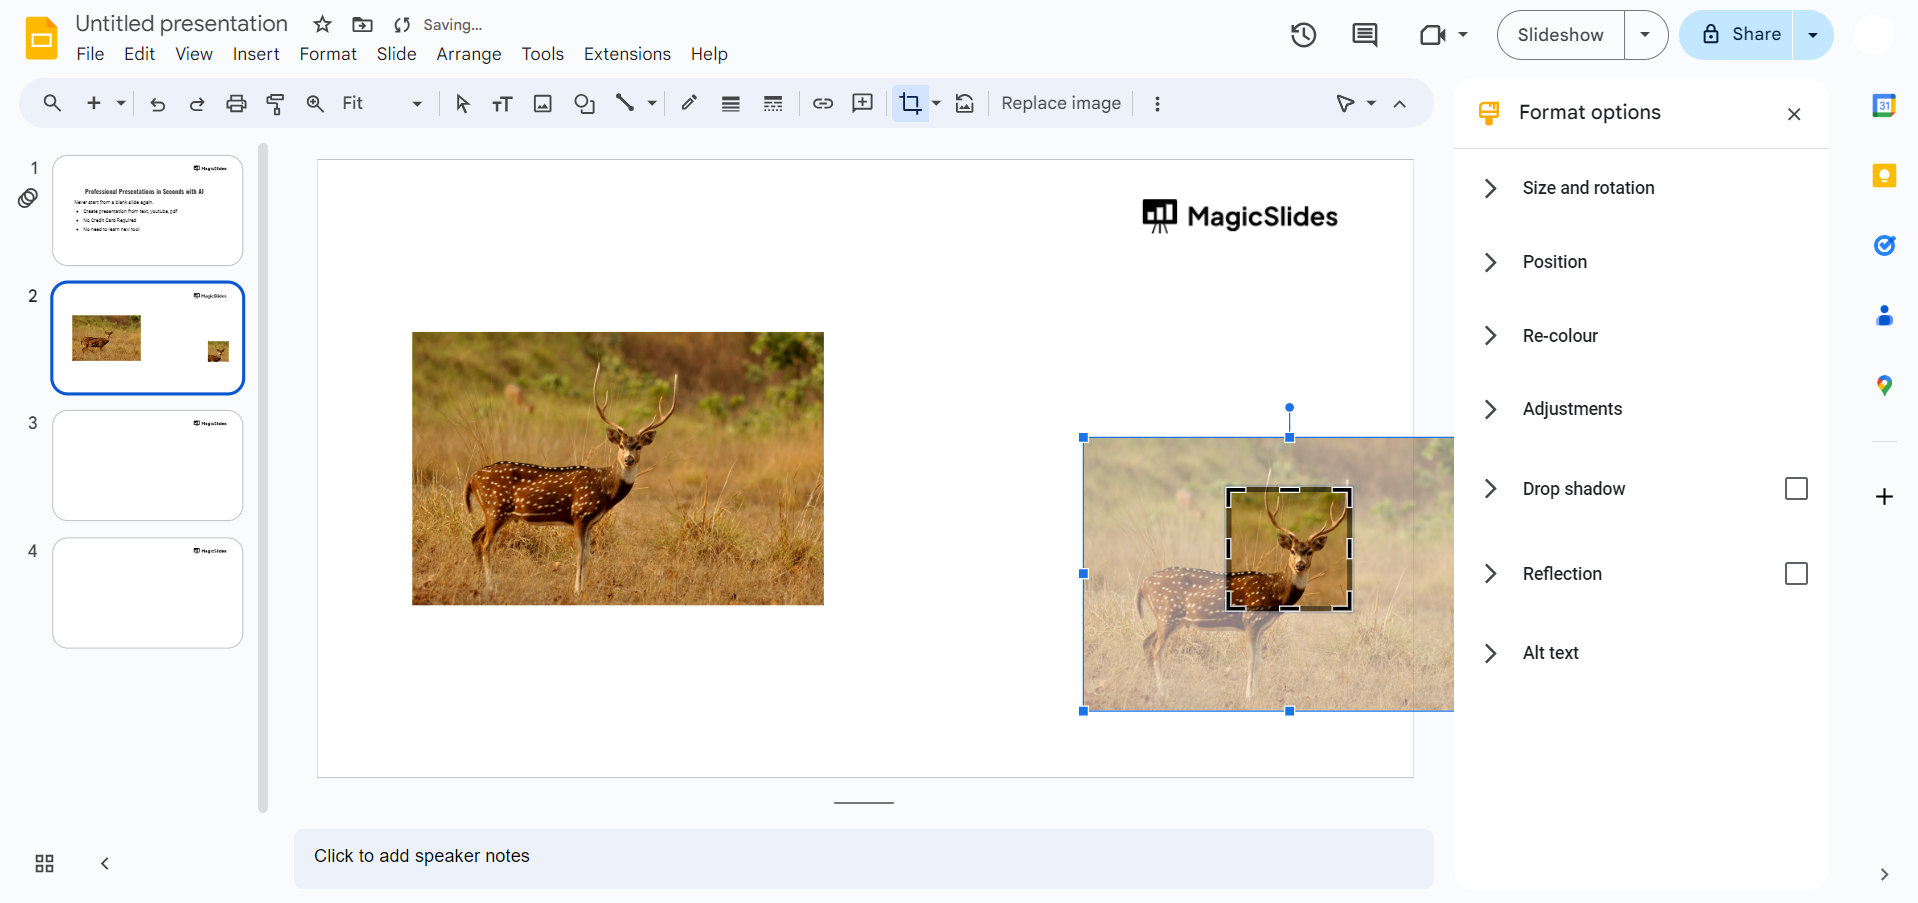
Select the Duplicate Image: Click on the duplicated picture.
Crop the Image: Click on the "Crop image" icon in the toolbar (it looks like a crop tool). Drag the black cropping handles to isolate the part of the image you want to highlight. Press "Enter" or click outside the image to apply the crop.
Step 4: Add a Shape or Border to Highlight the Area
Select the Cropped Image: Click on the cropped image.
Insert a Shape: Go to "Insert" in the top menu, select "Shape," and choose a shape that suits your needs (e.g., rectangle, circle). Draw the shape around the highlighted area.
Format the Shape: Click on the shape, then use the toolbar options to adjust the fill color, border color, and transparency. A transparent fill with a bright border color often works well for highlighting.
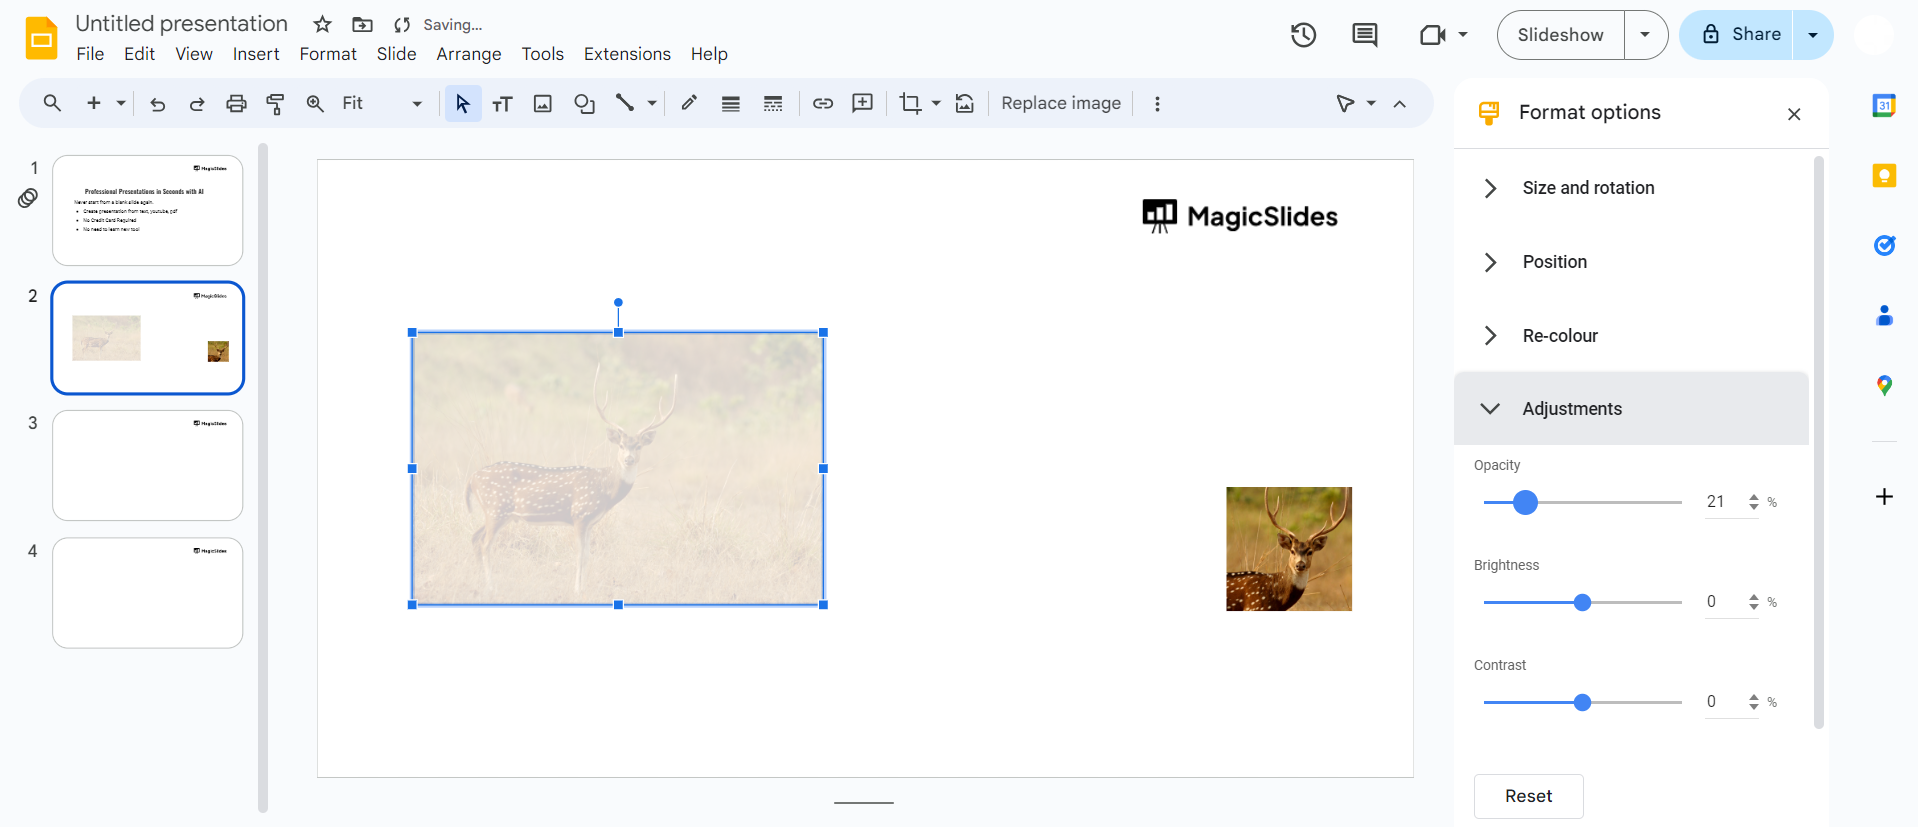
Step 5: Adjust the Original Picture
Select the Original Picture: Click on the original image.
Apply Effects: To make the rest of the picture less prominent, click on "Format options" in the toolbar. Adjust the "Recolor," "Transparency," or "Brightness" settings to fade out the rest of the image.
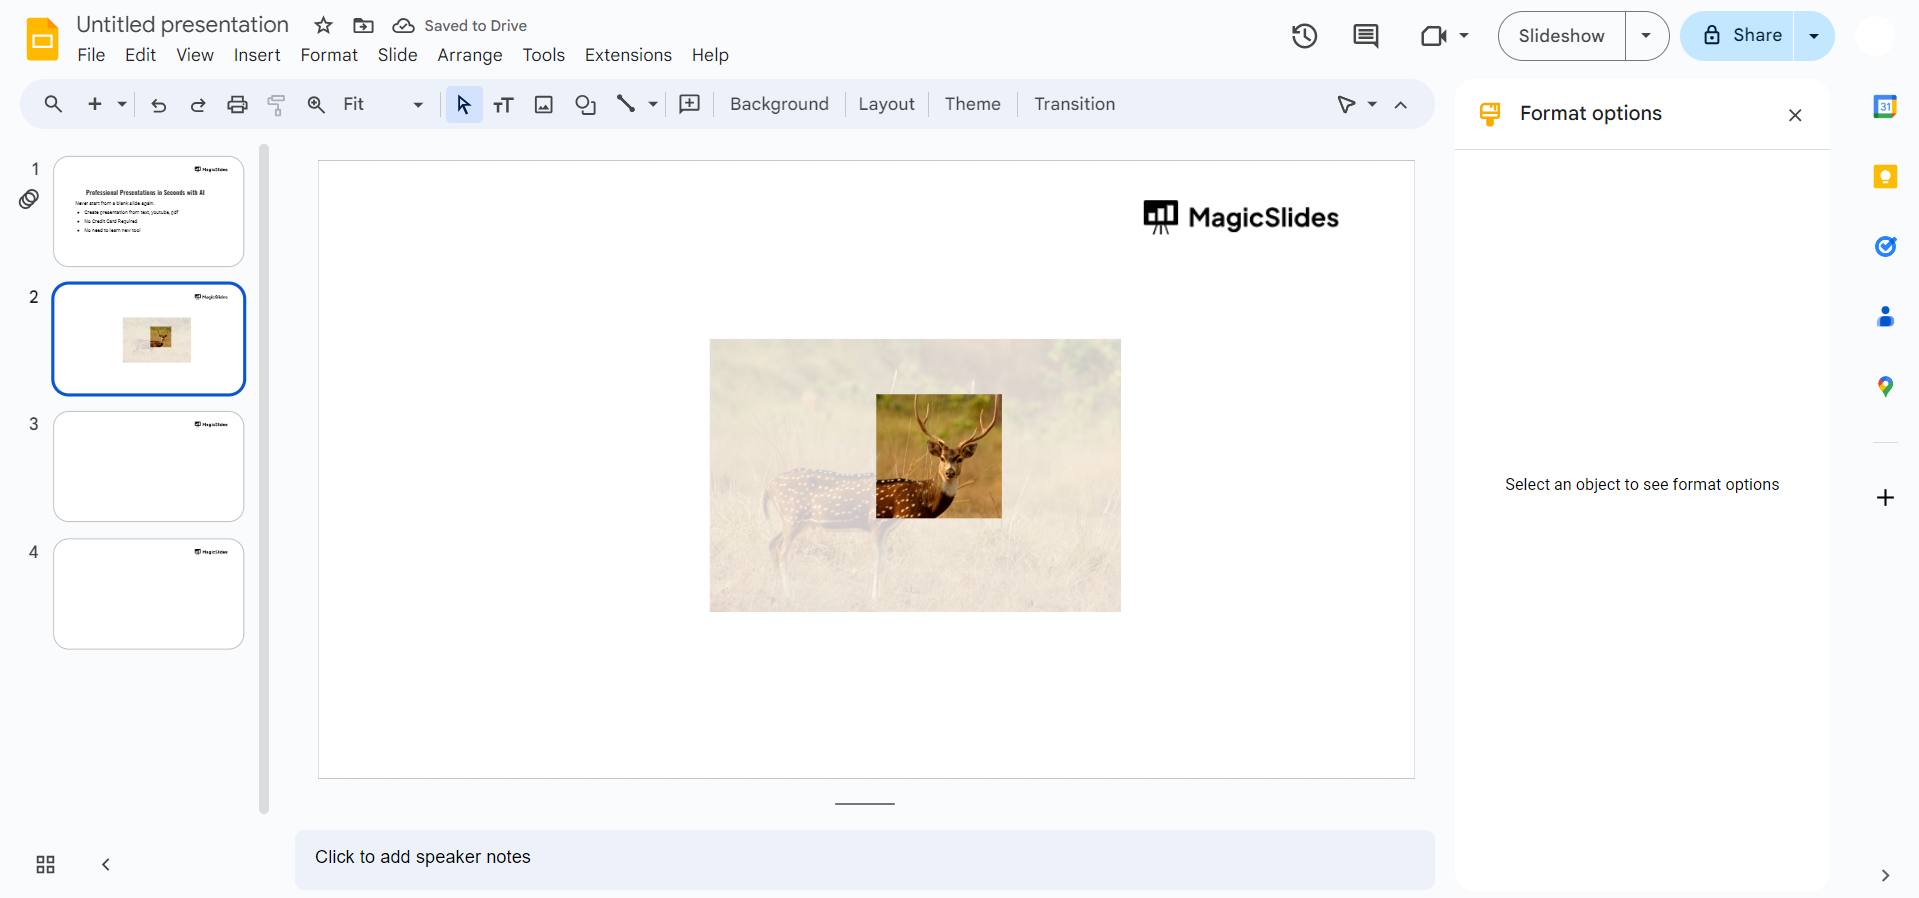
Step 6: Position the Highlighted Area
Align the Images: Make sure the cropped image is placed exactly over the corresponding area on the original picture. Use the "Arrange" options in the toolbar to help with alignment if needed.
Group the Elements: Select both the original and the highlighted images, right-click, and choose "Group." This will ensure they move together as a single unit if you need to reposition them on the slide.
Conclusion
By following these steps, you can effectively highlight specific parts of a picture in Google Slides, making your presentations more engaging and easier to follow.
This technique is perfect for emphasizing critical details, guiding your audience’s attention, and adding a professional touch to your slides.
Highlighting parts of a picture can make a significant difference in how your audience perceives your presentation.
Frequently Asked Questions
Can I adjust the transparency of the highlighted area in Google Slides?
Yes, you can adjust the transparency of the highlighted area. After inserting a shape to highlight the desired part of the image, select the shape and click on the "Fill color" icon in the toolbar. From there, choose "Custom" and use the transparency slider to adjust the level of transparency to your preference.
Is it possible to animate the highlighted area to make it more noticeable during a presentation?
Yes, you can animate the highlighted area in Google Slides to draw attention to it. Select the cropped image or the shape you used for highlighting, then click on "Insert" in the top menu and choose "Animation." From the animation pane, you can select various animation effects like "Fade in," "Appear," or "Bounce," and adjust the animation settings such as duration and trigger.
How can I ensure that the highlighted area stays aligned with the original image when resizing?
To ensure that the highlighted area stays aligned with the original image when resizing, group the elements together. Select both the original image and the cropped/highlighted image, right-click, and choose "Group."
This way, both images will be resized and moved together, maintaining their alignment and relative positions.


