How to move an image to the back in Google Slides


Elevate your presentations with this guide on effortlessly moving images to the back in Google Slides!
Creating visually appealing and well-organized presentations is essential, and understanding how to manipulate the layering of elements is a crucial skill. If you've ever wanted to move an image to the back in Google Slides, you're in the right place. In this step-by-step guide, we'll walk you through the process, allowing you to take control of the arrangement of your visual elements and elevate the design of your presentations.
Steps to Move an Image to the Back in Google Slides:
Step 1: Open Your Google Slides Presentation
Begin by opening the Google Slides presentation containing the image you want to reposition.
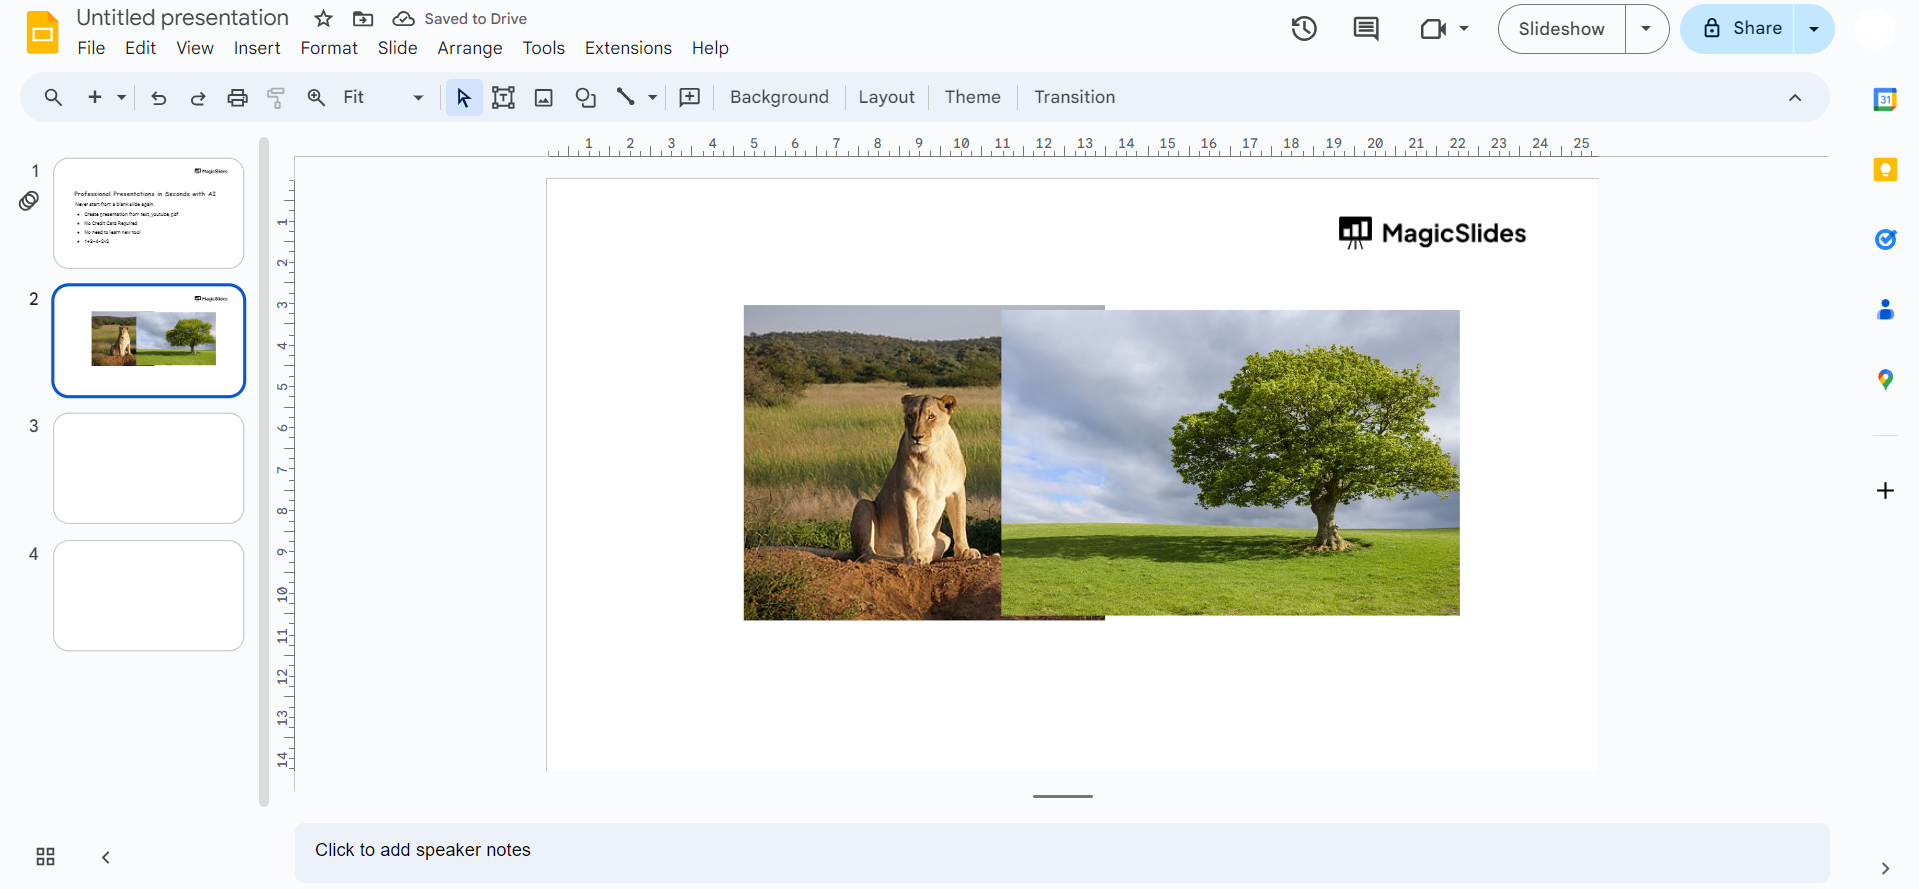
Step 2: Select the Image
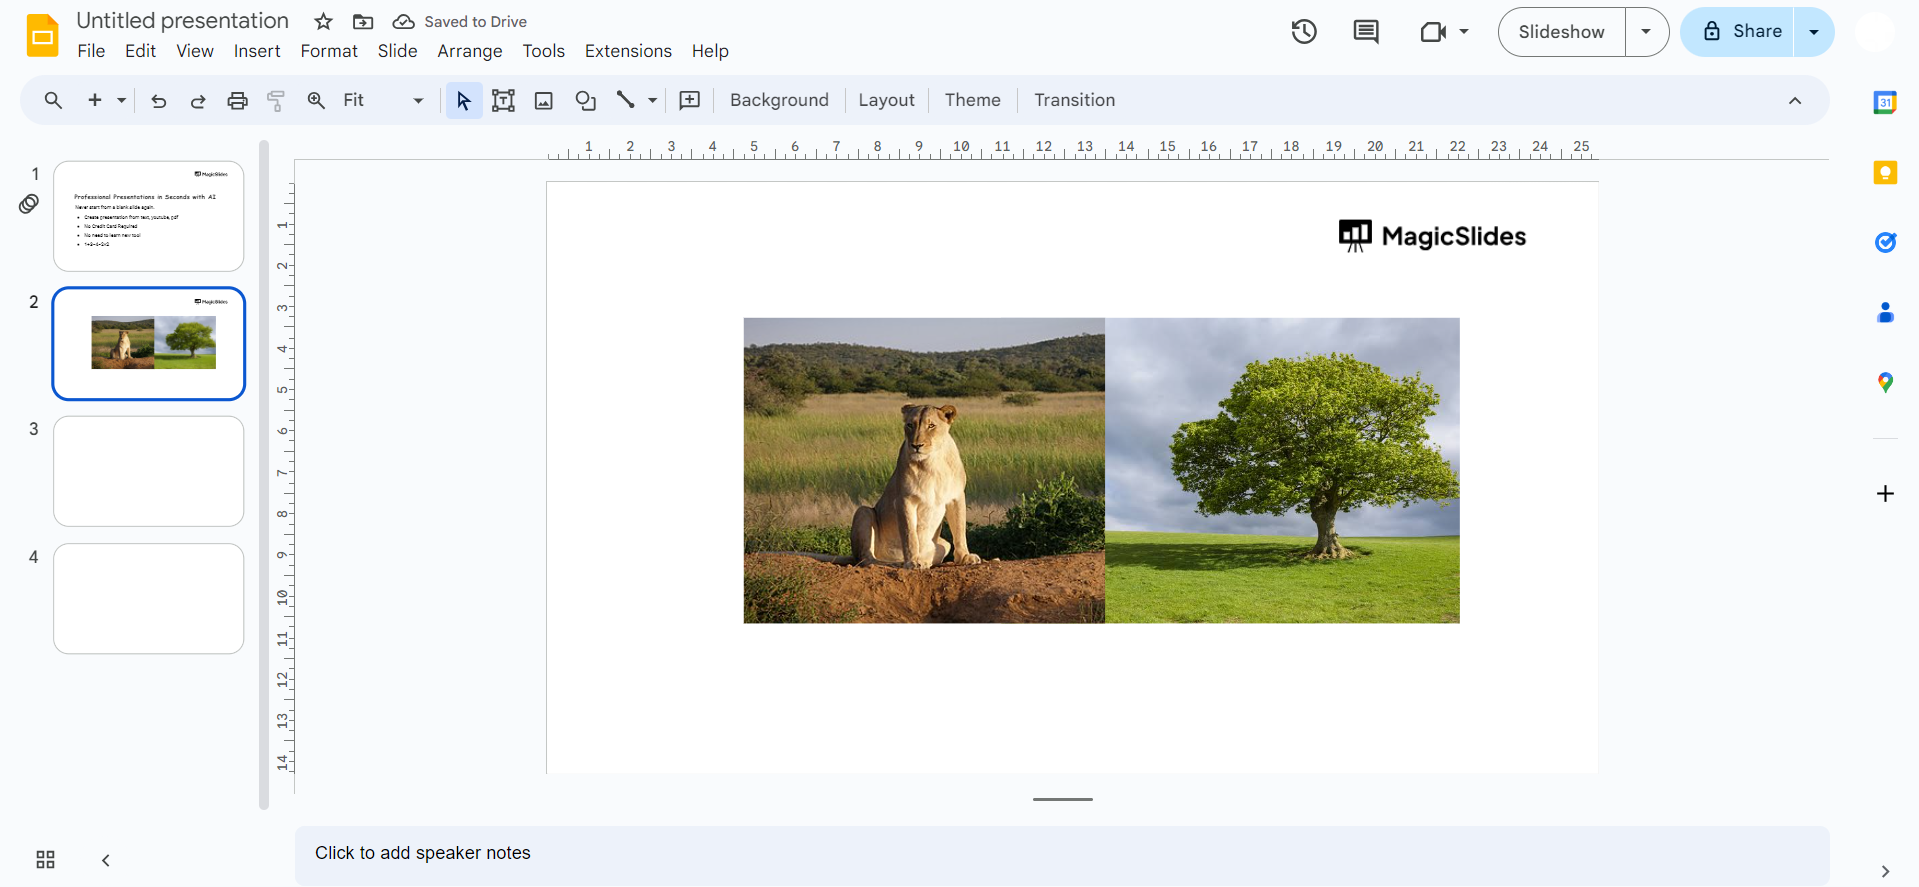
Click on the image you wish to move to the back to select it. The selected image will have a bounding box around it.
Step 3: Go to the Arrange Menu
Navigate to the "Arrange" menu located at the top of the screen. Click on it to reveal a dropdown menu with layering options.
Step 4: Choose "Order"
From the dropdown menu, select the "Order" option. This submenu provides choices for arranging the selected object concerning other elements on the slide.
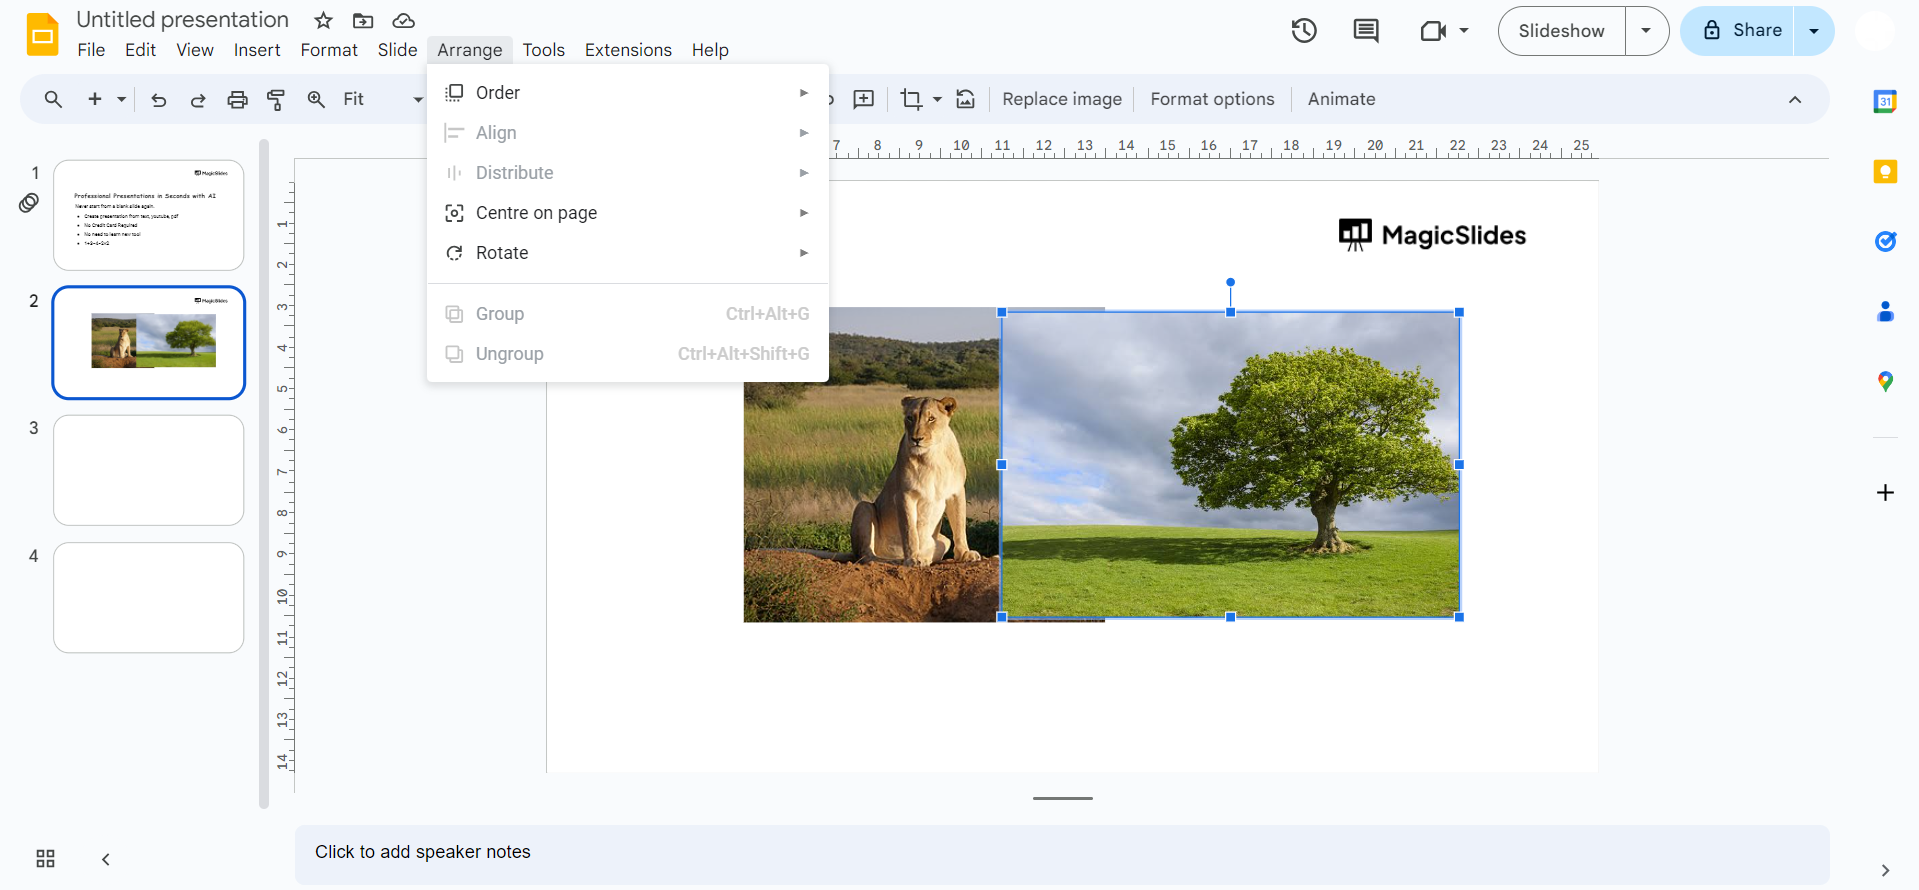
Step 5: Select "Send to Back"
In the "Order" submenu, choose "Send to Back." This action will move the selected image behind other objects on the slide.

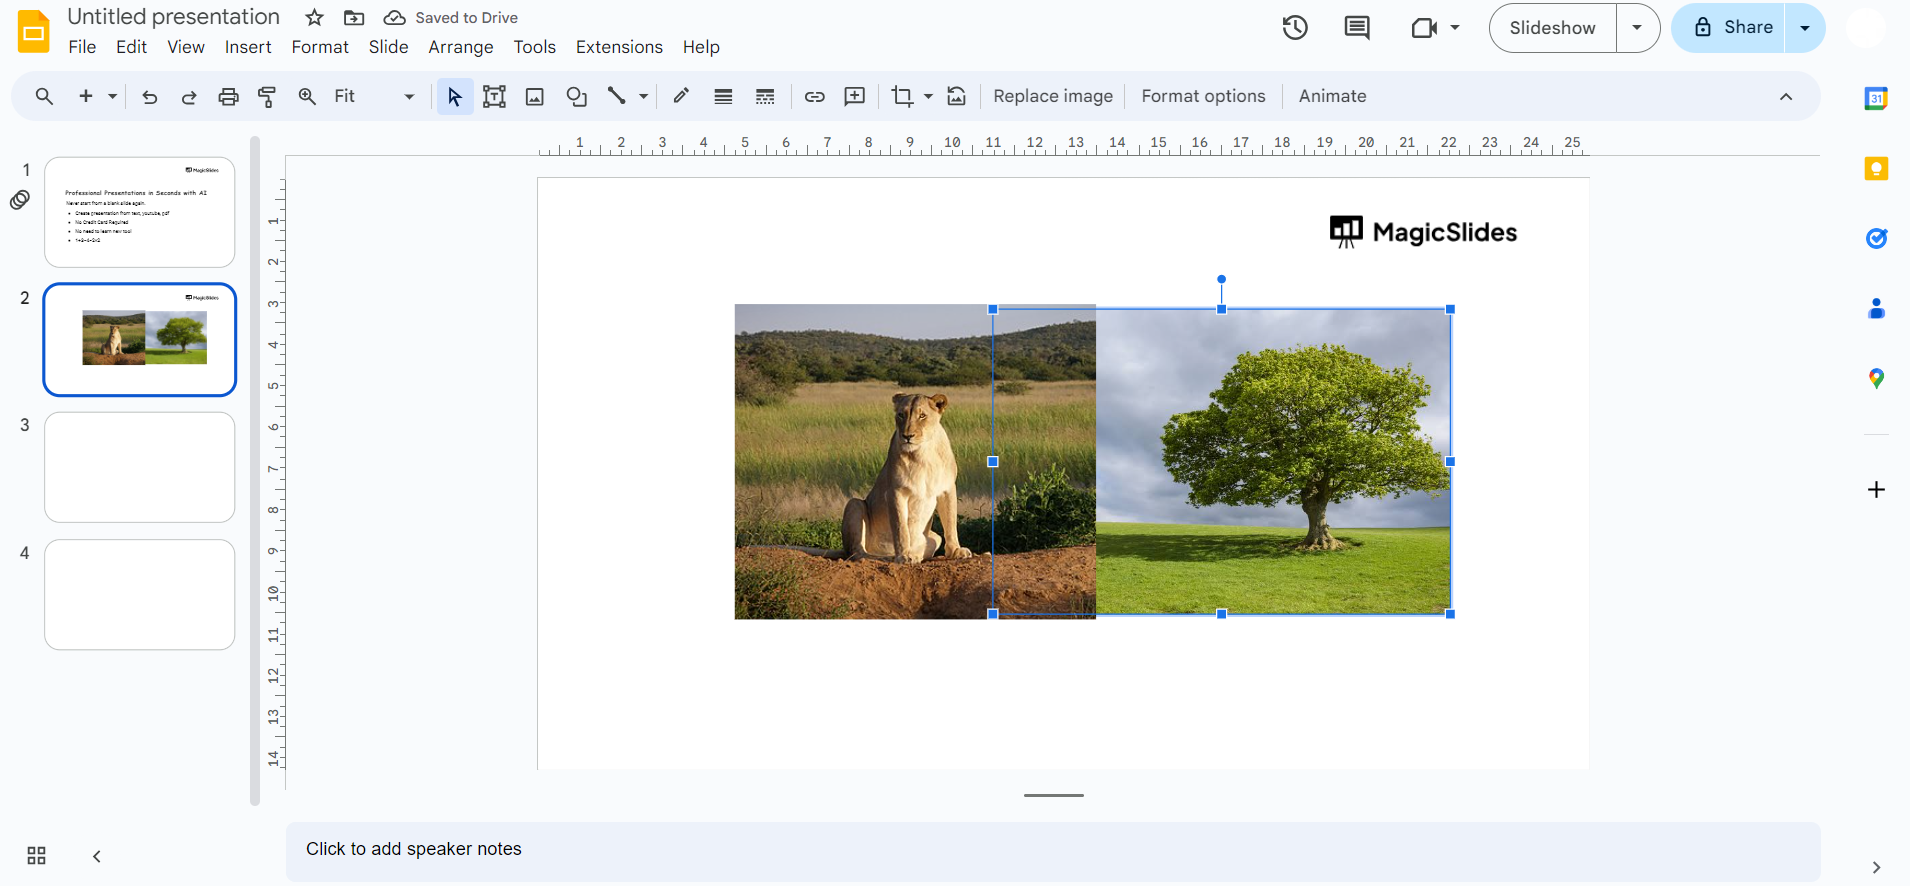
Step 6: Adjust as Needed
If there are multiple elements on the slide, you may need to repeat these steps to achieve the desired layering. Click and drag the image if you need to reposition it further.
Step 7: Save Your Presentation
Ensure to save your Google Slides presentation to preserve the changes made to the image's layering.
Conclusion:
Effectively arranging elements in your Google Slides presentation can significantly impact its visual appeal and clarity. By mastering the skill of moving images to the back, you can create a more polished and professional-looking slideshow. Use these straightforward steps to take control of the layering in your presentations, allowing your audience to focus on your content without distractions. Elevate your design game with the ability to arrange and organize elements seamlessly in Google Slides.
Frequently Asked Questions:
Can I move multiple images to the back simultaneously in Google Slides?
No, you need to repeat the process for each image individually.
Will rearranging layers affect the image's position across all slides?
No, layering adjustments are specific to the slide where you make the changes.
Can I move an image forward or backward by just one layer at a time?
Yes, you can use the "Bring Forward" or "Send Backward" options for more precise adjustments.
What if I want an image at the very back of all slides consistently?
Adjust the layering on each slide, or consider placing the image on the master slide.


