How to put Images on Shapes in Google Slides


Combine creativity and functionality by adding images to shapes in Google Slides for stunning presentations
Adding images to shapes in Google Slides is an excellent way to make your presentation visually engaging and creative.
This feature allows you to combine the power of shapes and images for a customized look, making your slides stand out.
In this guide, we’ll explore the step-by-step process of adding images to shapes in Google Slides.
How to Put Images on Shapes in Google Slides | Steps to Put Images on Shapes in Google Slides
Step 1: Open Your Google Slides Presentation
Log in to your Google account and navigate to Google Slides.
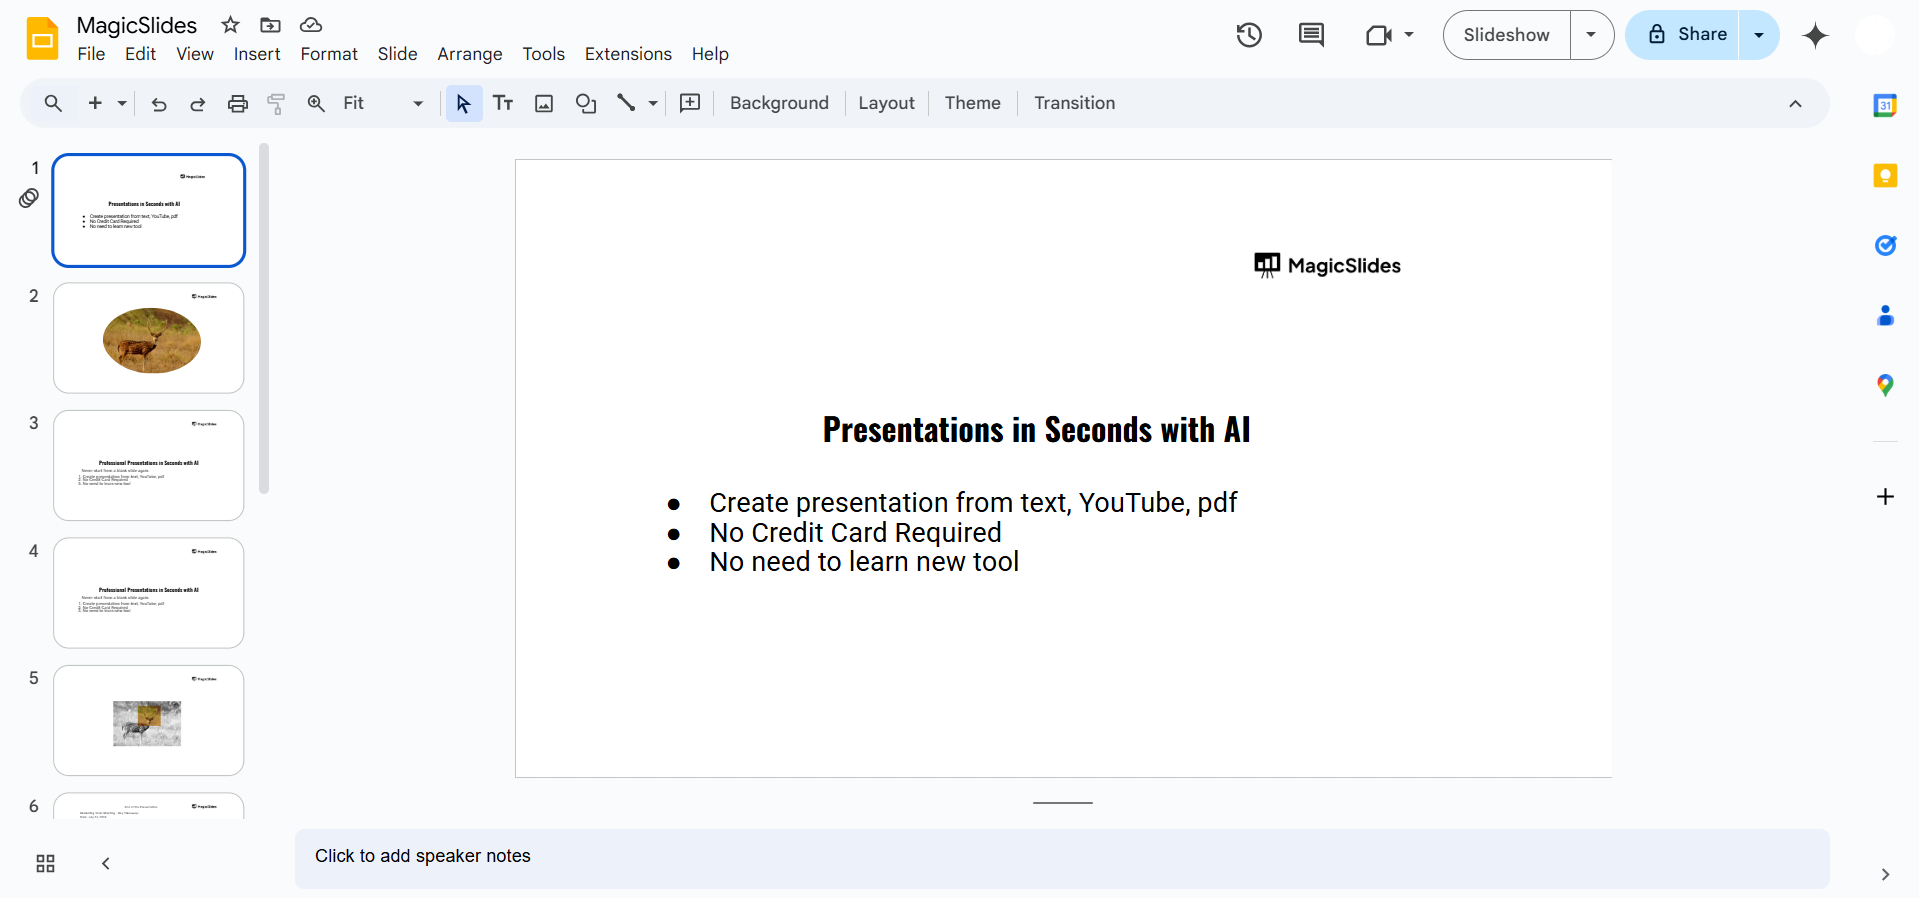
Open the presentation where you want to use this feature or create a new slide deck.
Step 2: Insert a Shape
Go to the “Insert” menu at the top of the screen. Hover over “Shape” and select a shape from the options (e.g., rectangle, circle, arrow).
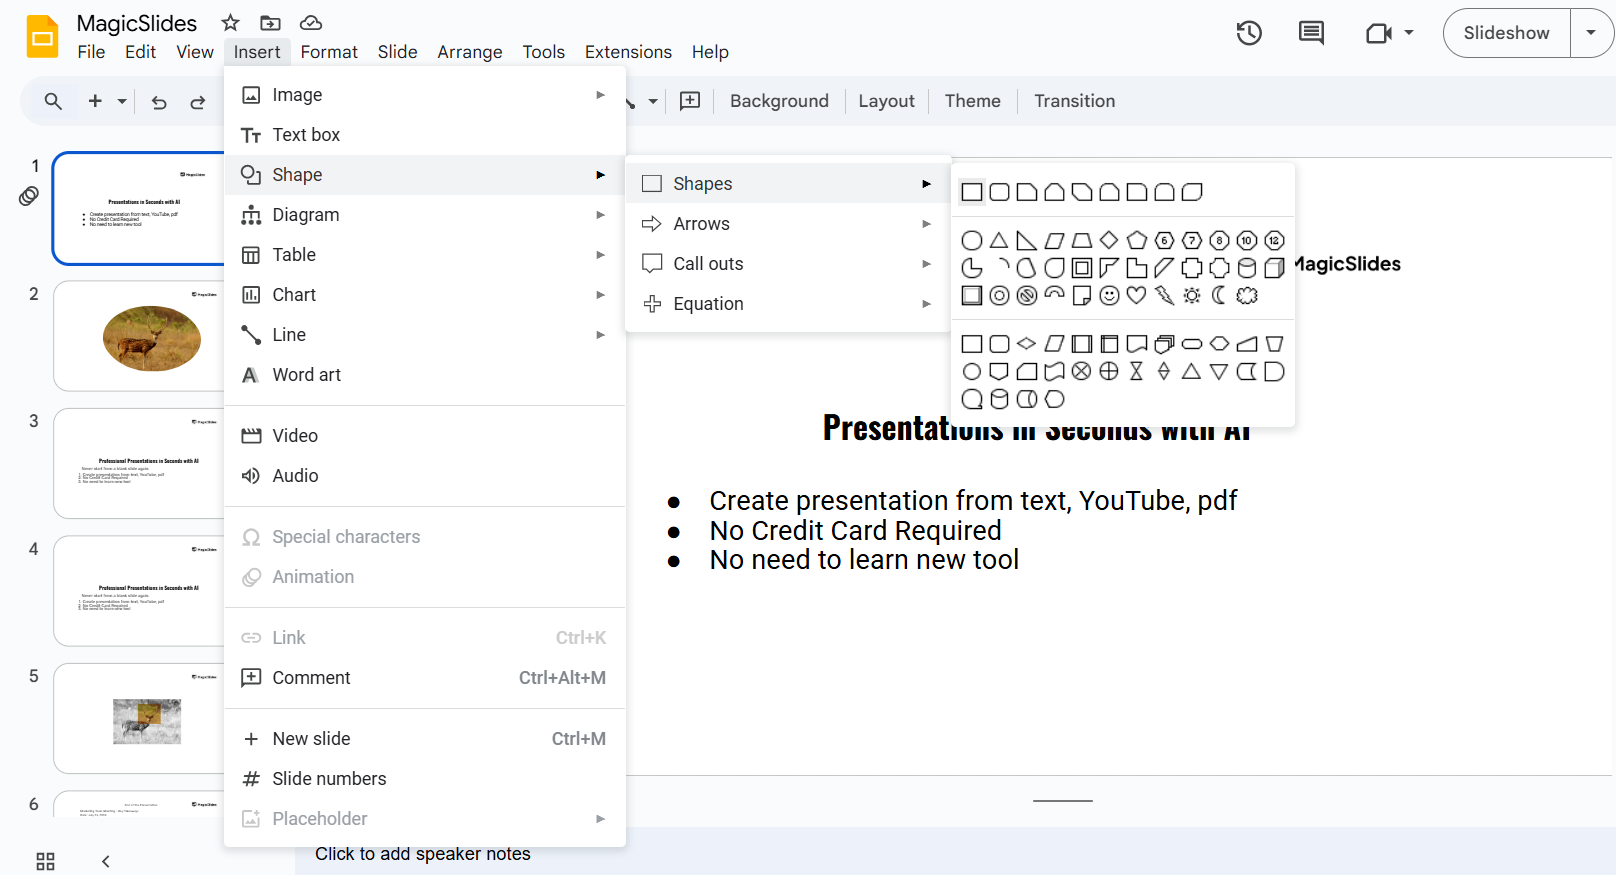
Click and drag on the slide to draw the shape in the desired size.
Step 3: Format the Shape
Click on the shape to select it.
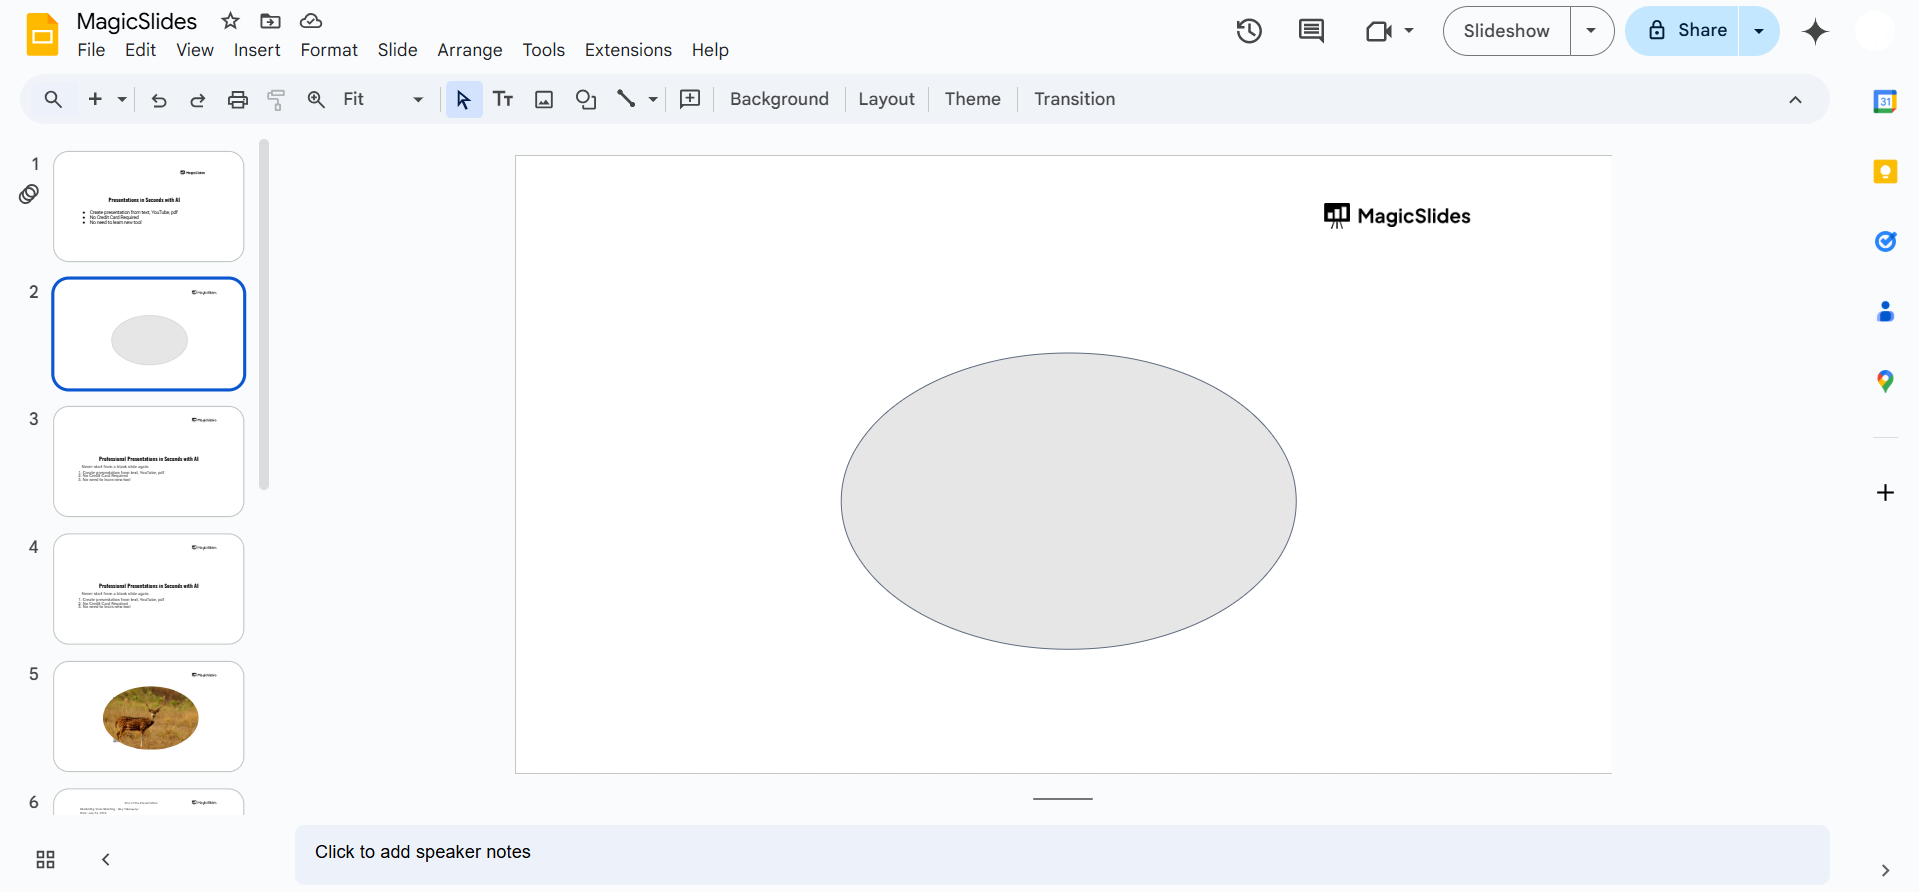
Adjust the shape’s size, position, or rotation as needed to fit your design.
Step 4: Add an Image to the Shape
Right-click on the shape and choose “Format options.”
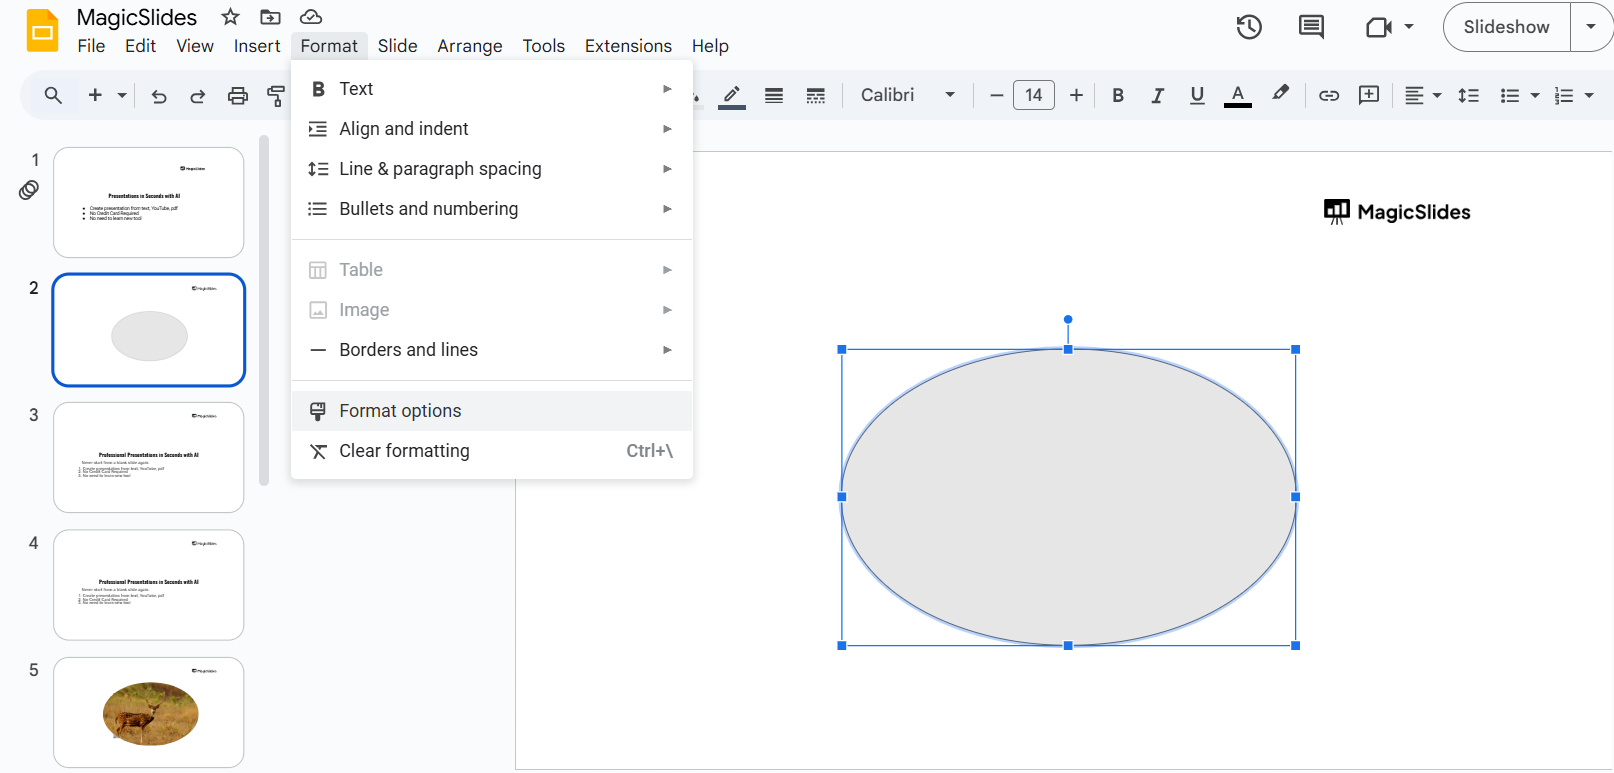
In the Format options panel, click on “Fill color.” Select “Image” or “Choose image” to upload an image from your computer, Google Drive, or the web.
Step 5: Adjust the Image Placement
Once the image is added, it automatically fills the shape. Use the Format options to adjust the image’s alignment, cropping, or scaling if needed.
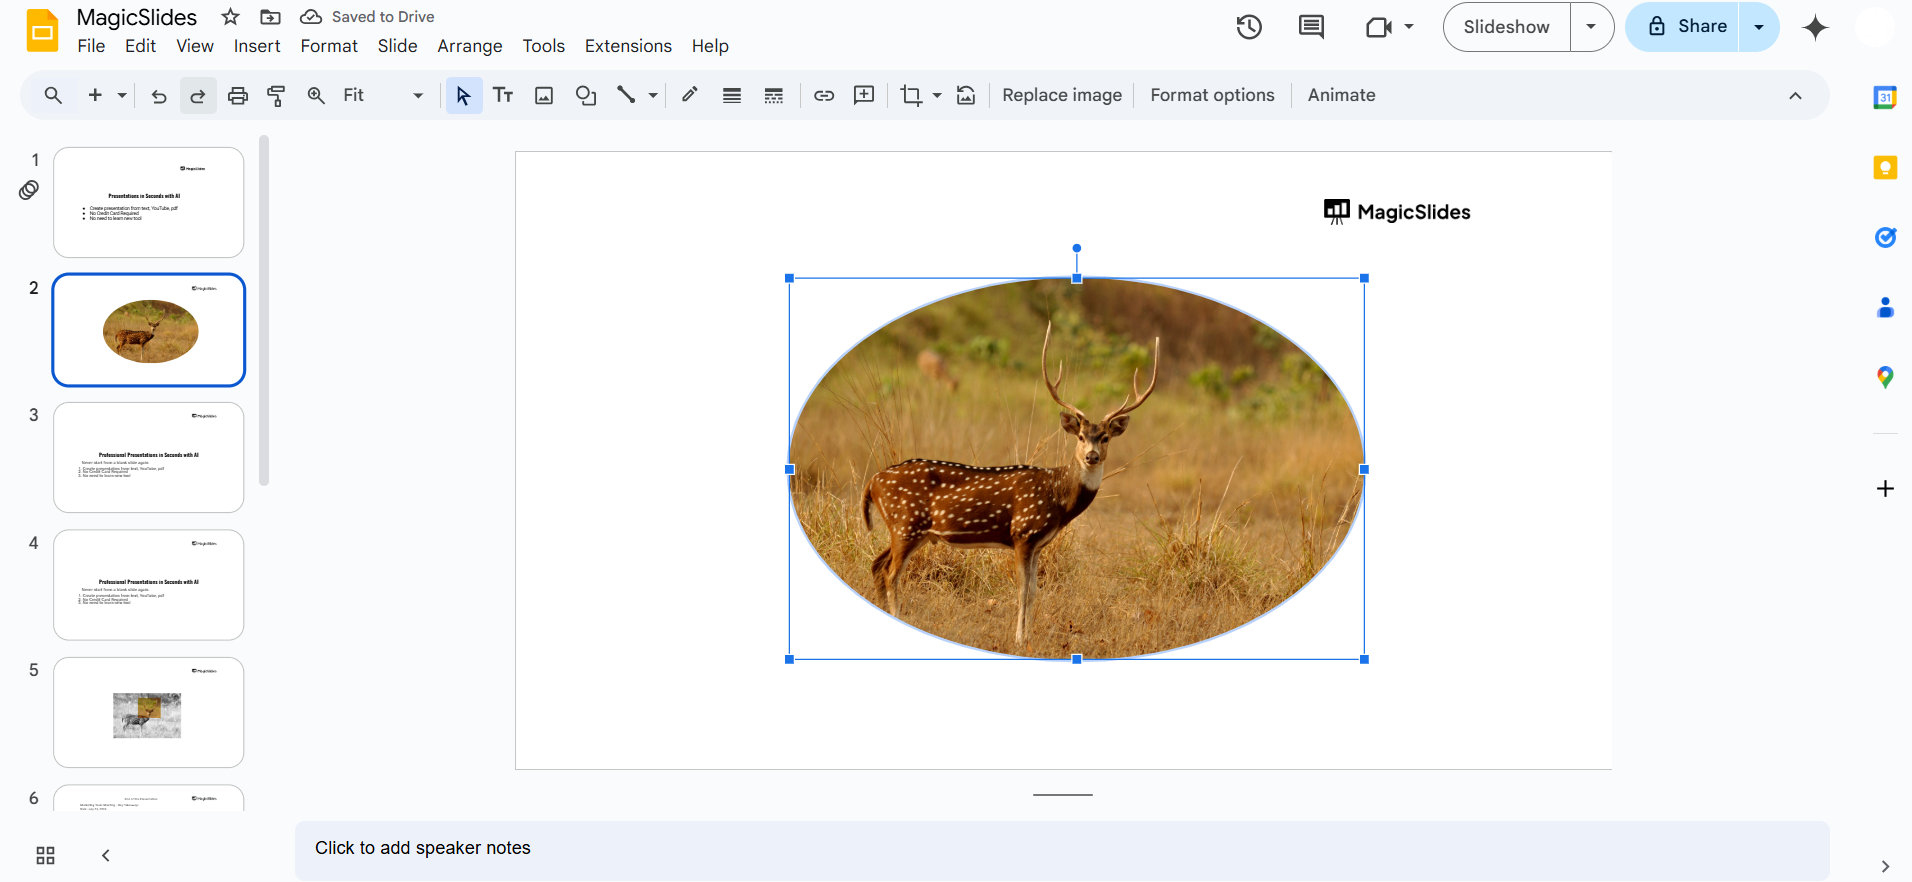
Step 6: Final Touches
Add text or other elements to complement the image-filled shape. Customize the shape’s border or shadow for additional styling.
Conclusion
Incorporating images into shapes in Google Slides is a simple yet powerful way to enhance your presentations.
By following these steps, you can create visually appealing designs that captivate your audience and effectively communicate your message.
Experiment with different shapes, images, and formatting options to make your slides unique and engaging. Now that you know how to place images on shapes in Google Slides, try adding a creative twist by learning how to arch text in PowerPoint.
FAQs on Adding Images to Shapes in Google Slides
Can I resize the image inside the shape?
Yes, use the Format options panel to crop or resize the image within the shape.
Can I use multiple images in one shape?
No, Google Slides allows only one image per shape. However, you can layer multiple shapes with different images.
What image formats are supported in Google Slides?
Google Slides supports common image formats like JPEG, PNG, and GIF for filling shapes.
With this guide, you’re all set to creatively combine images and shapes in Google Slides for stunning presentations!


