How to rotate PowerPoint slide


Learn how to effortlessly rotate slides in PowerPoint to enhance your presentations with dynamic visuals
In PowerPoint presentations, sometimes you might need to rotate a slide to better fit the content or align it with the overall design of your presentation. Whether it's adjusting the orientation of an image or flipping a slide to create a dynamic effect, knowing how to rotate slides can be a handy skill. In this guide, we'll walk you through a step-by-step process to help you easily rotate slides in your PowerPoint presentation.
How to rotate PowerPoint slide
Step 1: Open Your PowerPoint Presentation
Launch PowerPoint and open the presentation containing the slide you want to rotate. Navigate to the slide sorter view or simply select the slide thumbnail from the left-hand pane.
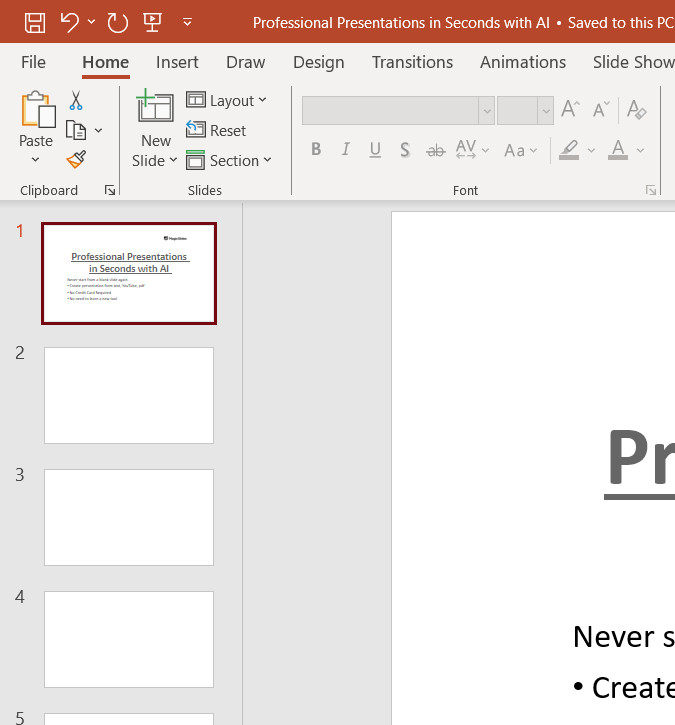
Step 2: Select the Slide to Rotate
Click on the thumbnail of the slide you want to rotate to select it. This will ensure that any changes you make apply specifically to that slide.
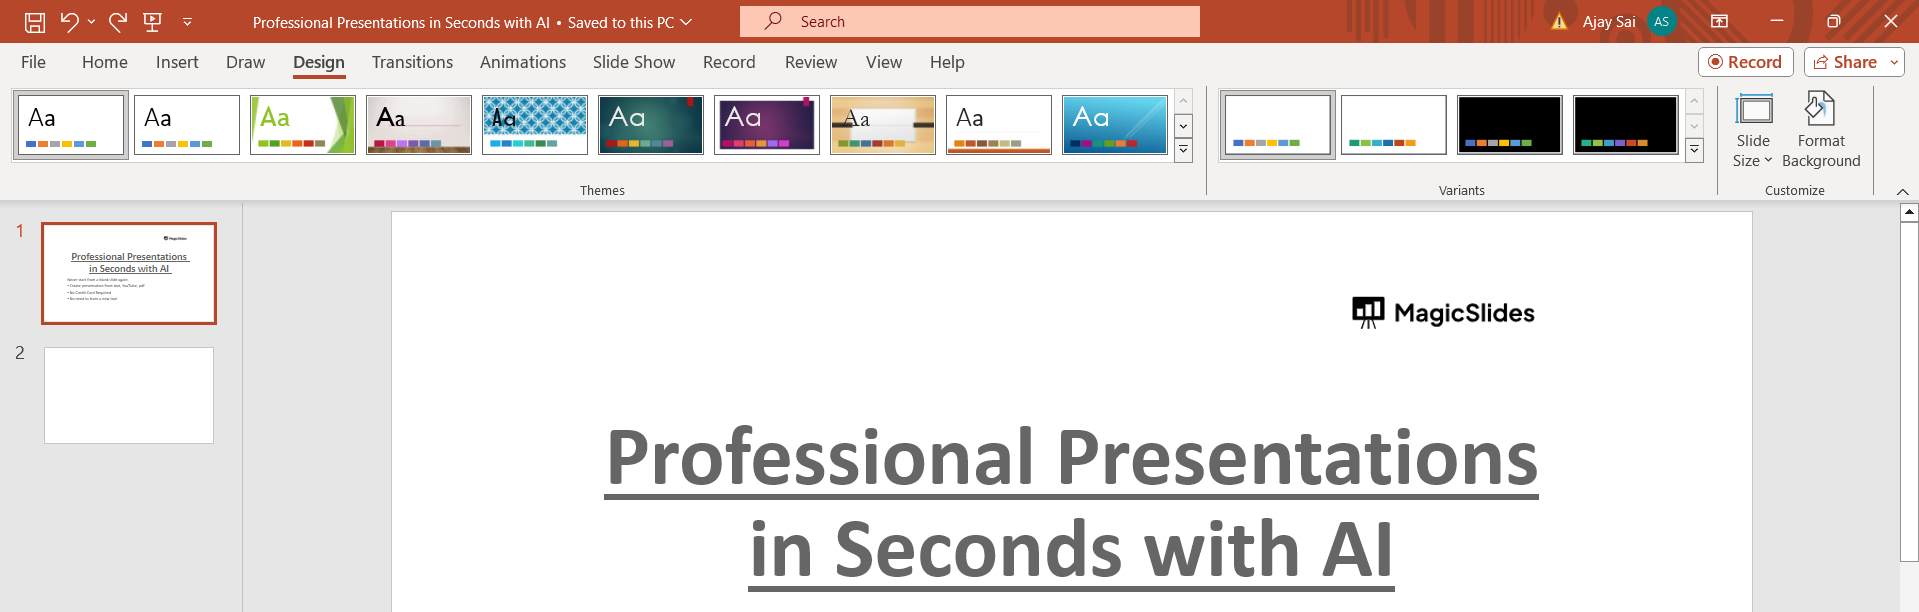
Step 3: Access the Rotate Options
With the slide selected, navigate to the "Format" tab in the PowerPoint ribbon. In the "Arrange" group, you'll find various options for manipulating the selected slide's orientation. If rotate option is not directly availbale headover to Design tab.
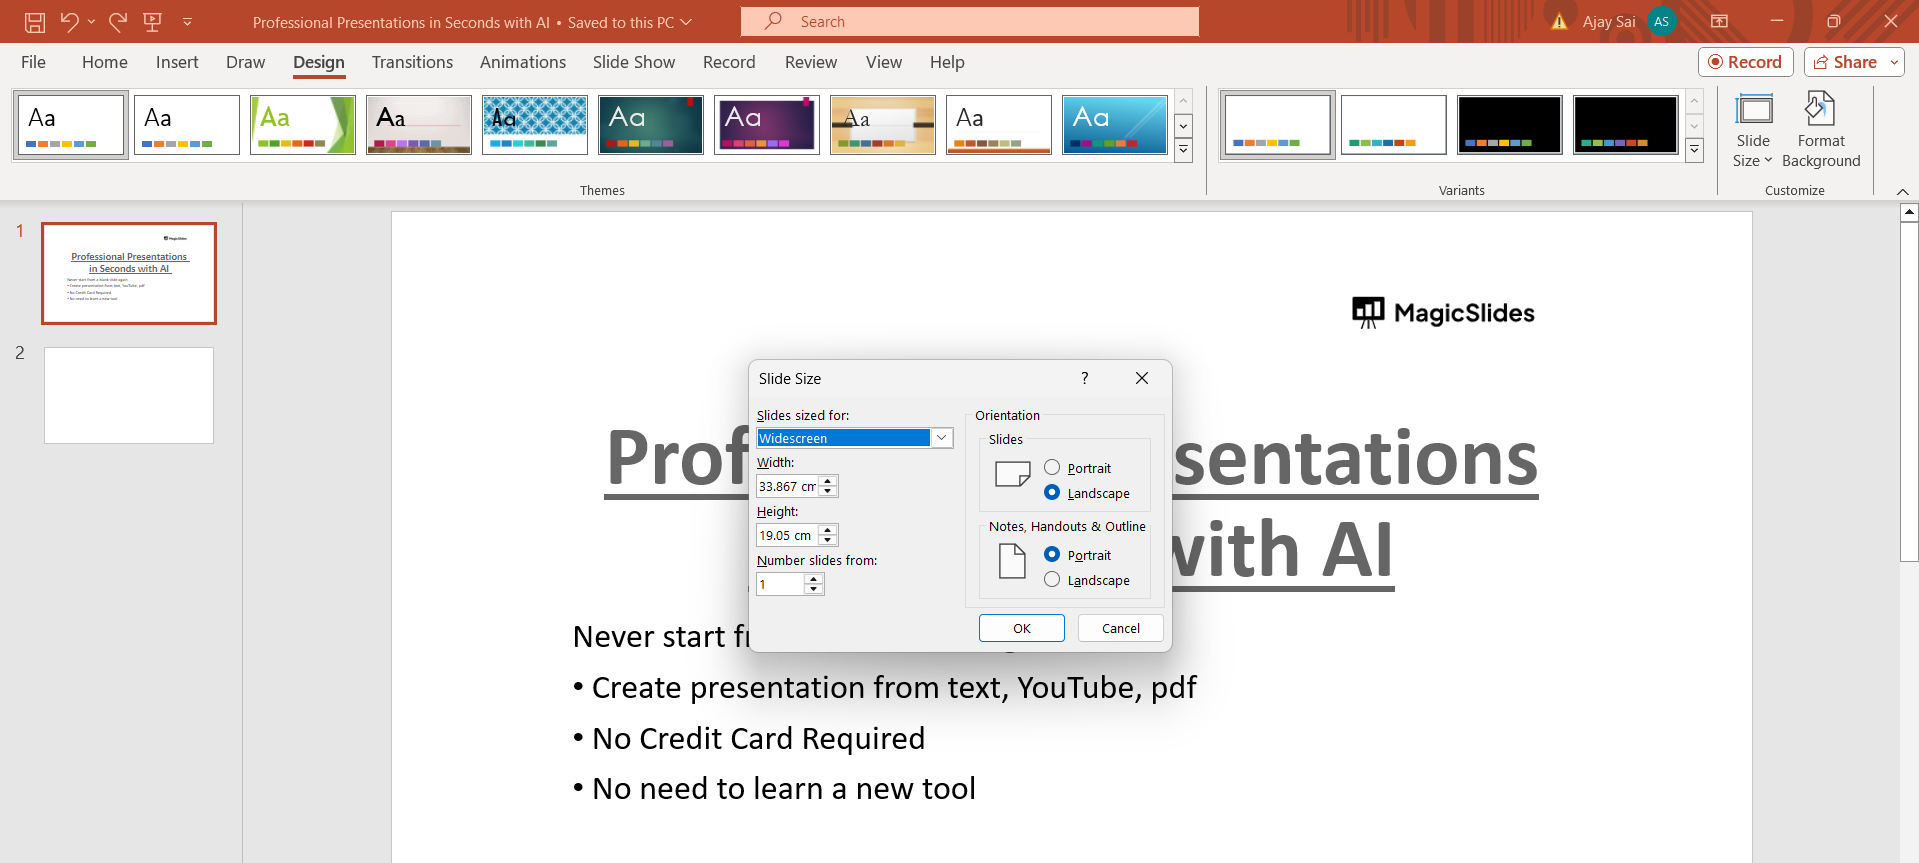
Step 4: Choose Rotation Direction
In the "Rotate" dropdown menu, you'll see options to rotate the slide clockwise or counterclockwise by 90 degrees. Select the desired rotation direction based on your preferences. If you are using newer version of PowerPoint then you may have to rotate using slides size buton in Design tab.
Step 5: Apply Rotation
Click on the rotation option you've chosen, and the selected slide will rotate accordingly. You can continue to click on the rotation option multiple times to achieve the desired orientation, you can also rotate or oriente the slide by clicking on custom sizing.
Step 6: Fine-Tune Rotation (Optional)
If you need more precise control over the rotation angle, you can use the "Rotate" option in the "Arrange" group. Click on the "Rotate" dropdown menu and select "More Rotation Options." In the dialog box that appears, enter the specific degree of rotation you want, then click "OK" to apply the changes.
Conclusion:
Rotating slides in PowerPoint is a simple yet effective way to enhance the visual appeal and organization of your presentations. Whether you're adjusting the orientation of images or creating dynamic effects with rotated slides, mastering this skill can help you deliver more engaging and polished presentations. By following this step-by-step guide, you'll be able to rotate slides in PowerPoint with ease, giving you greater flexibility in designing your slideshows and capturing your audience's attention.
Frequently Asked Questions:
Why would I need to rotate slides in PowerPoint?
Rotating slides can help optimize layout, alignment, and visual appeal for better presentation flow.
Can I rotate only certain elements within a slide?
Yes, you can rotate individual text boxes, shapes, and images using the rotation handles.
Will rotating slides affect the content or formatting?
Rotating slides maintains content integrity, but it may require adjustments for alignment and spacing.
Can I revert to the original orientation after rotating a slide?
Yes, you can undo rotations using the "Undo" feature or manually adjust the rotation back to its original state.


