Addon google slides iconPPT with AISlide TemplatesPPT TemplatesPricingBlog
PPT with AISlide TemplatesPPT TemplatesPricingBlog
  1. Home
  2. Blog
  3. How to wrap text in google slides

How to wrap text in google slides

magicslides app

Published By

magicslides app
Mohit Kumar Jha

Approved By

Mohit Kumar Jha

Published On

July 23th, 2024

Reading Time

2 min read

Text wrapping in Google Slides elevates visual appeal, enhancing message clarity and audience engagement.

In the world of visual presentations, Google Slides stands out as a powerful tool for creating engaging and informative slideshows. One of the advanced techniques you can use to enhance the visual appeal of your slides is to wrap text around objects. Whether it's an image, a shape, or any other object, this feature allows you to seamlessly integrate text and visuals for a more professional and captivating presentation. In this article, we'll walk you through the steps to achieve this effect in Google Slides, ensuring your presentations leave a lasting impression.
Step 1: Opening Your Presentation
To get started, open your Google Slides presentation. If you don't have one yet, you can create a new presentation or open an existing one from your Google Drive. Locate the slide where you want to add text wrapped around an object.
notion image
Step 2: Adding a Text Box
Position your mouse pointer precisely where you want to add your text box. This is where your text will appear. To do this:
  • Click on the slide where you want to add the text box.
  • Go to the "Insert" menu in the top toolbar.
notion image
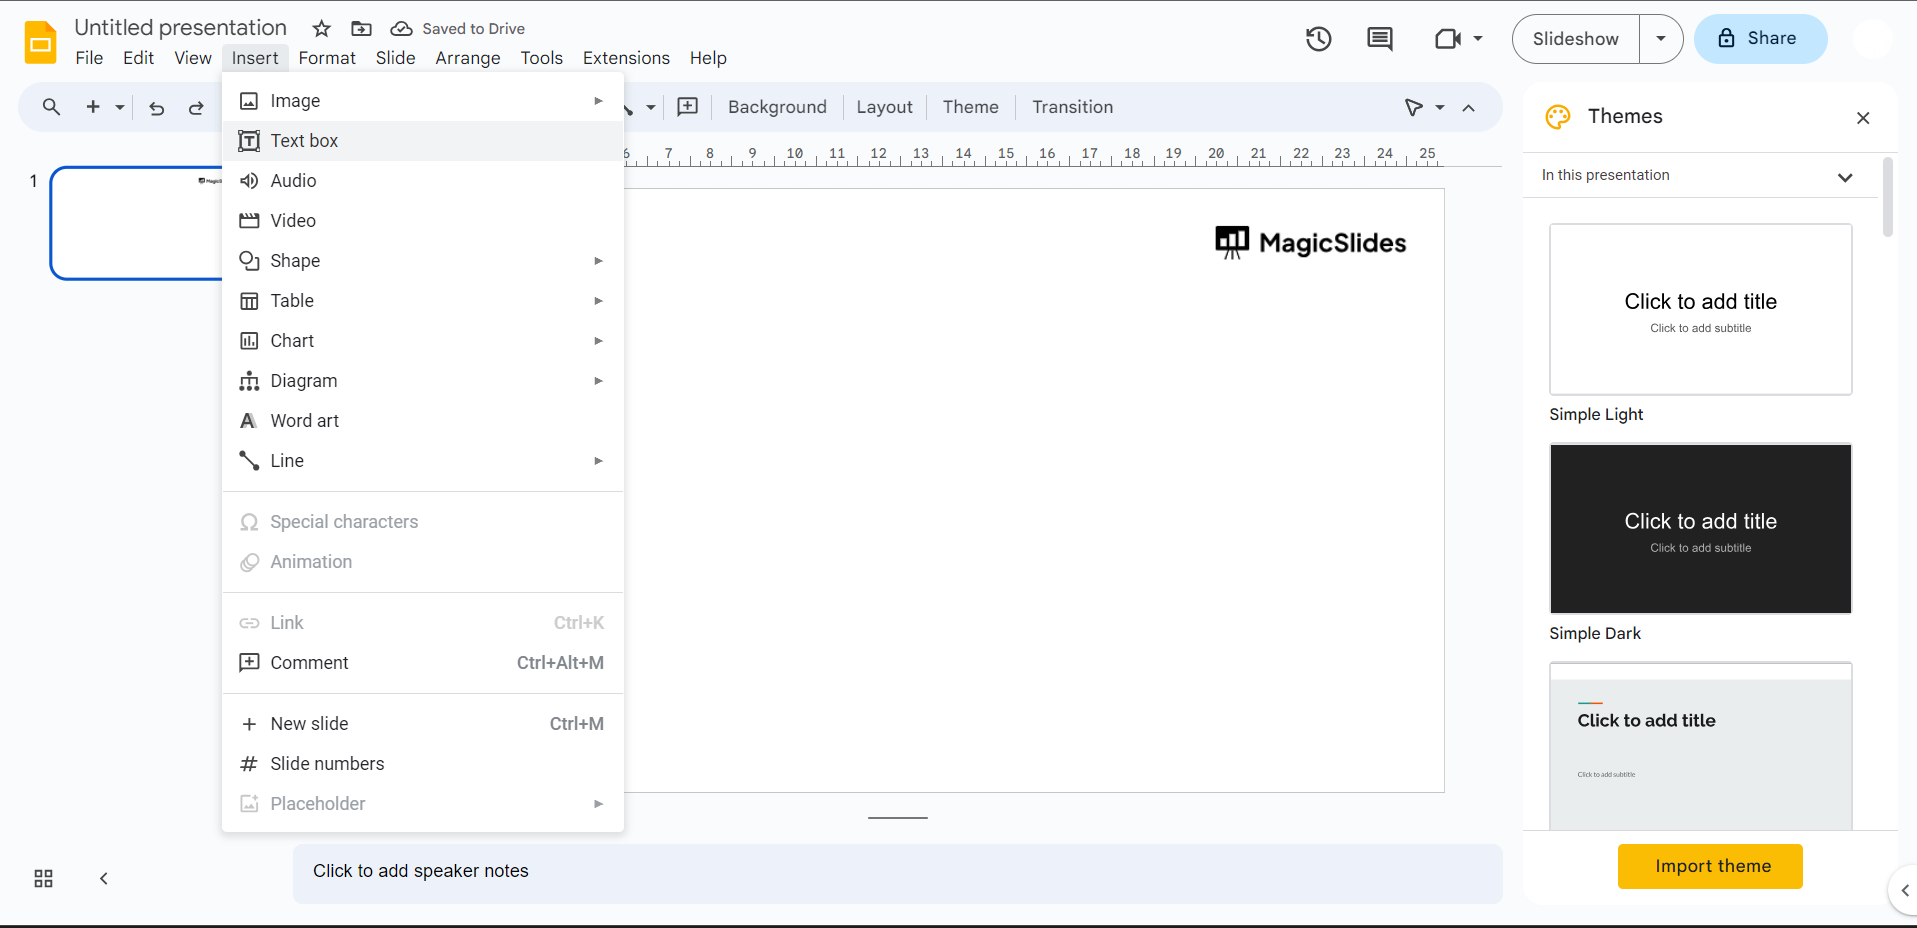
  • Choose "Text box" from the dropdown menu.
  • Click on the slide again, and a text box will appear at the selected location.
notion image
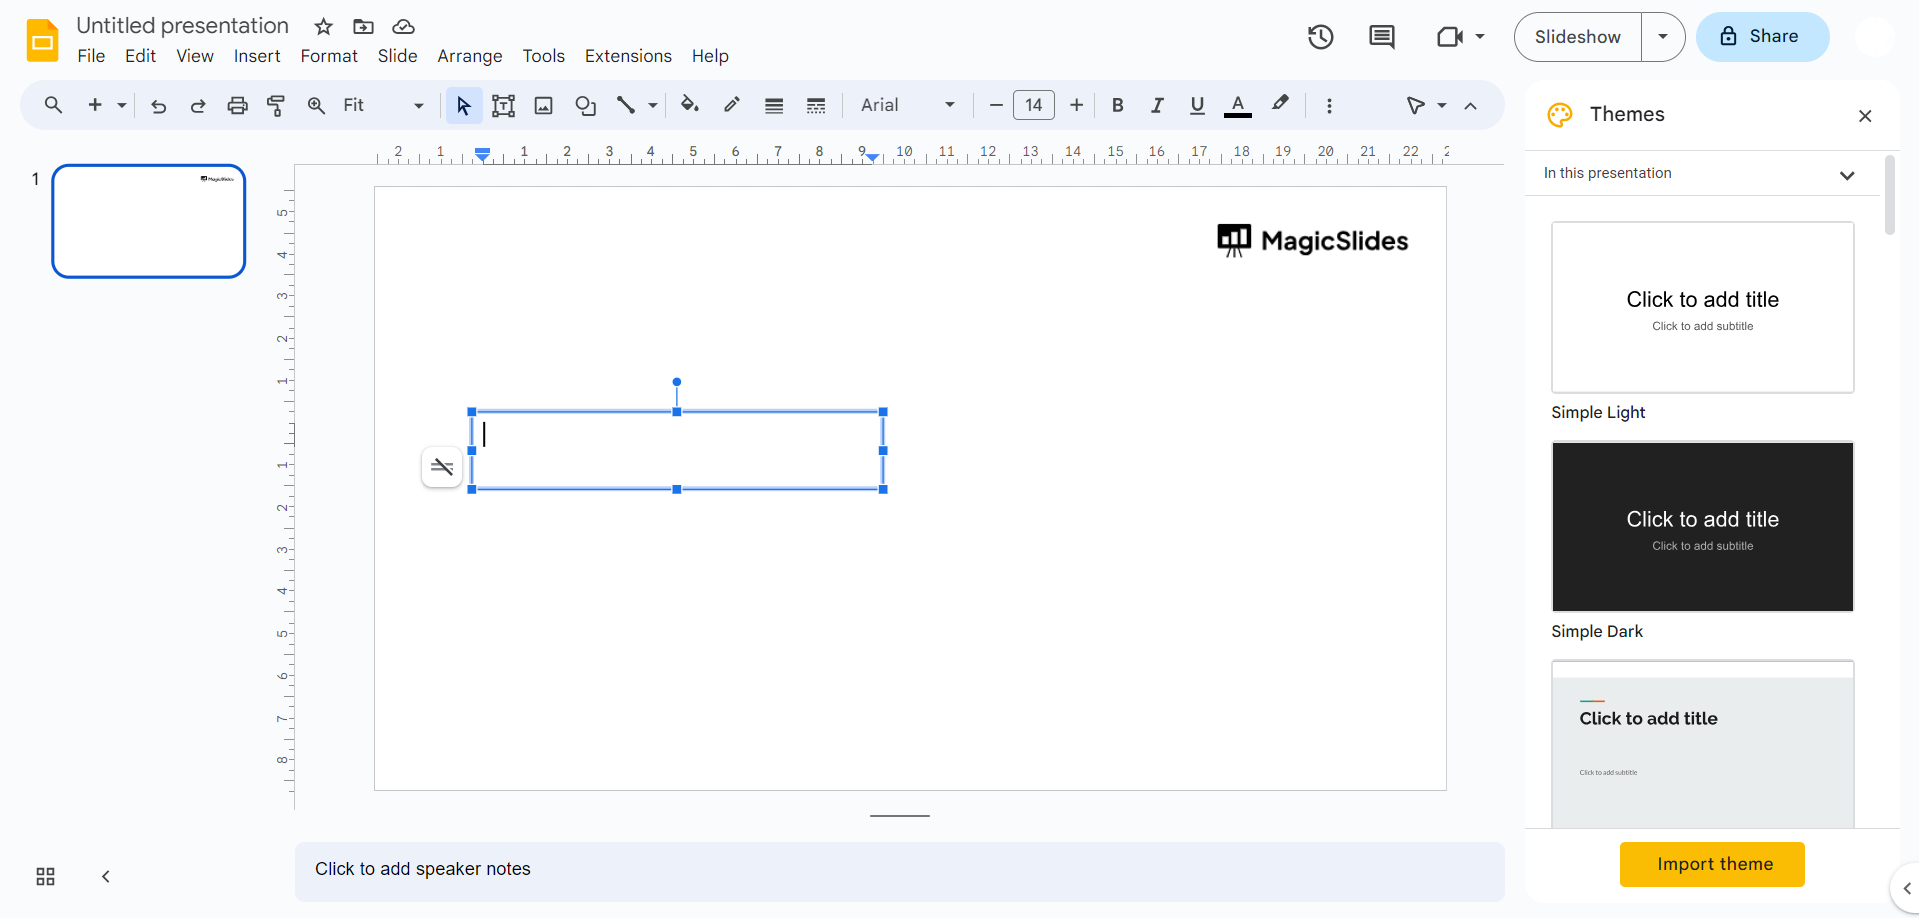
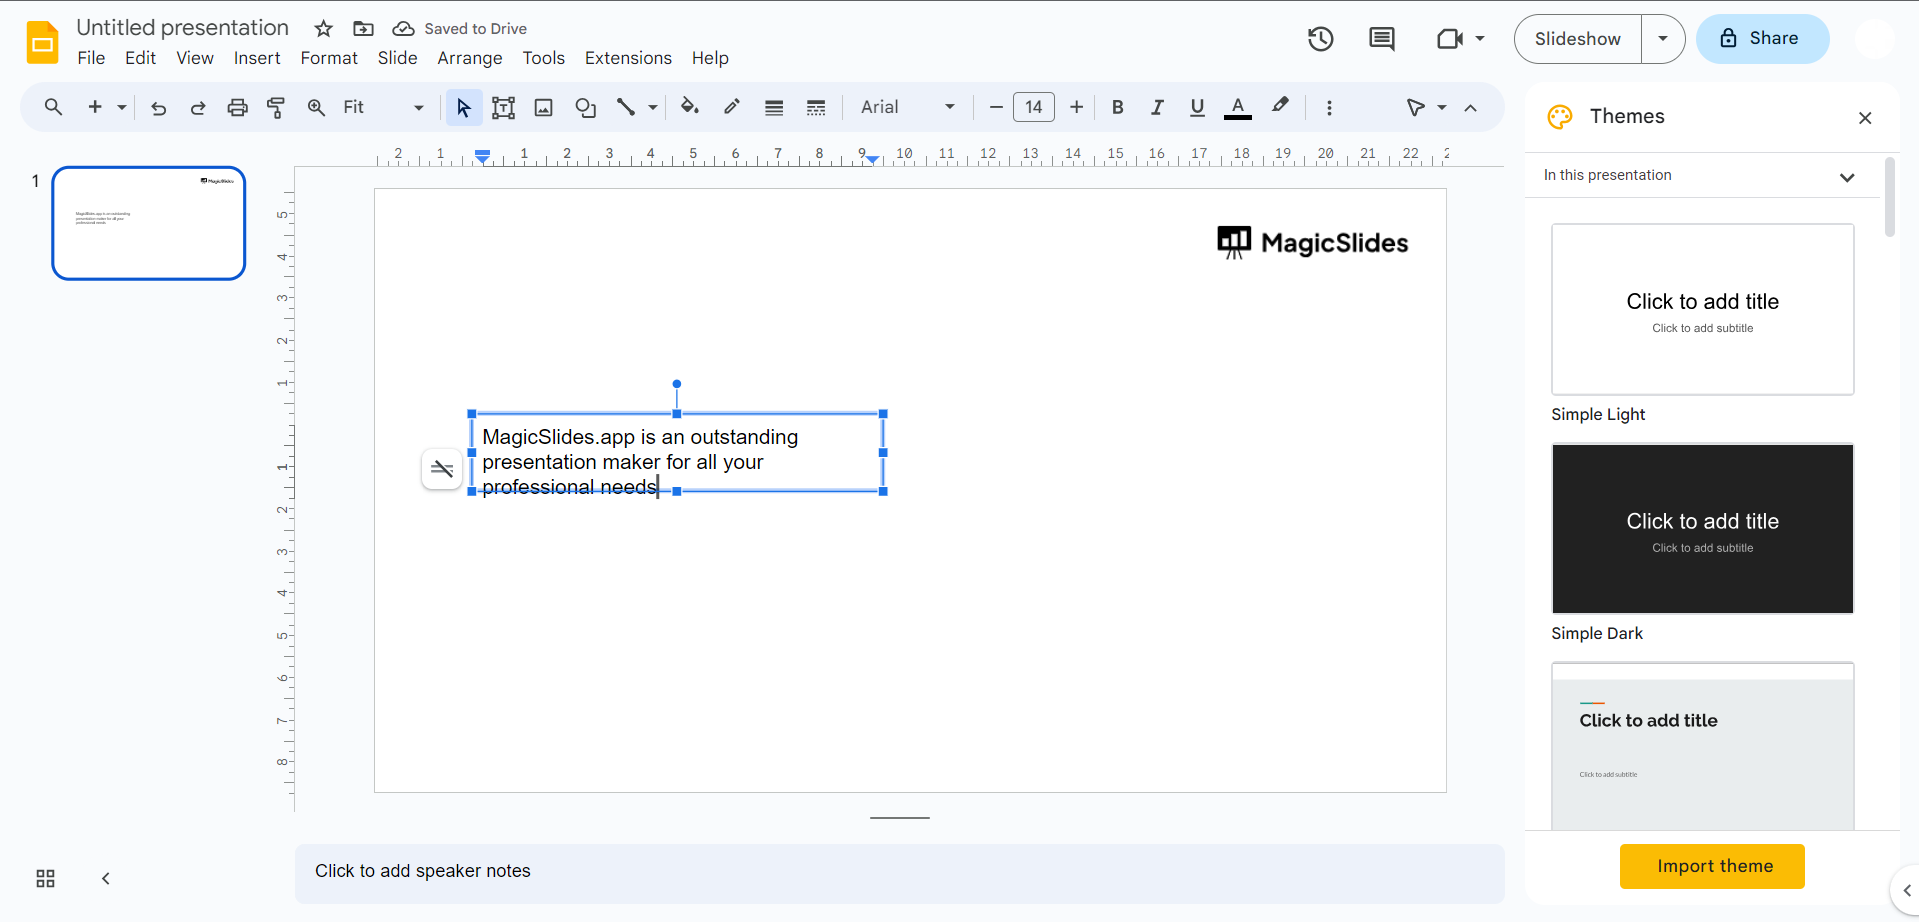
Step 3: Typing Your Message
Now that your text box is in place, simply type in your desired message. This can be any text you want to include on your slide. You have the flexibility to format and style this text as you would with any other text box in Google Slides.
notion image
 
notion image
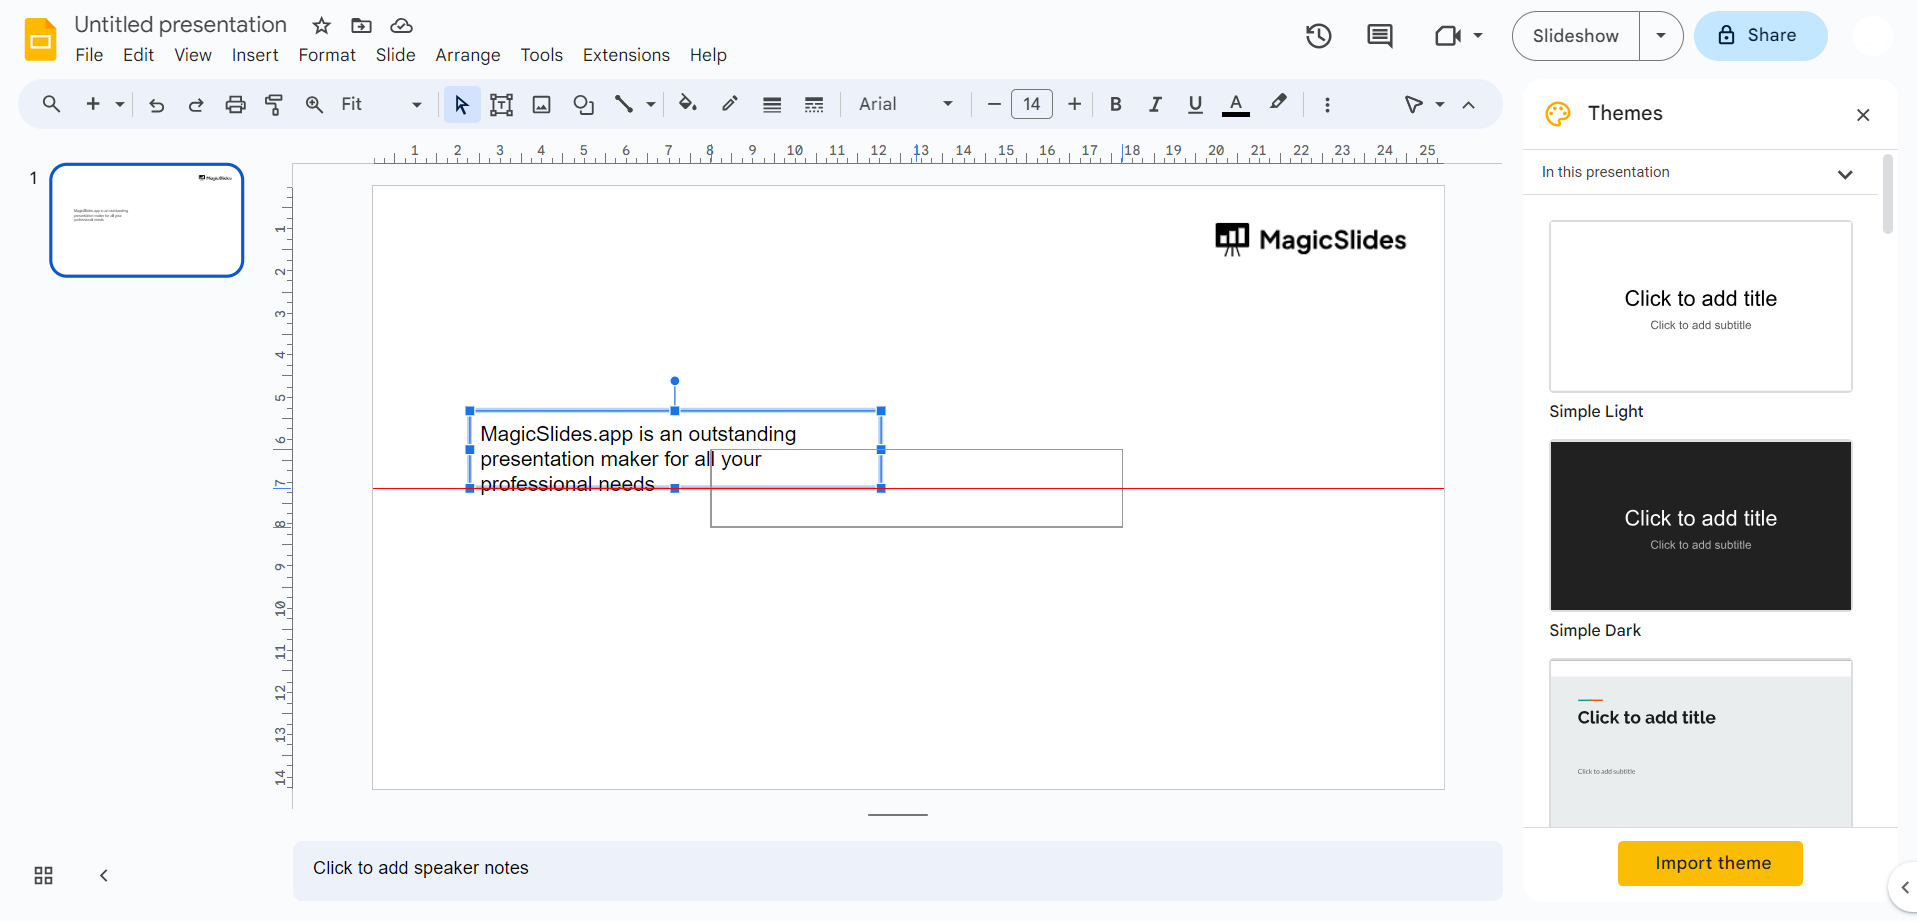
Step 4: Aligning and Wrapping Text
Position the resized text box next to the image or object you intend to wrap text around. Ensure that it's aligned correctly and that the text flows smoothly around the object. Google Slides will automatically adjust the text flow to wrap around the object you've placed it next to.
notion image
Conclusion:
By following these straightforward steps, you can easily wrap text around objects in Google Slides. This advanced feature allows you to create visually appealing and engaging presentations that effectively convey your message. Whether you're designing educational materials, business presentations, or creative projects, mastering this technique can take your Google Slides presentations to the next level, leaving a lasting impact on your audience. So, go ahead and experiment with text wrapping in your next presentation, and watch your slides come to life with enhanced visual appeal.

Share on socials

About the author

Sanskar Tiwari profile photo
Sanskar Tiwari— Founder at MagicSlides

Sanskar is Founder at IAG Tech, For the past 3 years sanskar have build more than 24+ products, taught 100k students how to code.

More from Sanskar

More from the blog

    How to add a hanging indent in google slides

    24 February 2026

    How to make images transparent on google slides

    24 February 2026

    How to add slide numbers in google slides

    24 February 2026

    How to send gifs in slack application

    24 February 2026

    How to make picture background transparent in powerpoint

    24 February 2026

    How to put text over an image in google slides

    24 February 2026

    How to Crop an Image in PowerPoint

    24 February 2026

    How to make a PowerPoint presentation into a video

    24 February 2026

    How to time google slides for 20 seconds

    24 February 2026

Table of Contents

Create Presentations in Seconds

Transform your ideas into professional presentations with AI. No design skills needed.

Try MagicSlides Free

Create Stunning Presentations with AI in Seconds ✨

Transform any topic, text, YouTube video, PDF or URL into beautiful presentations instantly with MagicSlides AI.

Try MagicSlides AI Presentation Maker
MagicSlides AI Presentation

Footer

Solutions

  • MagicSlides App
  • Google Slides Add-on
  • MagicSlides in Chrome
  • MagicSlides in Figma
  • MagicSlides in ChatGPT
  • MagicSlides in Telegram
  • MagicSlides in Zapier
  • MagicSlides in Figma Slides

Tools

  • AI PPT Tools
  • QR Code Generator
  • Design Tools
  • PPT Templates
  • Slide Templates
  • PDF Tools

Examples

  • AI Presentations
  • PPT by MagicSlides
  • Quizzes
  • Charts
  • Coloring Pages

Resources

  • Changelog
  • Documentation
  • API Docs

Top Blogs

  • How to Create Presentation Using ChatGPT
  • 100+ Best Seminar Topics for Students in 2025

Company

  • Help
  • MCP
  • Blog
  • Pricing
  • Affiliate Program
  • Manage Subscription
  • Privacy Policy
  • Contact Us
  • Terms & Conditions
  • Refund & Cancellation Policy

We also built

  • SheetAI - GPT For Sheets
  • MagicForm - GPT For Google Forms
  • SecondBrain.fyi
  • BlogBee - Free Blogging Platform

© 2026 IndianAppGuy Tech Pvt Ltd. All rights reserved.