Addon google slides iconPPT with AISlide TemplatesPPT TemplatesPricingBlog
    PPT with AISlide TemplatesPPT TemplatesPricingBlog
    1. Home
    2. Blog
    3. How to change snap options on Canva

    How to change snap options on Canva

    Ajay Sai

    Published By

    Ajay Sai

    Approved By

    Admin

    Published On

    January 12th, 2025

    Reading Time

    2 min read

    Adjust Canva's snap options to control alignment, enhance precision, or allow creative freedom in designs

    Snap options in Canva help align and position elements precisely by automatically snapping them to guides, grids, or other elements.
    Adjusting these snap options allows for more creative freedom or stricter alignment as needed.
    This guide walks you through how to modify these settings to suit your design needs.

    How to Change Snap Options on Canva | Steps to Change Snap Options on Canva

    Step 1: Open Canva and Access Your Design

    Log in to your Canva account.
    notion image
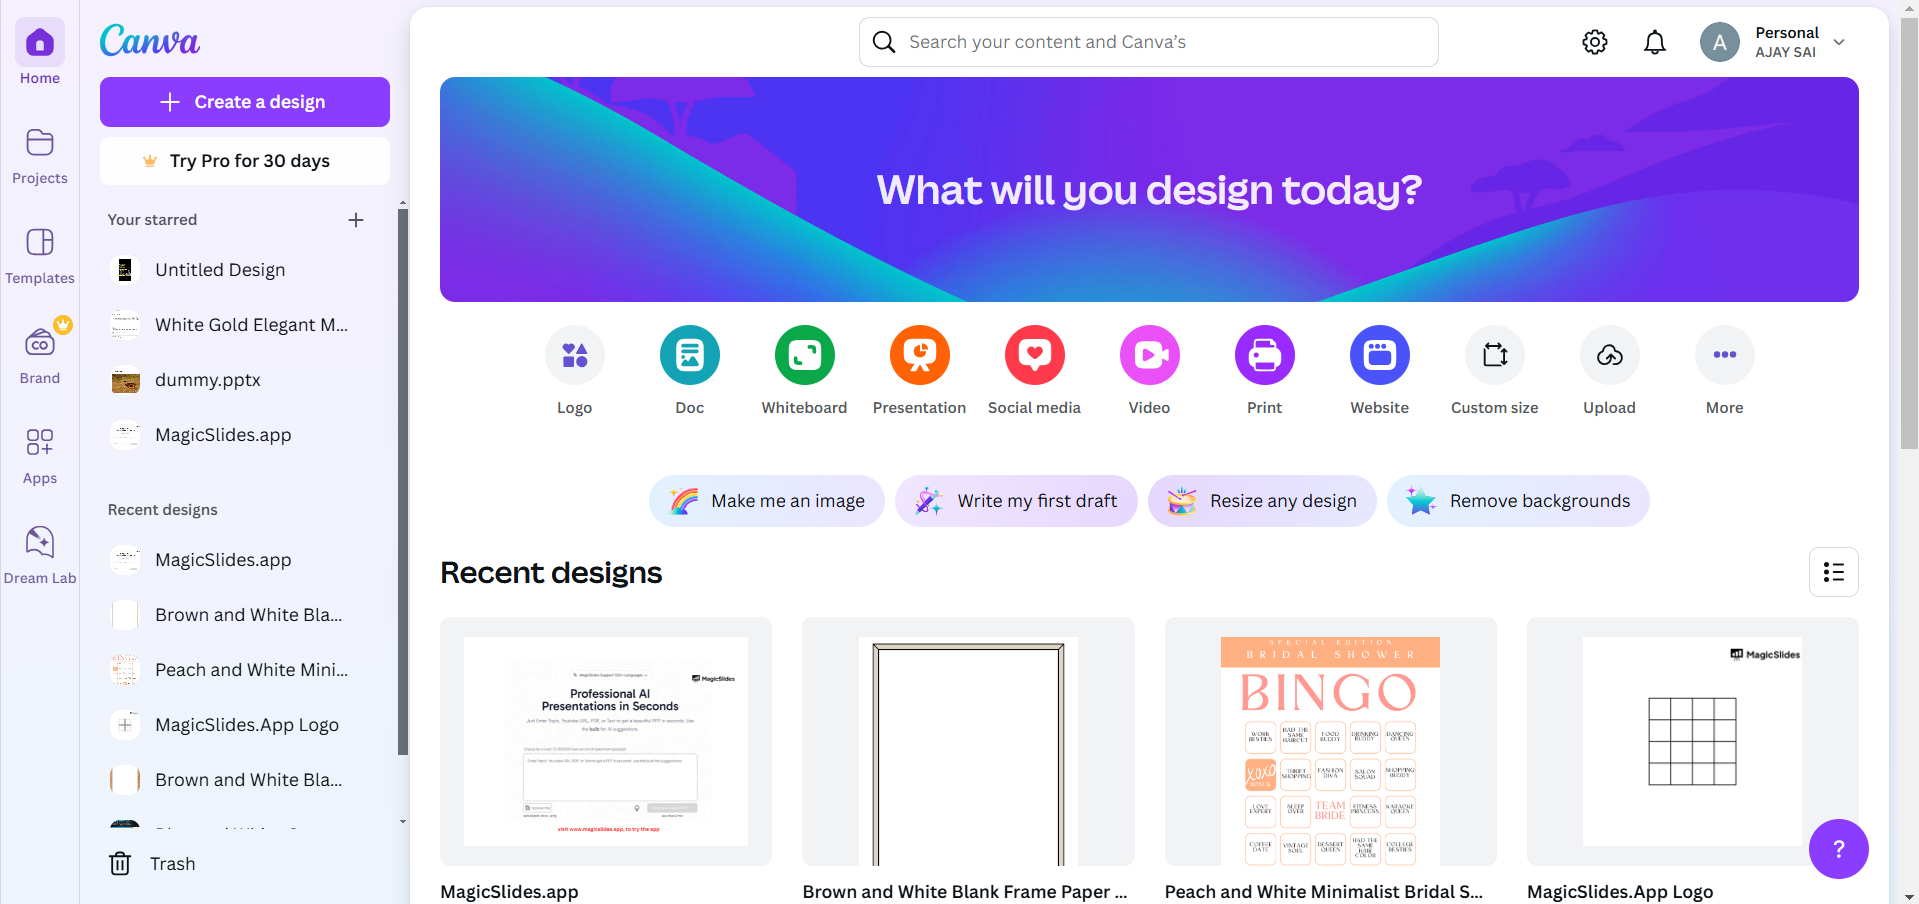
    Open an existing design or start a new one where you want to adjust the snap settings.

    Step 2: Access the Snap Settings

    Click on the “File” menu in the toolbar at the top of the Canva editor.
    notion image
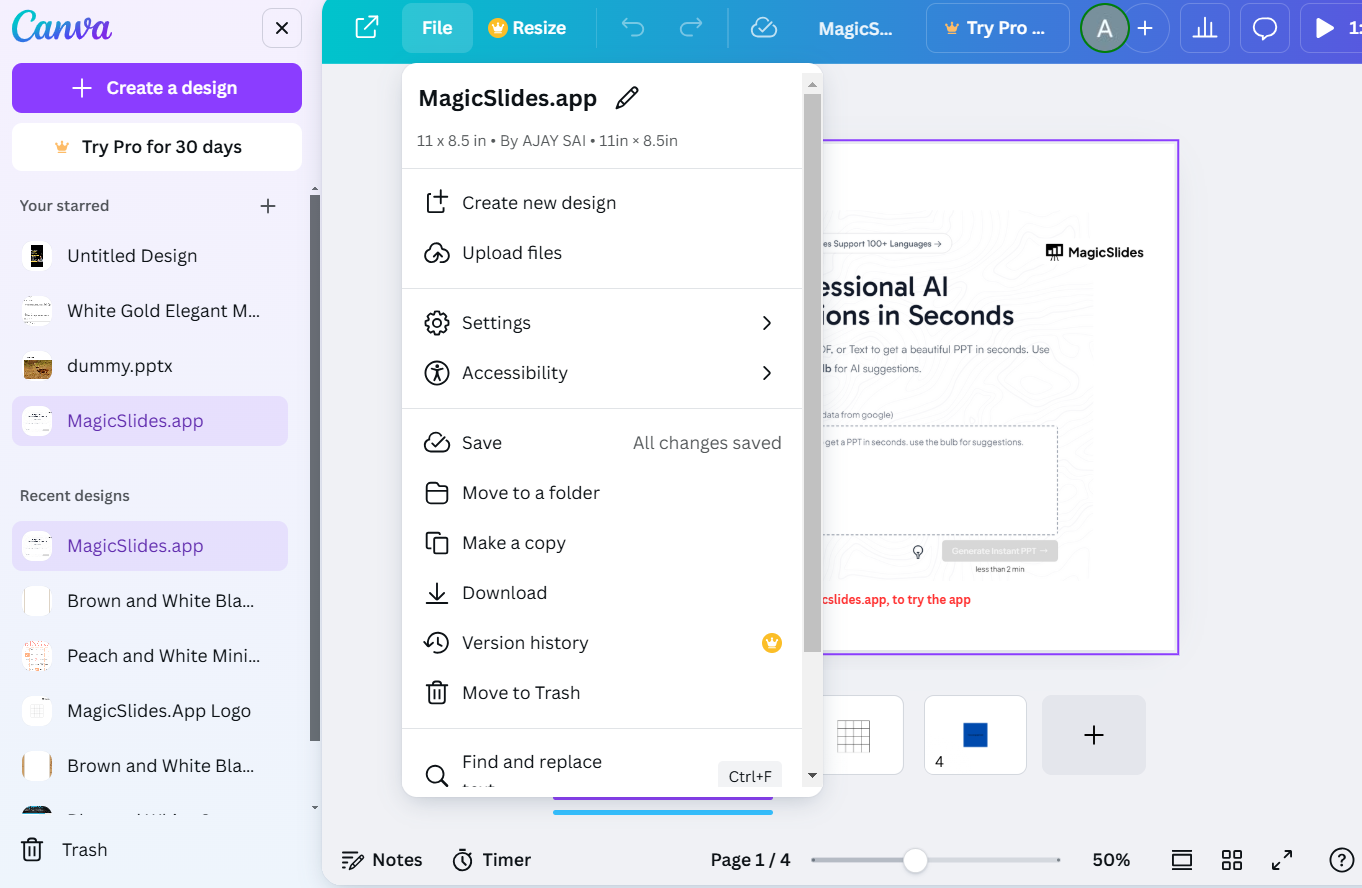
    From the dropdown menu, look for the “View Settings” or “Snap Settings” option (names may vary slightly).

    Step 3: Enable or Disable Snap Options

    To enable snapping:
    • Check the options such as “Snap to Grid” or “Snap to Element” depending on the design requirements.
    To disable snapping:
    • Uncheck the respective options to allow free movement of elements without automatic alignment.
    notion image

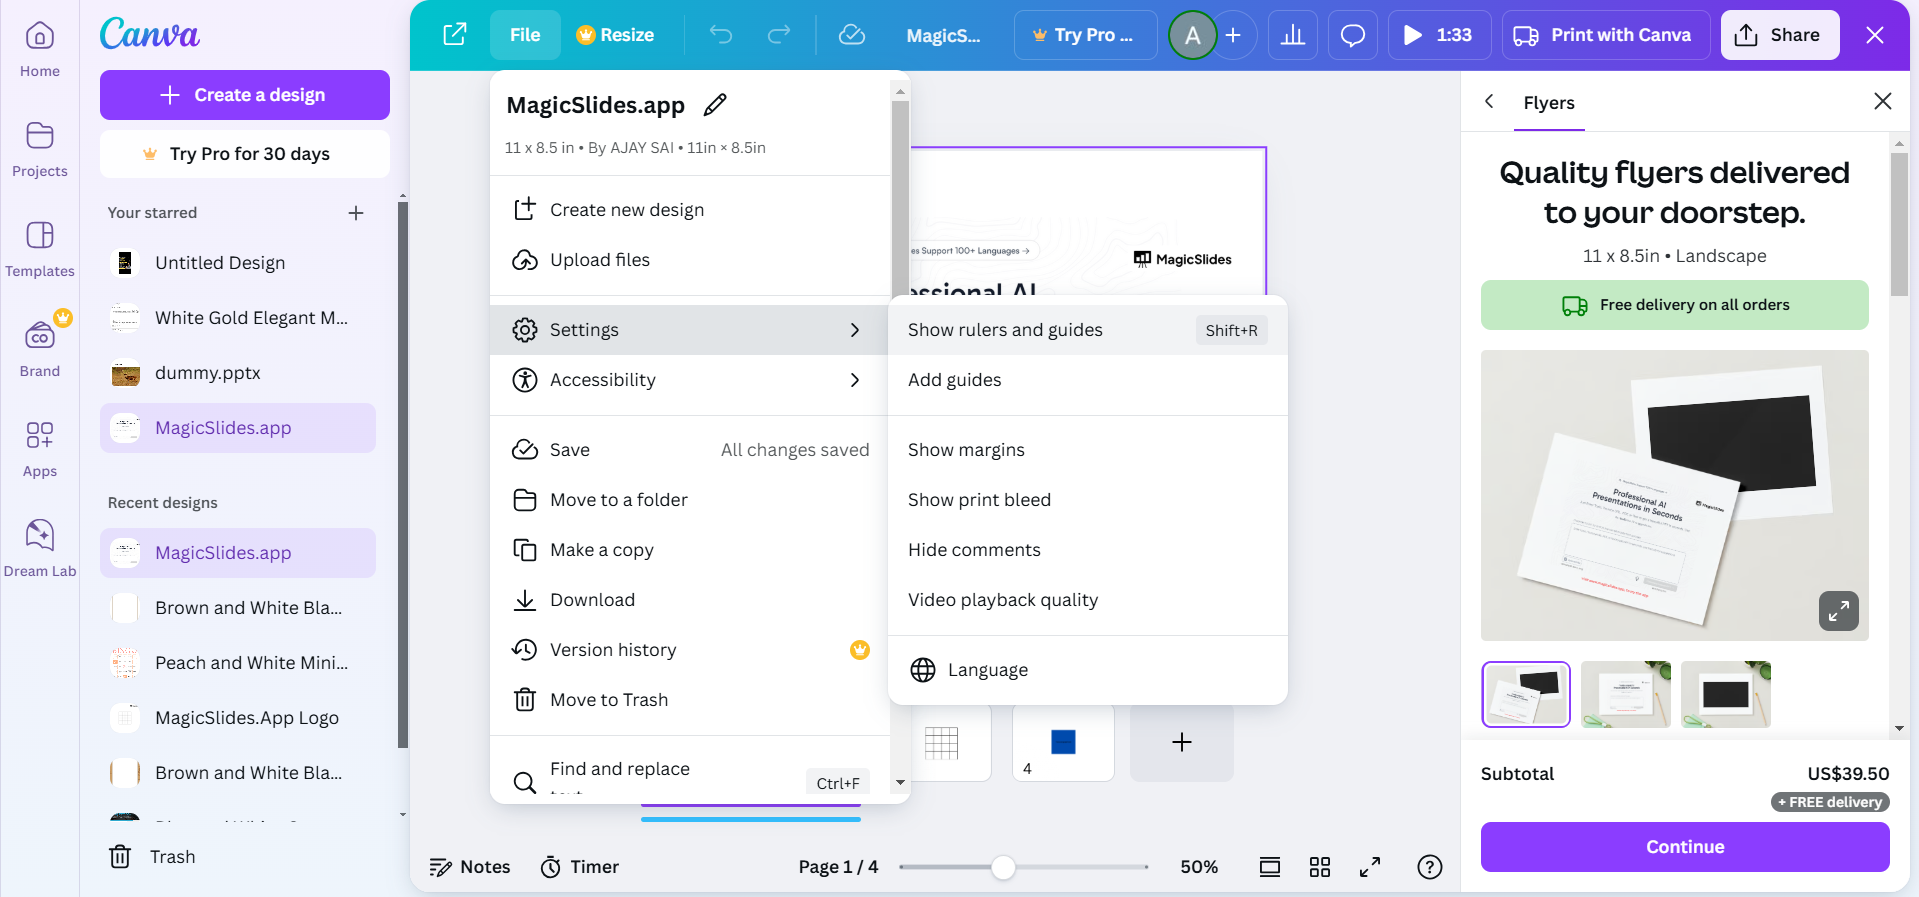
    Step 4: Customize Grids and Guides (Optional)

    If snapping to a grid or guide is active, you can customize the grid spacing by:
    • Selecting “Show Grid” from the same menu and adjusting the spacing to your preference.
    You can also manually add guides by dragging them from the rulers (if enabled) for precise alignment.
    notion image

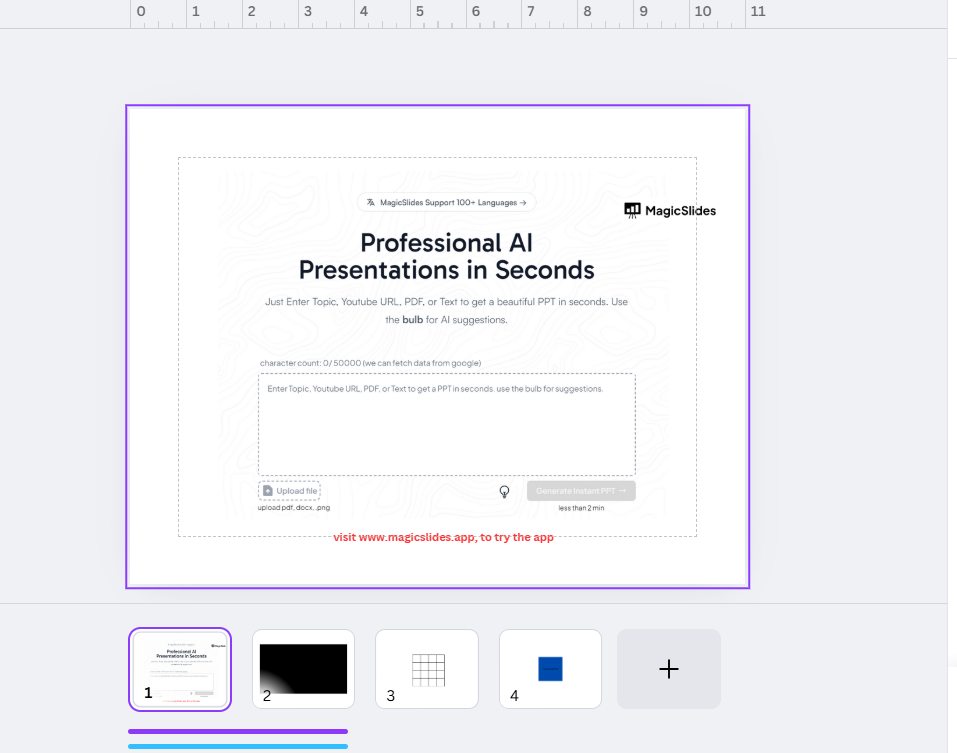
    Step 5: Test and Adjust the Settings

    Move an element within your design to see how the snapping behaves.
    If needed, revisit the snap settings to fine-tune the options for optimal usability.
    Now that you've mastered changing snap options in Canva, take your designs further by learning how to create a repeated pattern in Canva, perfect for custom backgrounds.

    Conclusion

    Changing snap options in Canva gives you better control over the alignment and positioning of elements in your designs.
    Whether you want to enable strict alignment for precision or disable snapping for creative freedom, these easy steps will help you customize your settings effortlessly.

    FAQs on Changing Snap Options in Canva

    Can I use snap options on the mobile version of Canva?

    Snap options are more accessible on the desktop version, but mobile users may have limited settings.

    How do I enable rulers and guides in Canva?

    Go to File > View Settings > Show Rulers and Guides to enable these features for better alignment.

    Can I change grid spacing in Canva?

    Yes! Under Snap Settings or View Settings, adjust the grid spacing to fit your design needs.
    With these steps, adjusting snap options in Canva becomes an intuitive process, enhancing your design workflow!

    Share on socials

    About the author

    Ajay Sai profile photo
    Ajay Sai— writer at MagicSlides.app

    Ajay have been a techincal writer for more than 2+ years. from coding tutorials to using day to day apps he have helped 100k+ visitors with their various queries

    More from Ajay

    More from the blog

      250+ Good Morning Messages for Her (Romantic, Deep, Cute & Sweet)

      30 January 2026

      200+ Heart Touching Birthday Wishes for Sister (Short, Funny and More)

      29 January 2026

      50+ History Presentation Topics For 2026

      28 January 2026

      How to Add Music to Your Canva Presentation: A Step-by-Step Guide

      27 January 2026

      15 Quick Tips To Use ChatGpt At Work

      22 January 2026

      11 Best AI Tools for Business in 2025

      22 January 2026

      How to Create an Infographic That Clearly Communicates Your Message

      20 January 2026

      How to Create a Sales Presentation Template in Google Sheets

      20 January 2026

      How to Make a Pie Chart on Google Slides in Simple Steps

      19 January 2026

    Table of Contents

    Create Presentations in Seconds

    Transform your ideas into professional presentations with AI. No design skills needed.

    Try MagicSlides Free

    Create Stunning Presentations with AI in Seconds ✨

    Transform any topic, text, YouTube video, PDF or URL into beautiful presentations instantly with MagicSlides AI.

    Try MagicSlides AI Presentation Maker
    MagicSlides AI Presentation

    Footer

    Solutions

    • MagicSlides App
    • Google Slides Add-on
    • MagicSlides in Chrome
    • MagicSlides in Figma
    • MagicSlides in ChatGPT
    • MagicSlides in Telegram
    • MagicSlides in Zapier
    • MagicSlides in Figma Slides

    Tools

    • AI PPT Tools
    • QR Code Generator
    • Design Tools
    • PPT Templates
    • Slide Templates
    • PDF Tools

    Examples

    • AI Presentations
    • PPT by MagicSlides
    • Quizzes
    • Charts
    • Coloring Pages

    Resources

    • Changelog
    • Documentation
    • API Docs

    Top Blogs

    • How to Create Presentation Using ChatGPT
    • 100+ Best Seminar Topics for Students in 2025

    Company

    • Help
    • MCP
    • Blog
    • Pricing
    • Affiliate Program
    • Manage Subscription
    • Privacy Policy
    • Contact Us
    • Terms & Conditions
    • Refund & Cancellation Policy

    We also built

    • SheetAI - GPT For Sheets
    • MagicForm - GPT For Google Forms
    • SecondBrain.fyi
    • BlogBee - Free Blogging Platform

    © 2026 IndianAppGuy Tech Pvt Ltd. All rights reserved.