How to crop a Shape in PowerPoint


Cropping shapes in PowerPoint adds a custom touch, helping create unique visuals that enhance presentations
Cropping shapes in PowerPoint can add a custom touch to your slides, helping you create unique designs and focus your audience’s attention on specific parts of an image.
By following these steps, you’ll learn how to crop shapes easily in PowerPoint, giving you more flexibility and control over your presentation visuals.
How to Crop a Shape in PowerPoint: A Step-by-Step Guide
Step 1: Open PowerPoint and Insert a Shape
Start by opening your PowerPoint presentation and navigate to the slide where you want to crop a shape.
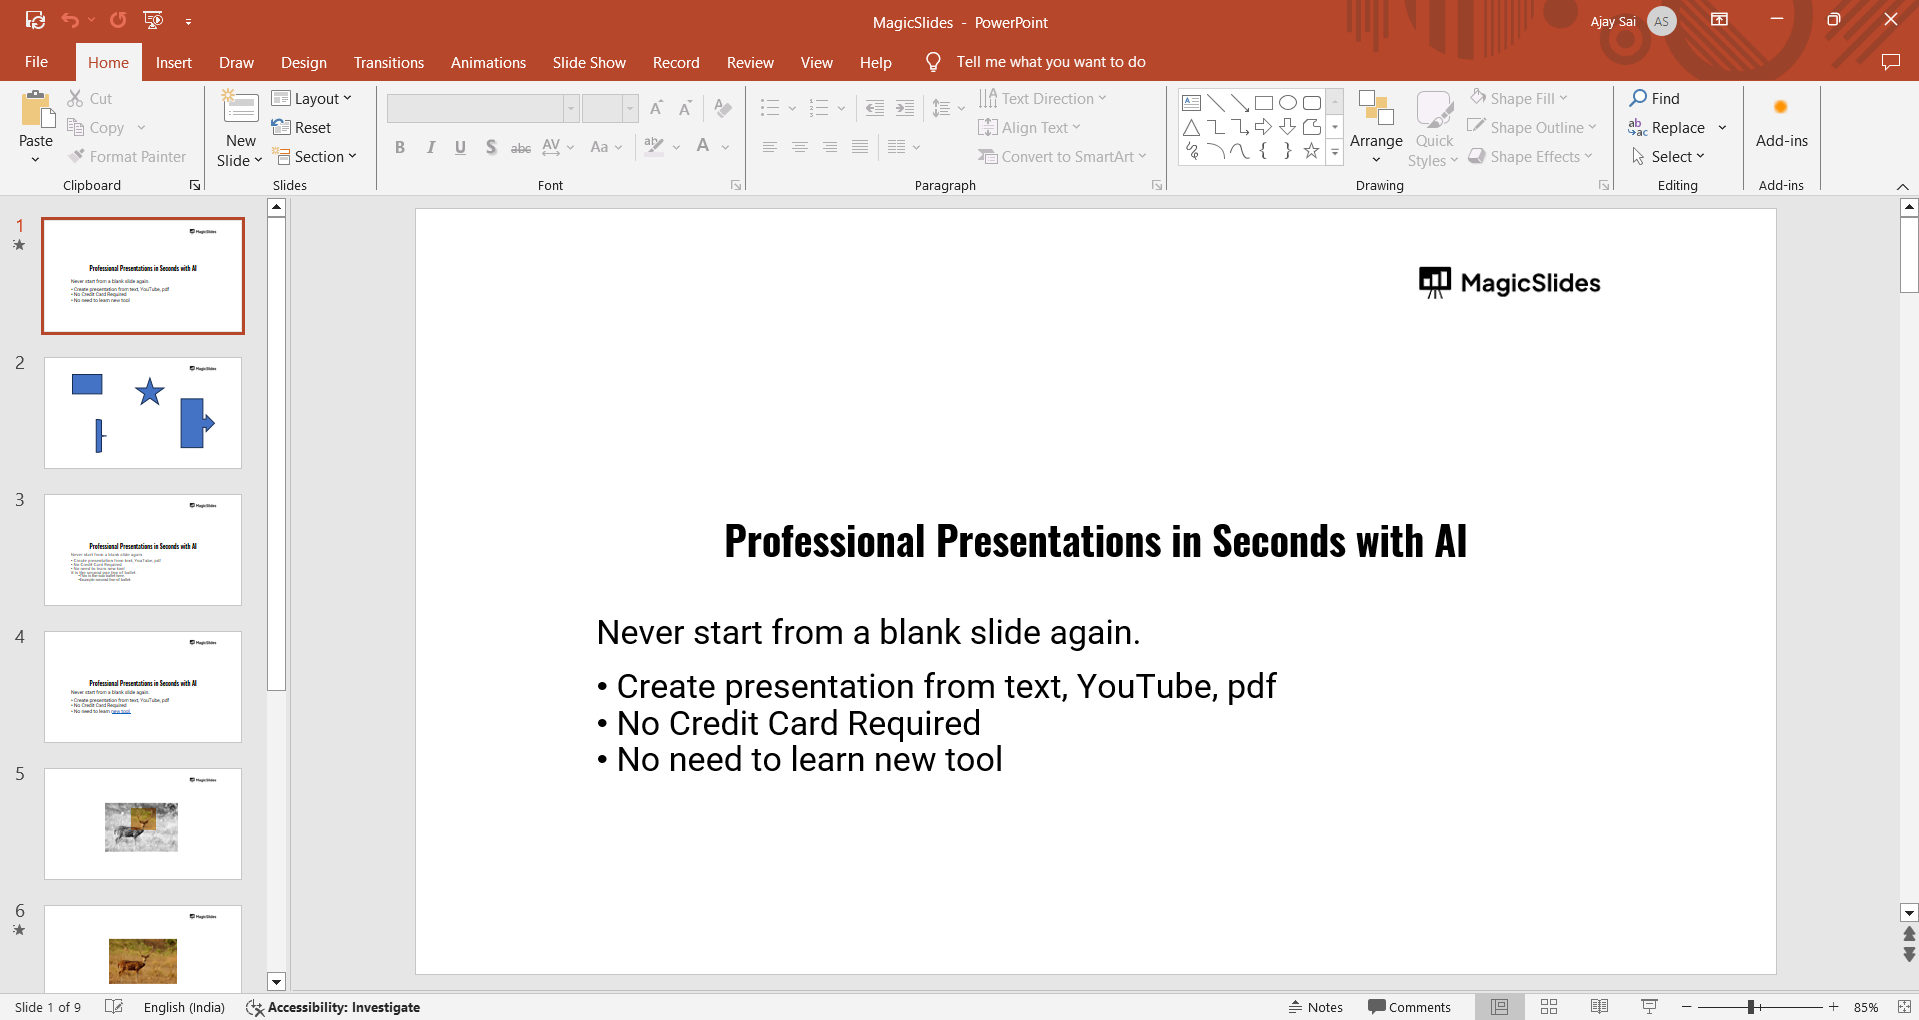
Go to the "Insert" tab, click on "Shapes," and choose the shape you want to use. Once selected, click on the slide to place the shape.
Step 2: Insert an Image to Crop
Next, go to the "Insert" tab, click on "Pictures," and choose the image you want to crop into the shape.
Resize and position the image so it fits within the slide but doesn’t exceed the area where you want it cropped.
Step 3: Use the "Picture Fill" Option
Select the shape you inserted, go to the "Format" tab, and find the "Shape Fill" option.
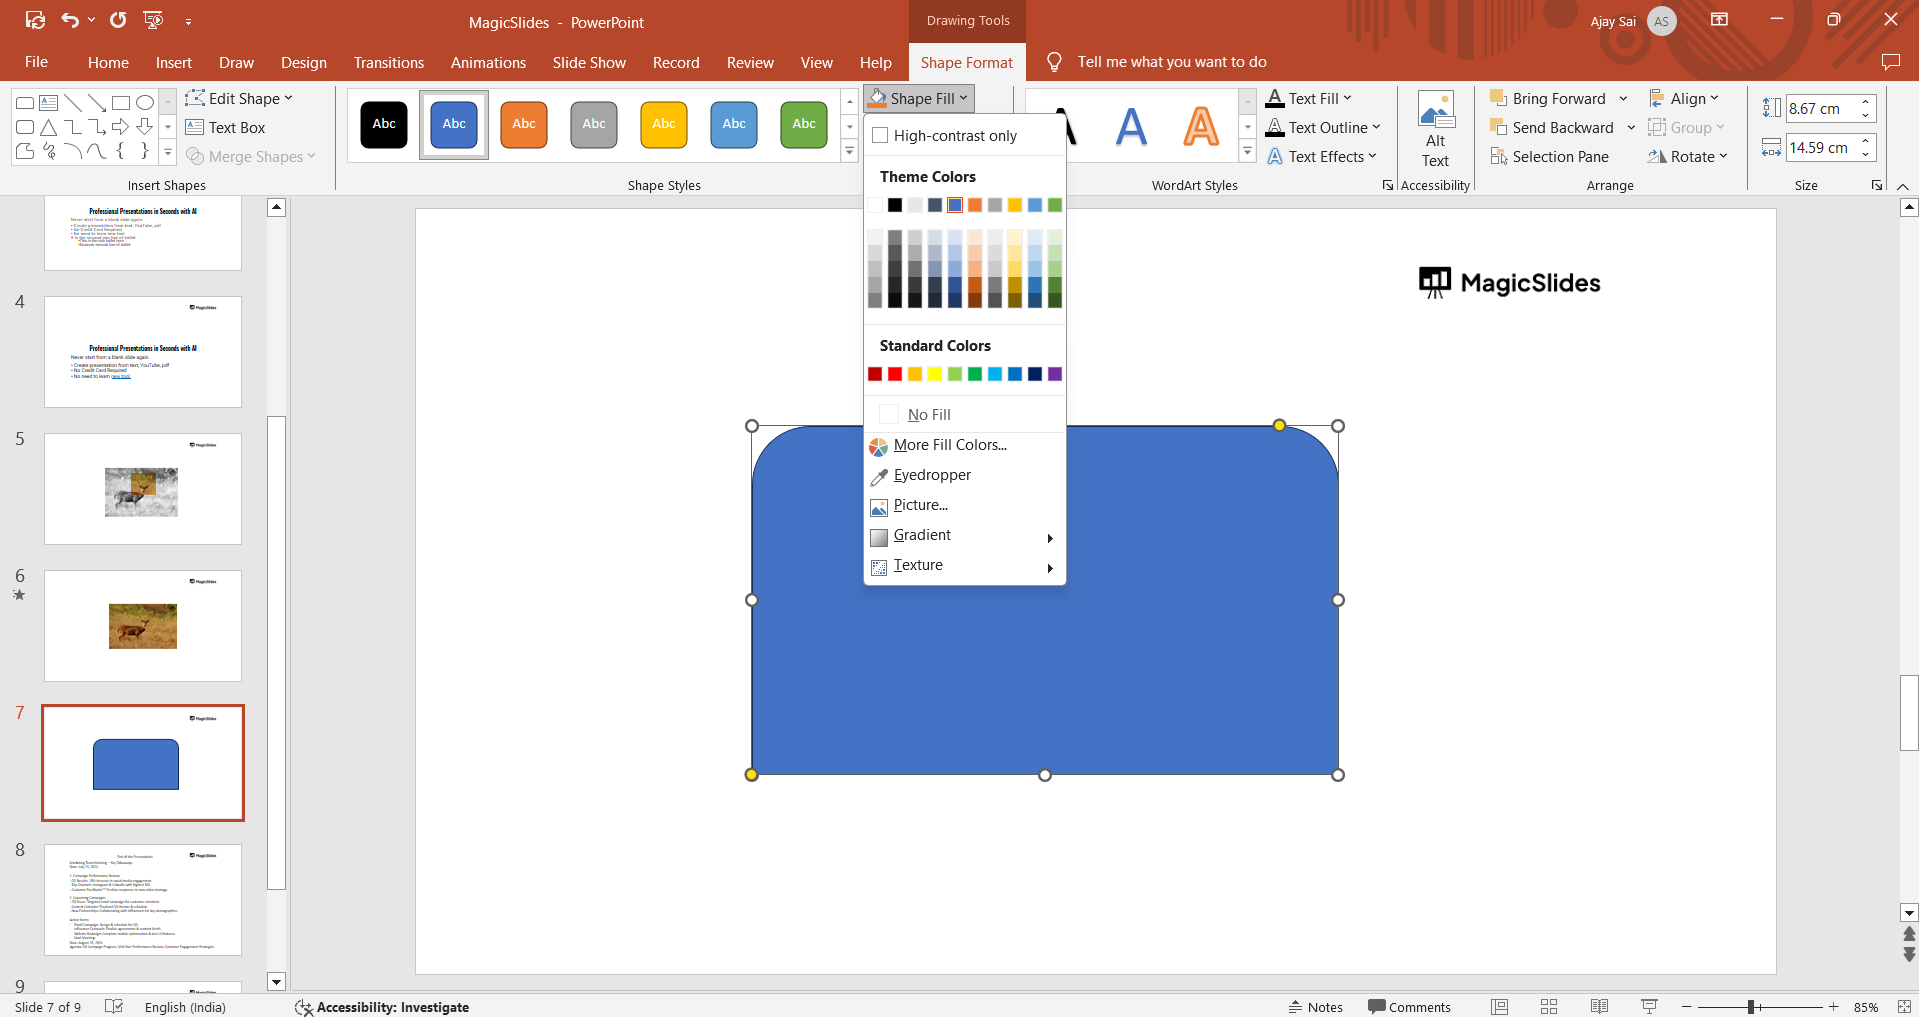
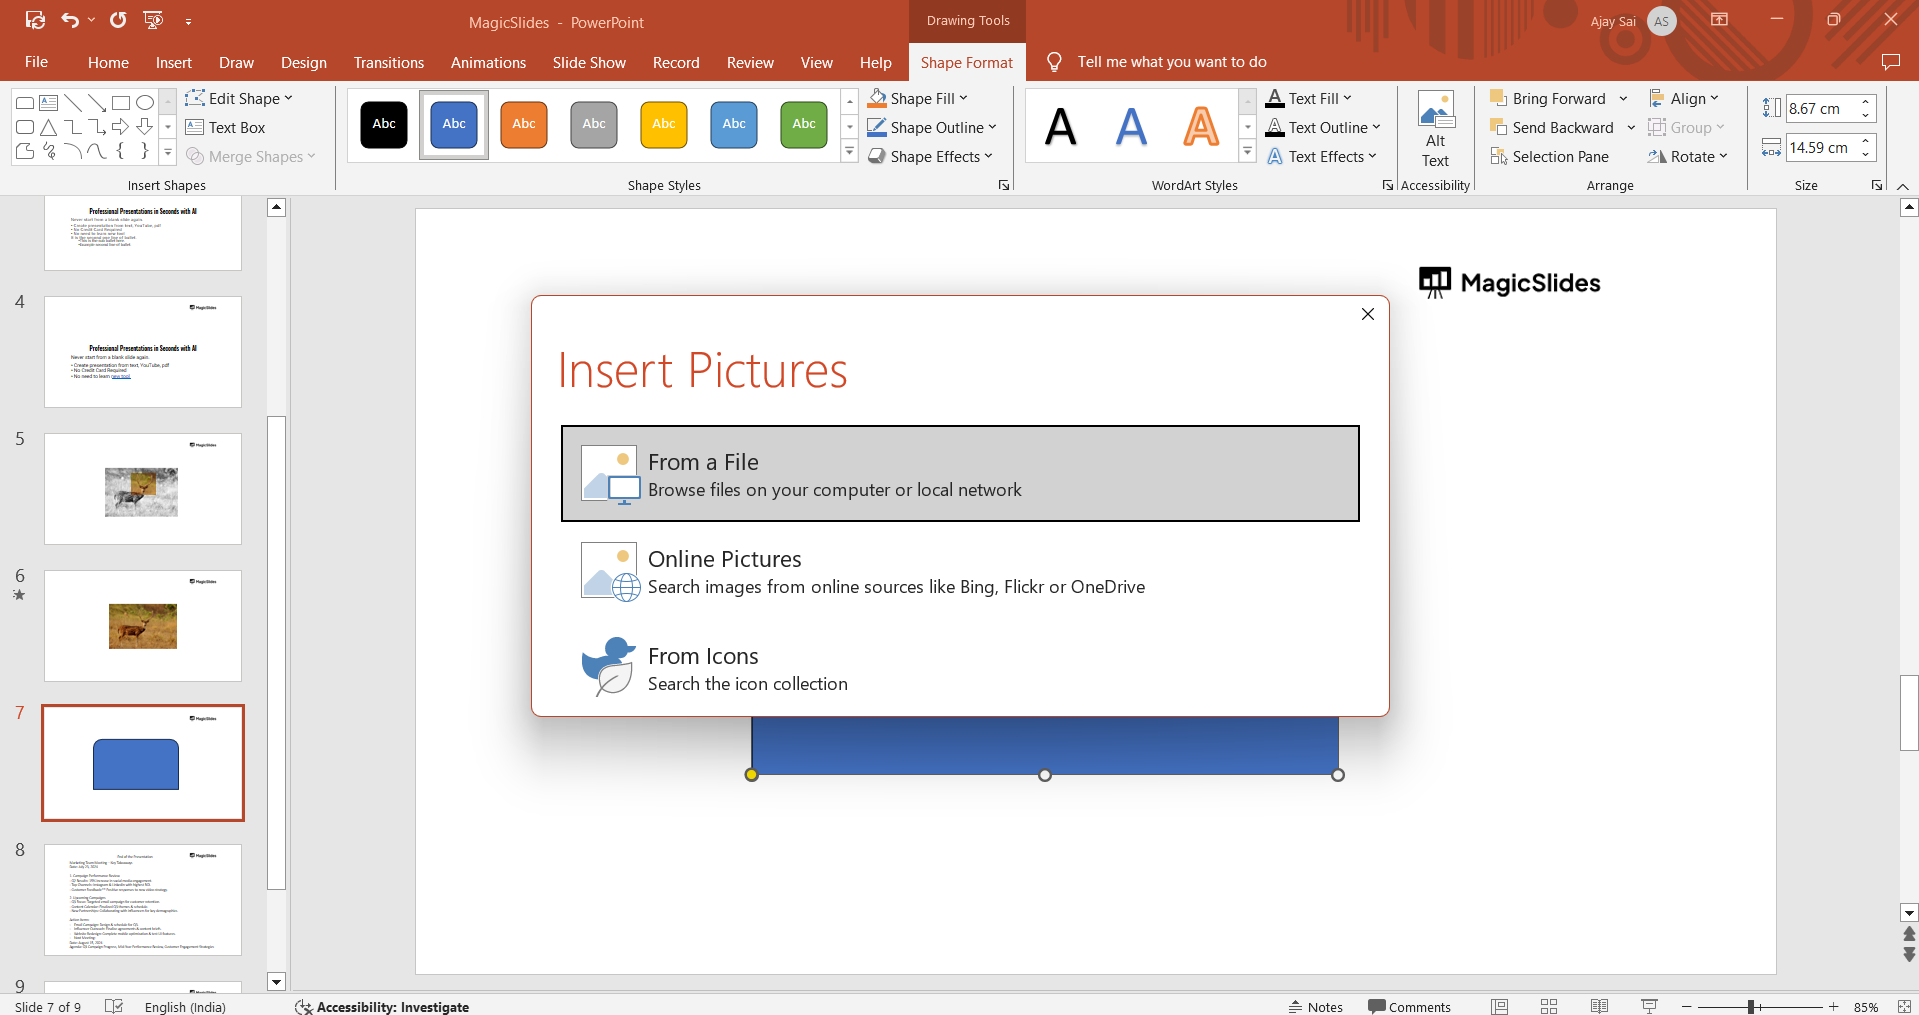
Click on it, select "Picture," and then choose "From a File" (or another source where your image is stored). This action will fill the shape with the image you selected.
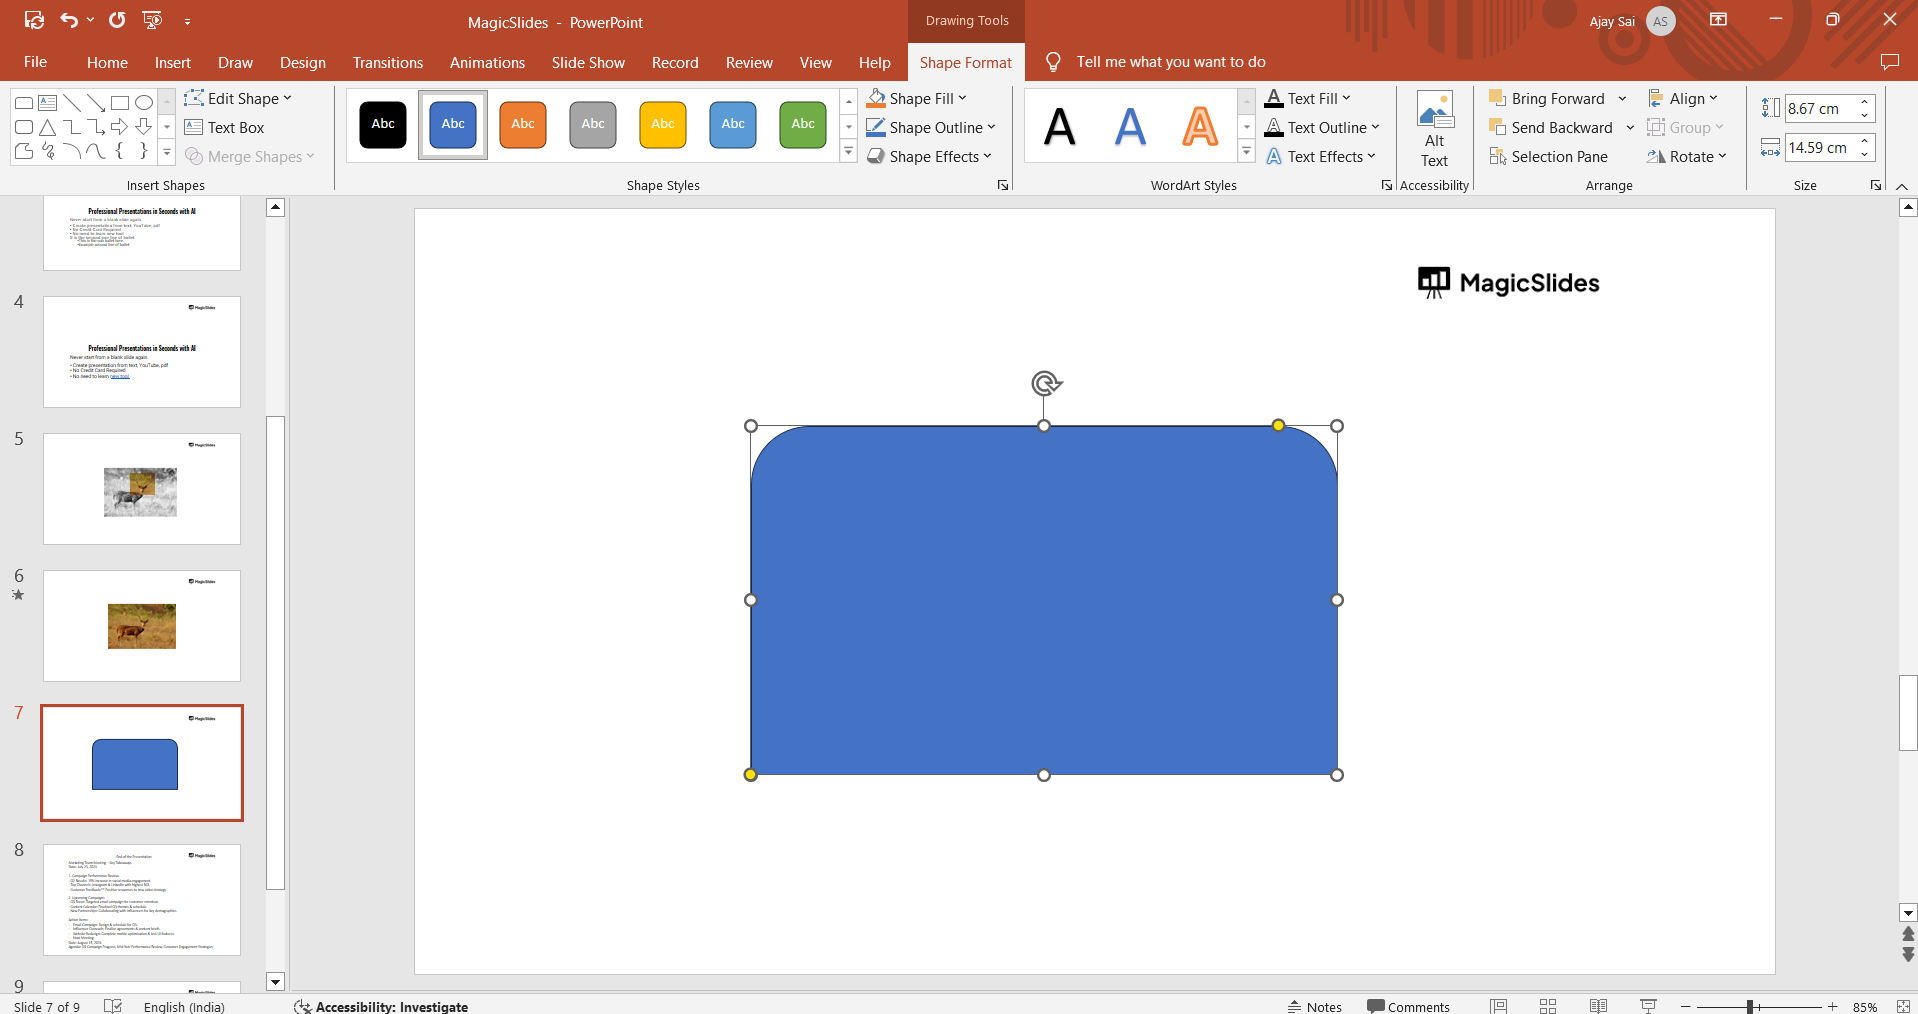
Step 4: Adjust the Picture’s Position within the Shape
After filling the shape with the image, you can adjust its position inside the shape.
Double-click on the shape, and then click on the "Crop" option in the "Format" tab to move or resize the image within the shape.
This step allows you to perfectly align and fit the image as you like within the cropped shape.
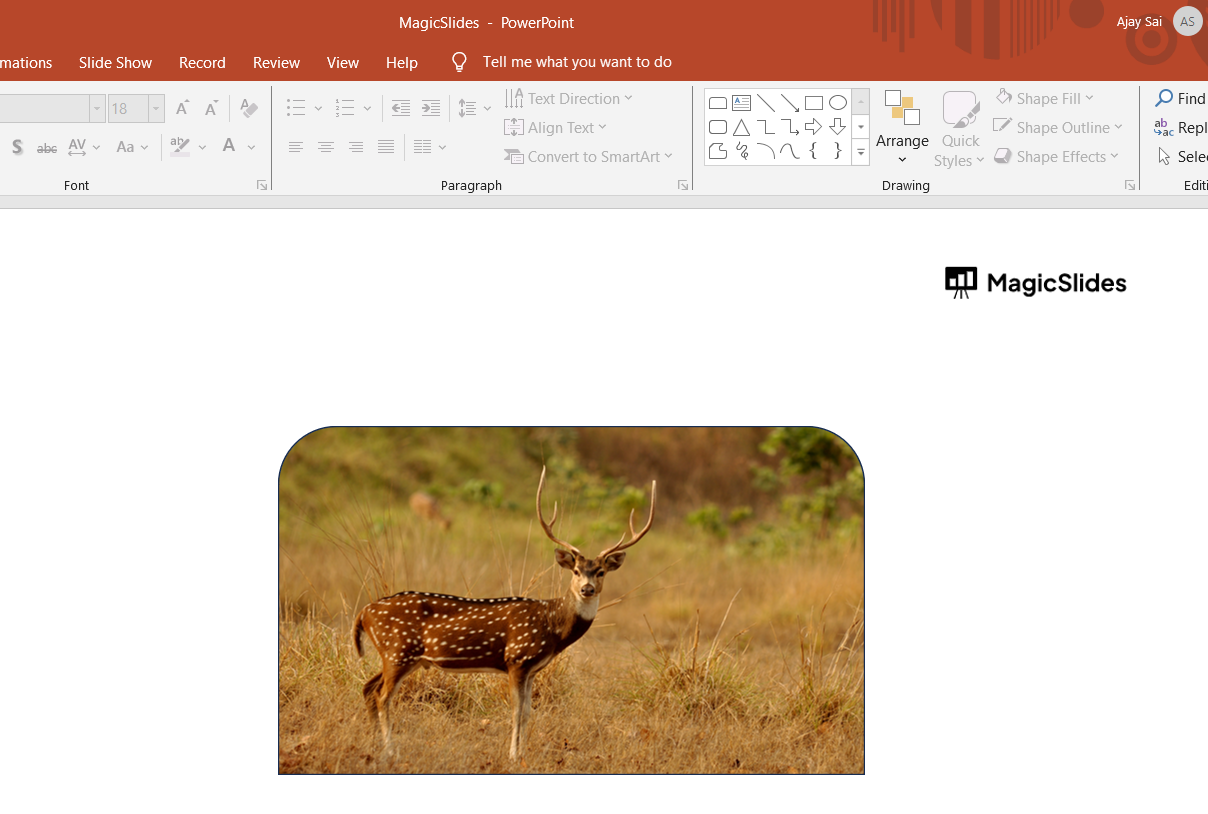
Step 5: Fine-Tune the Crop
PowerPoint lets you fine-tune the crop further by using the crop handles on the edges of the image.
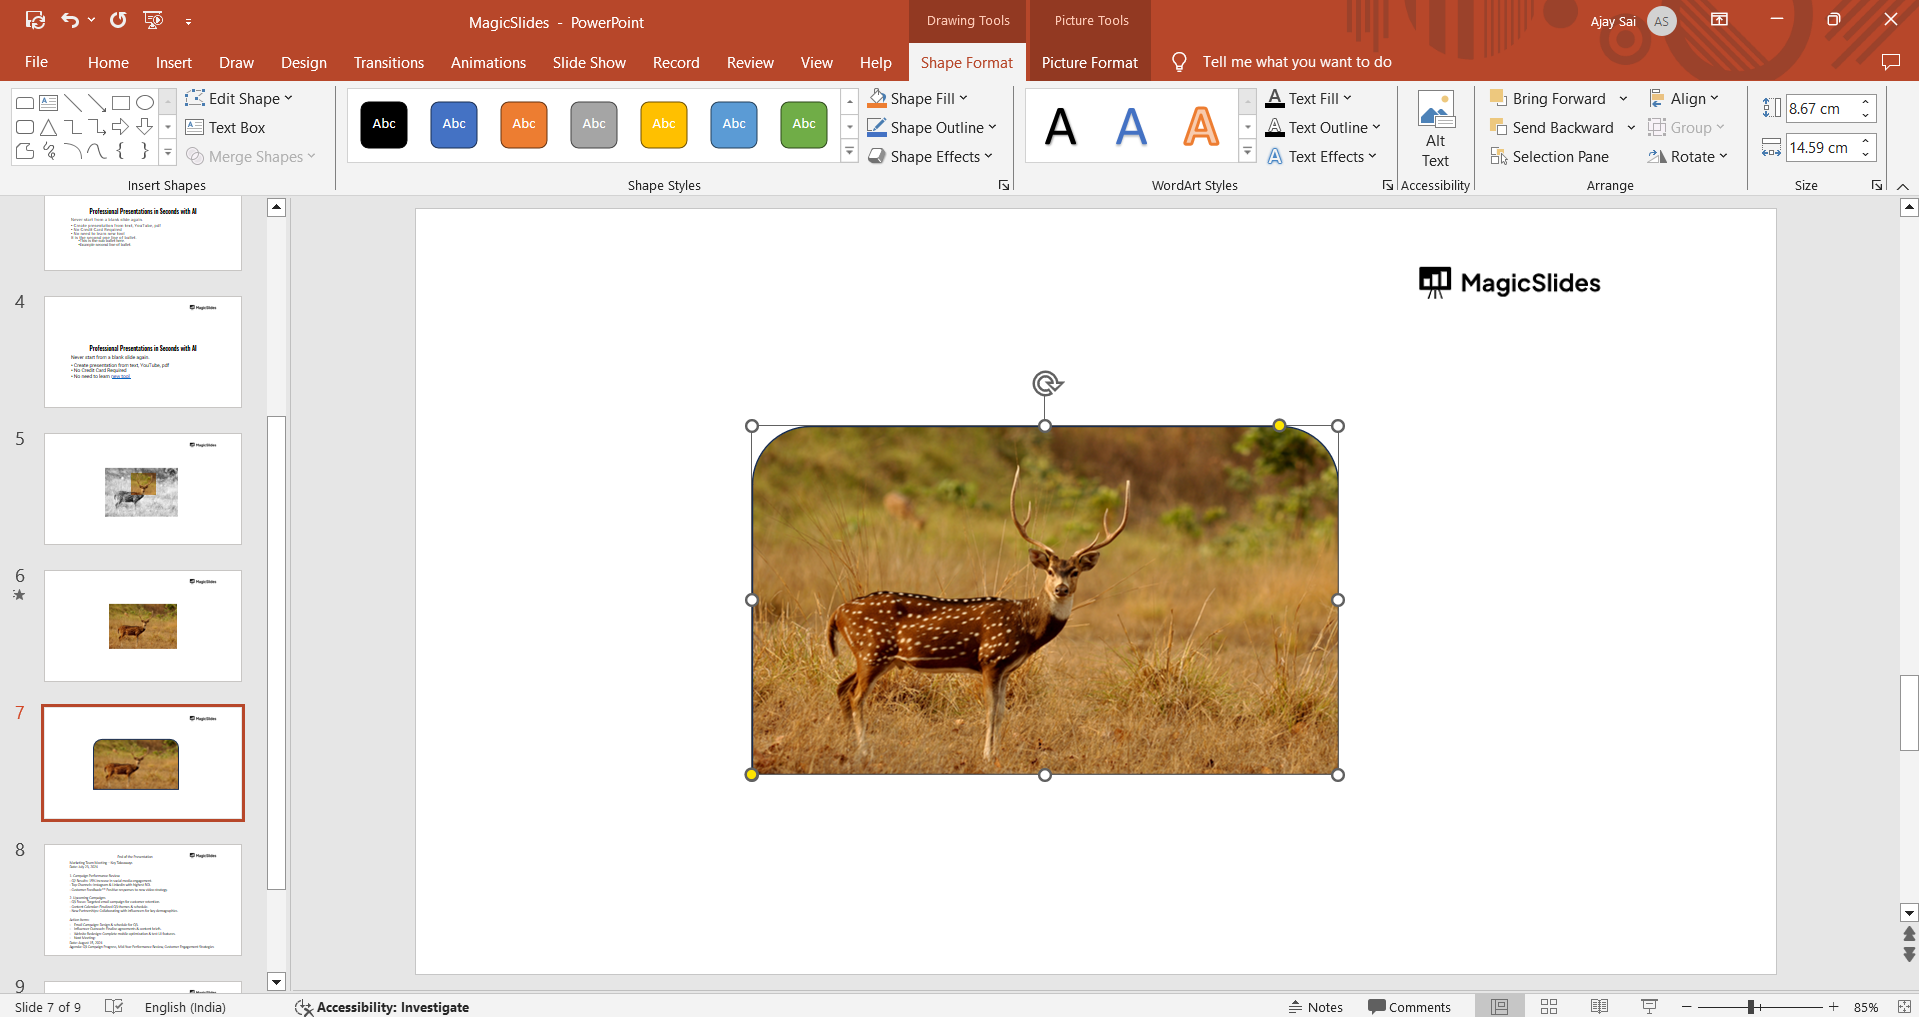
Adjust these handles to resize or change the focus of the image within the shape.
Once you're satisfied with the crop, click outside the shape to apply the changes.
Step 6: Save Your Cropped Shape
To keep your cropped shape for future use, right-click on it and select "Save as Picture."
Choose the desired format and save it to your computer. This option is helpful if you want to use the cropped shape in other presentations or design projects.
Once you've cropped shapes in PowerPoint, explore how to animate text in PowerPoint to make your presentations more dynamic.
Conclusion
Cropping shapes in PowerPoint is a simple but effective way to enhance the look of your slides.
By following these steps, you can create unique visuals that fit your presentation’s theme and add a custom, polished touch.
Experiment with different shapes and images to see how this feature can make your slides stand out!
FAQs can come handy!
Can I change the shape after cropping an image in PowerPoint?
Yes, select the shape, go to the "Format" tab, and choose "Edit Shape" to change the shape while maintaining the crop.
Is there a way to crop images directly into shapes without using the "Picture Fill" option?
Currently, PowerPoint only allows shape cropping through the "Picture Fill" option, as it doesn't support direct shape cropping for images.
Can I apply a border or effect to a cropped shape?
Yes, after cropping, go to the "Format" tab to add borders, shadows, or effects to enhance the cropped shape’s appearance.


