How To Lock An Image In Google Slides


Secure your visual elements discover how to effortlessly lock images in your Google Slides.
Google Slides offers an array of features to refine your presentations, and locking images is one such useful function. Whether you want to prevent accidental shifts or ensure a consistent layout, the process is straightforward. Let's delve into the steps to lock an image effectively.
How to lock an image in google slides
Step 1: Open Your Google Slides Presentation
Begin by launching your Google Slides presentation and navigating to the slide containing the image you want to secure.
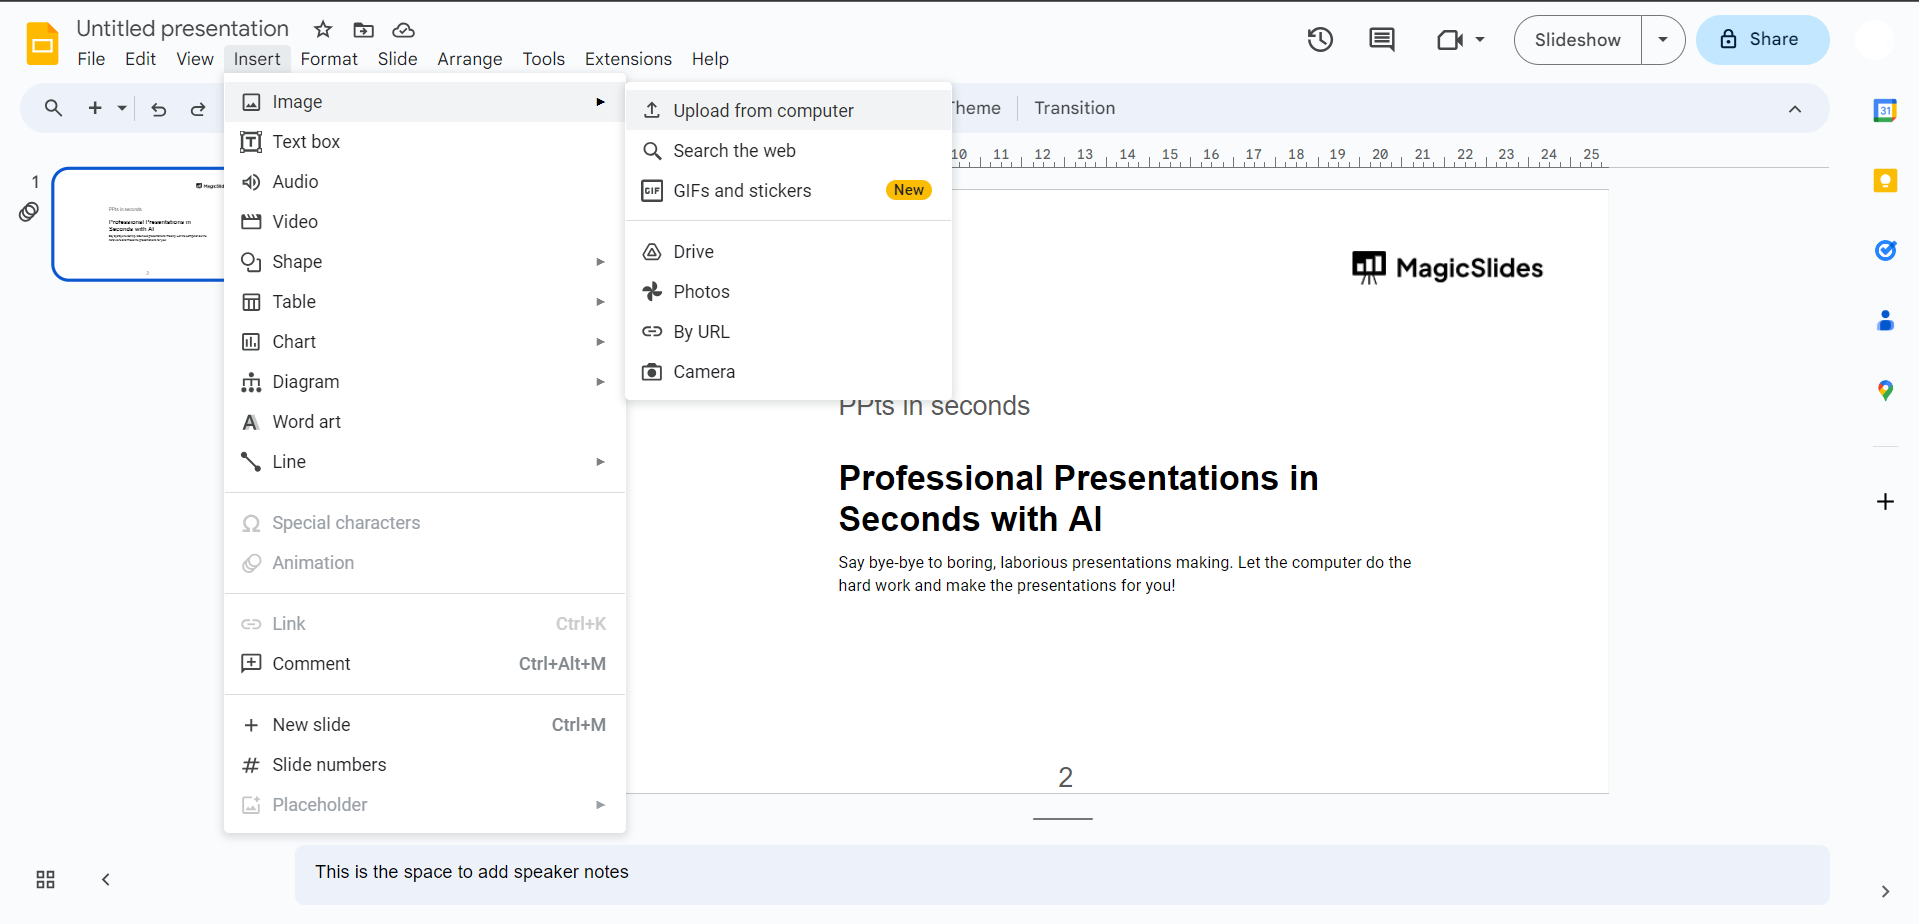
Step 2: Select the Desired Image
Click on the image you wish to lock from the insert tab and choosing either an online picture or you can upload from the computer. This selection will activate specific formatting options for the chosen element.
Step 3: Access the "Format Options" Panel
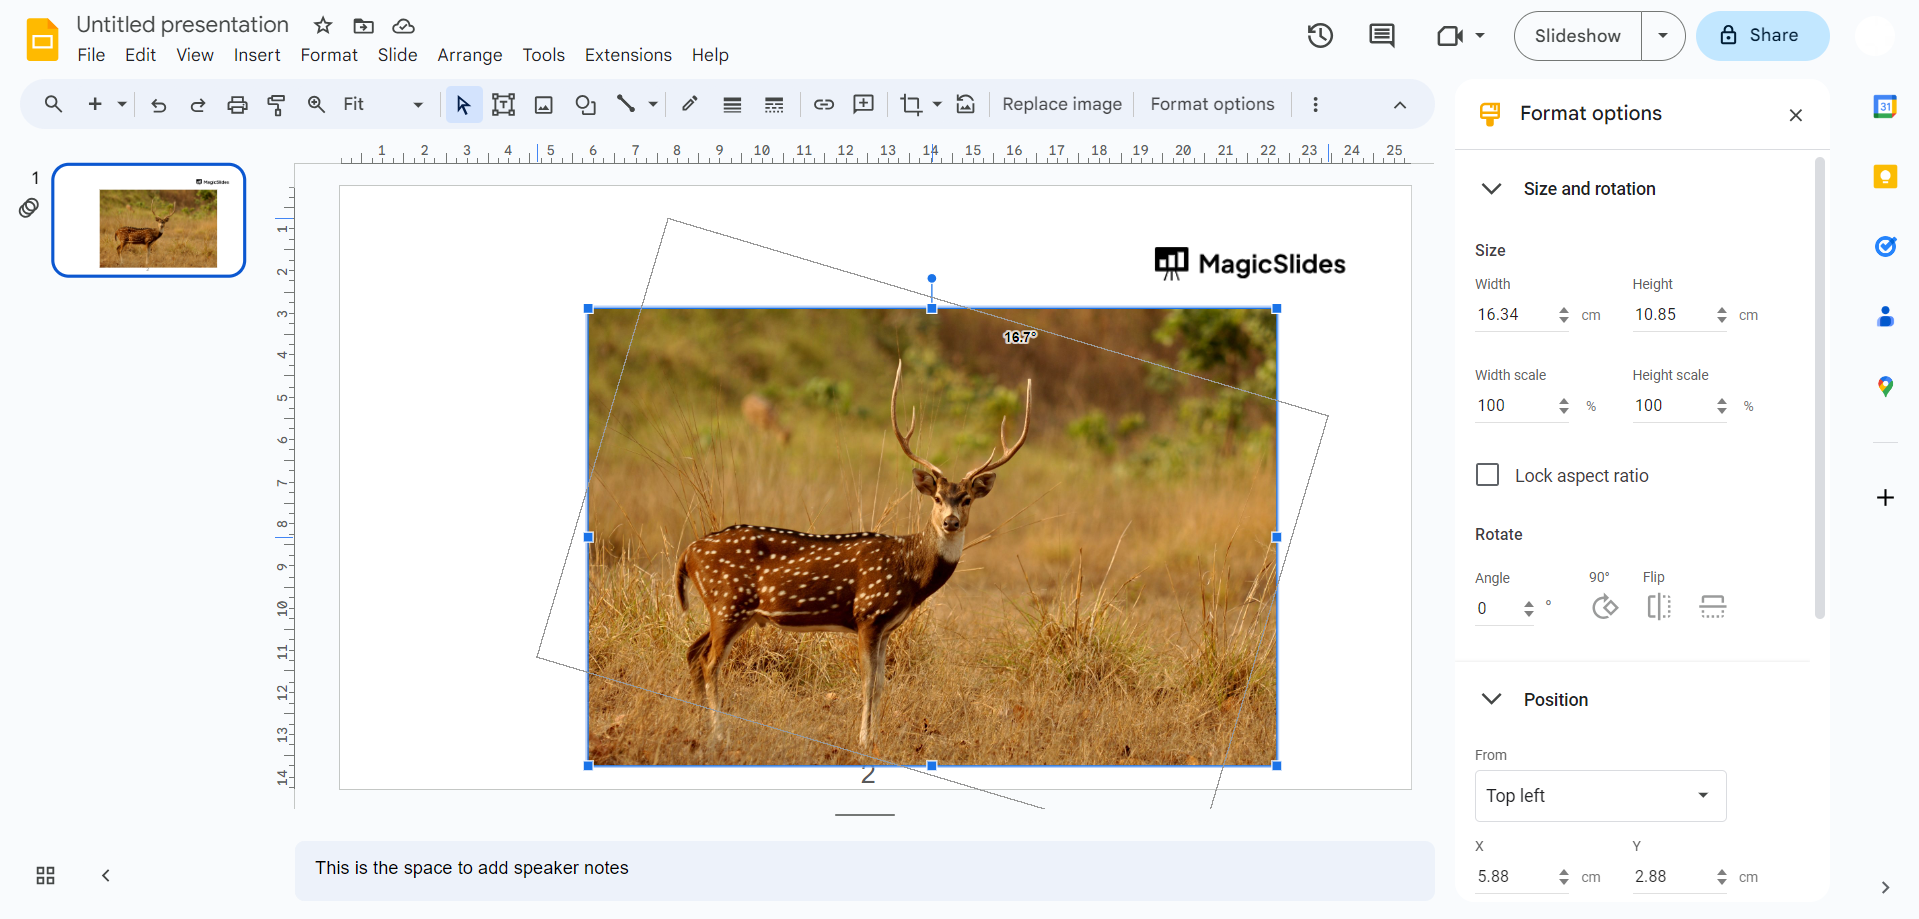
With the image selected, right-click, and choose "Format options" from the drop-down menu. Alternatively, click on "Format" in the top menu and select "Format options."
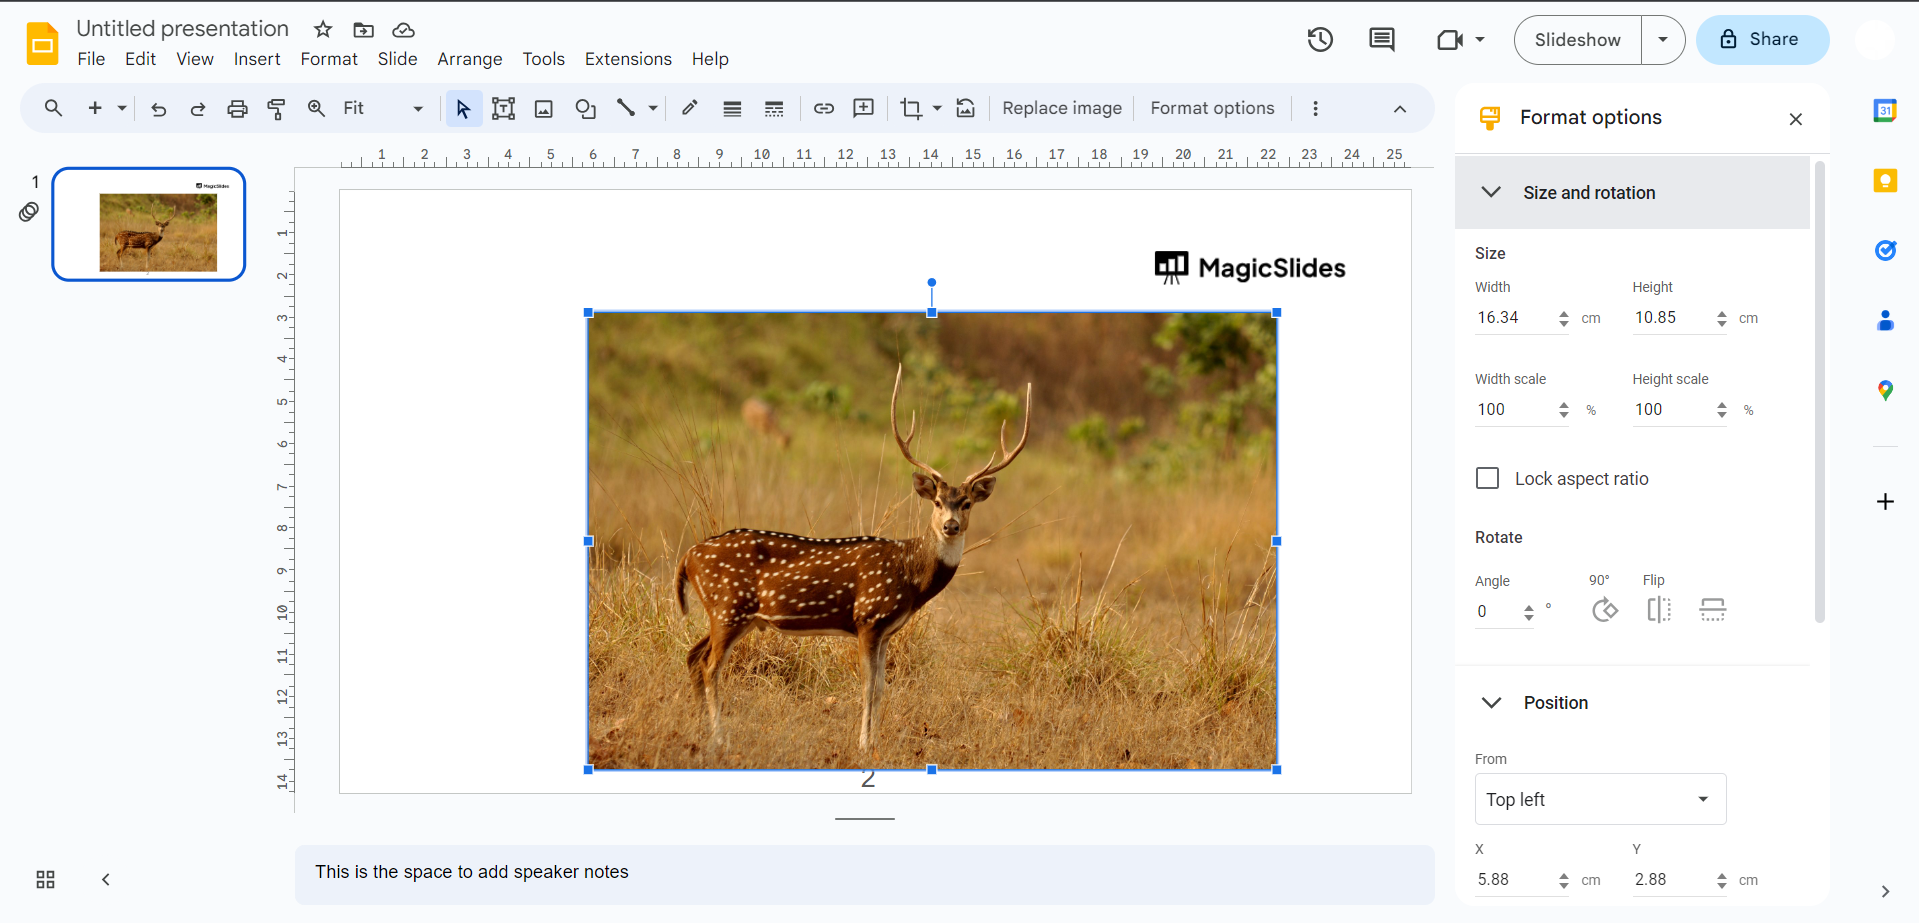
Step 4: Locate the "Size & Rotation" Section
Within the "Format options" panel, locate and click on "Size & Rotation." This section houses various customization options for your chosen image.
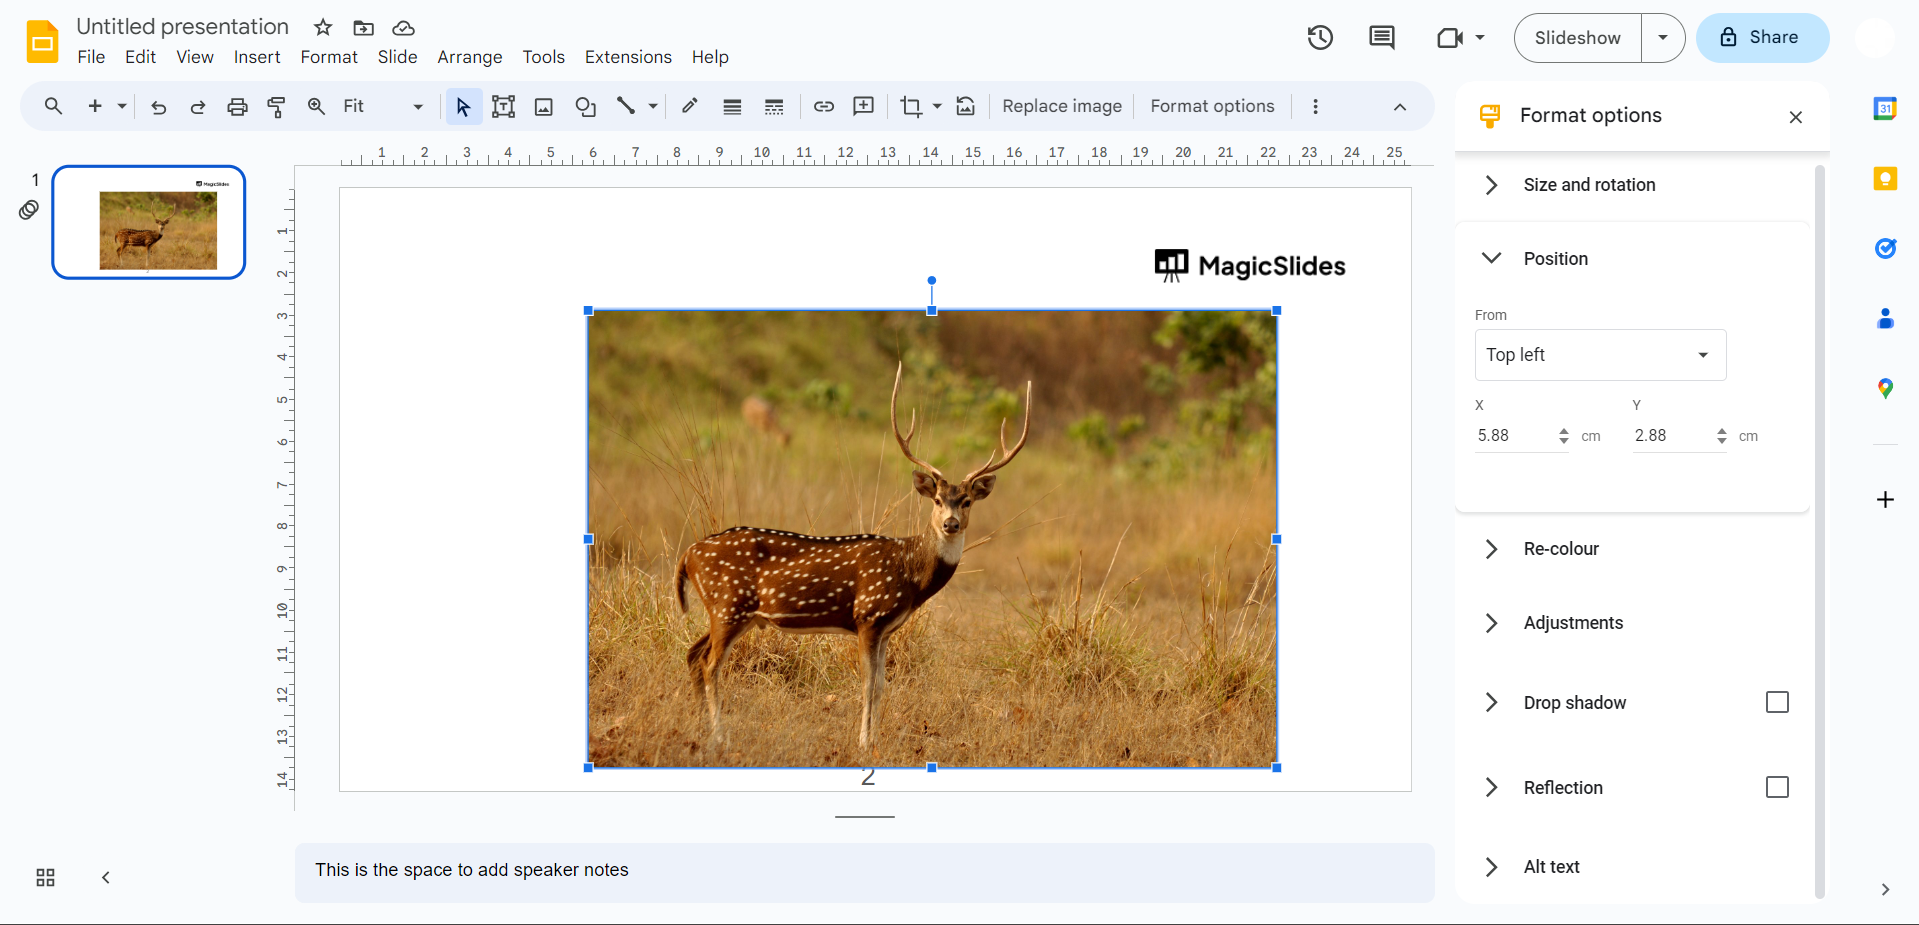
Step 5: Adjust the Image's Positioning
In the "Size & Rotation" section, find the "Position" options. Here, you can manually input the X and Y coordinates to set the image's precise position on the slide.
Step 6: Enable "Lock Aspect Ratio"
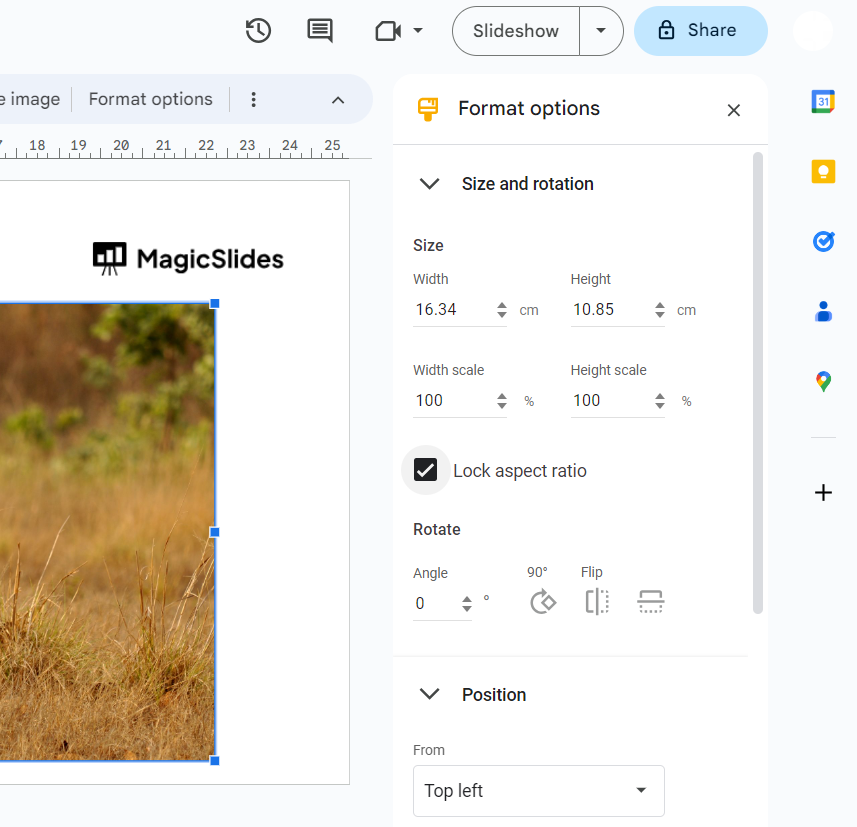
Scroll down in the "Size & Rotation" section to find the "Lock aspect ratio" checkbox. Ensure this box is checked to maintain the image's proportions when resizing.
Step 7: Activate "Lock" to Secure Your Image
Continuing down the "Format options" panel, find the "Rotation" options. Here, you'll find a padlock icon labeled "Lock." Click on it to secure the image in its current position and prevent accidental adjustments.
Conclusion:
By following these steps, you can confidently lock your images in Google Slides, providing stability and control over your presentation layout. Experiment with these features to master the art of crafting visually appealing and precisely arranged slides. Unlock the full potential of Google Slides by incorporating these techniques into your next presentation.
Frequently Asked Questions:
Q1: Why should I lock images in Google Slides?
A) Locking images ensures their fixed position, preventing accidental shifts and maintaining a consistent layout throughout your presentation.
Q2: Can I still edit a locked image in Google Slides?
A) Yes, you can. To make changes, right-click the locked image, select "Format options," and uncheck the "Lock" option in the "Rotation" section.
Q3: Does locking affect the image's size adjustments?
A) When you lock an image in Google Slides, it maintains its aspect ratio, allowing you to resize without distorting the proportions.
Q4: Is unlocking an image reversible in Google Slides?
A) Absolutely. Simply revisit the "Format options" panel, uncheck the "Lock" option, and you regain the flexibility to move and adjust your image.
Check out these info Blogs by MagicSlides.app:
- Google Launches Gemini AI: What You Need To Know!: https://www.magicslides.app/blog/Google-launches-Gemini-AI-What-You-Need-To-Know
- How To Insert Music Into Powerpoint: https://www.magicslides.app/blog/how-to-insert-music-into-powerpoint
- How To Add Narration To Powerpoint: https://www.magicslides.app/blog/how-to-add-narration-to-powerpoint
- How To Create Columns In Google Slides: https://www.magicslides.app/blog/how-to-create-columns-in-google-slides


