How to print Google Slides Presentation


From pixels to paper: Learn the effortless steps to print your Google Slides presentation brilliantly.
In the digital age, presentations often transcend the screen, finding a place in boardrooms, classrooms, and workshops. Google Slides offers a powerful platform for creating visually engaging presentations, and sometimes, a tangible copy is just what you need. In this guide, we'll walk you through the simple steps to bring your Google Slides presentation to life on paper, ensuring your audience has a physical connection to your digital masterpiece.
How to print Google Slides Presentation
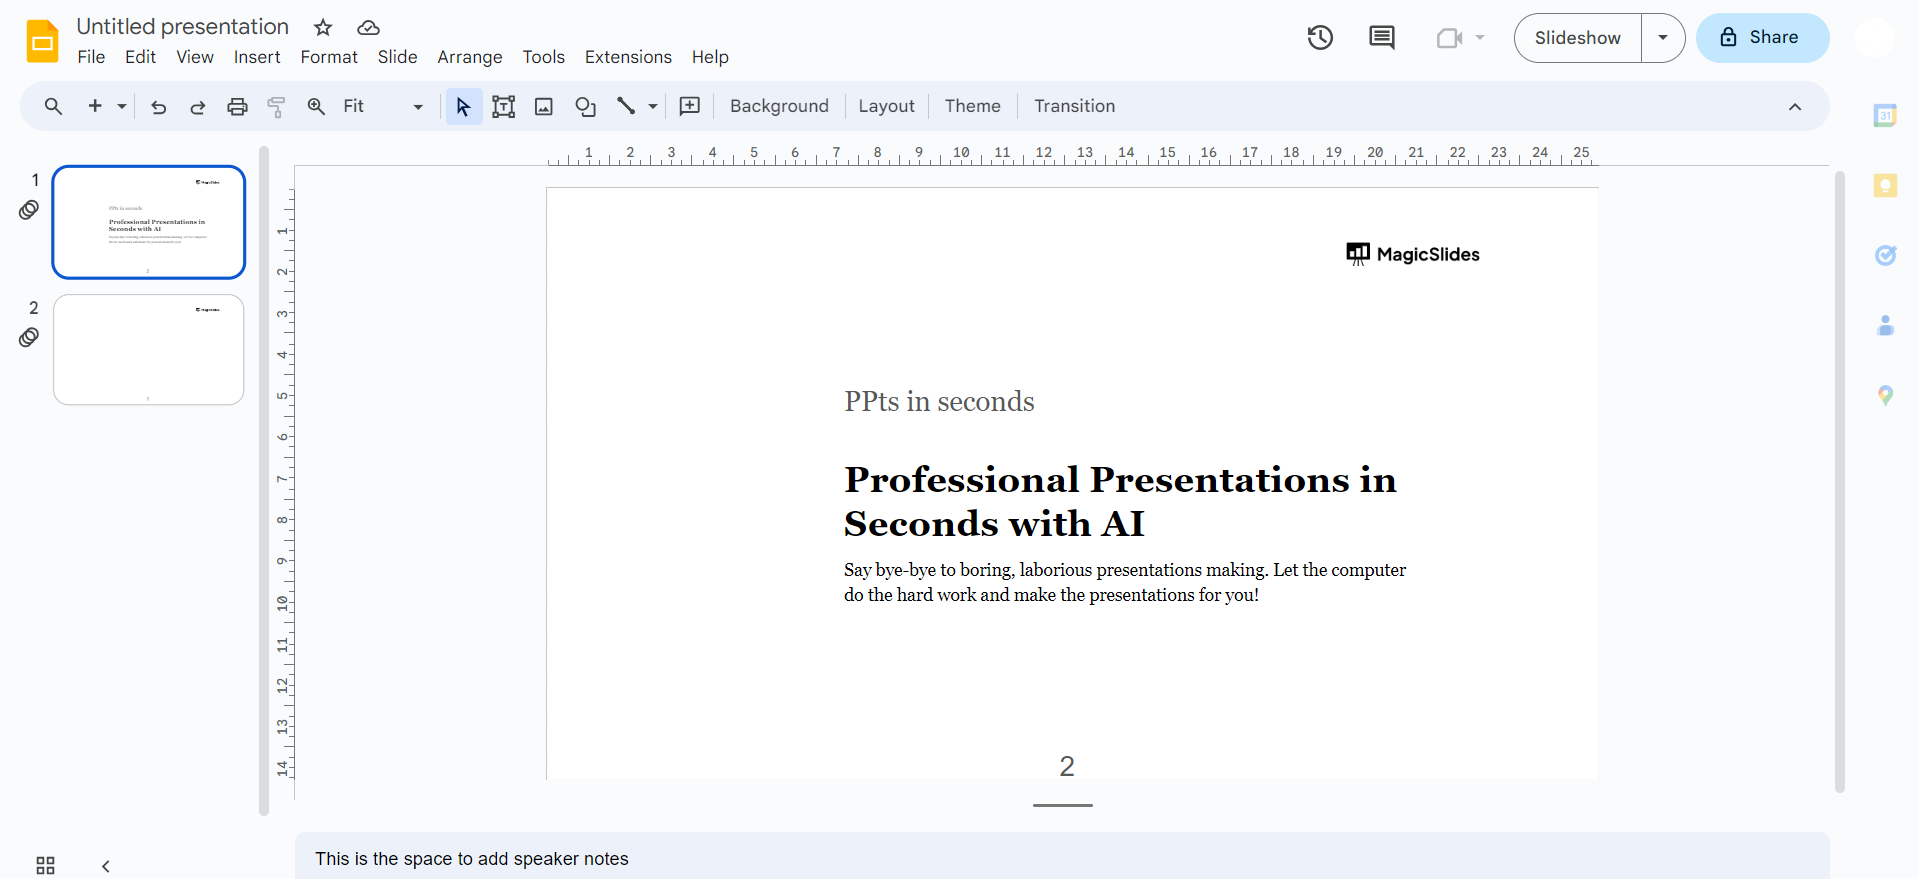
1. Open Google Slides:
Begin by navigating to Google Slides at https://slides.google.com/. Once there, log in and select the specific presentation you wish to print. The platform's user-friendly interface makes this initial step a breeze.
2. Access File Menu:
With your presentation open, direct your attention to the top-left corner of the screen. The "File" menu is your gateway to various functions. Click on it to reveal a dropdown menu that sets the stage for the printing process.
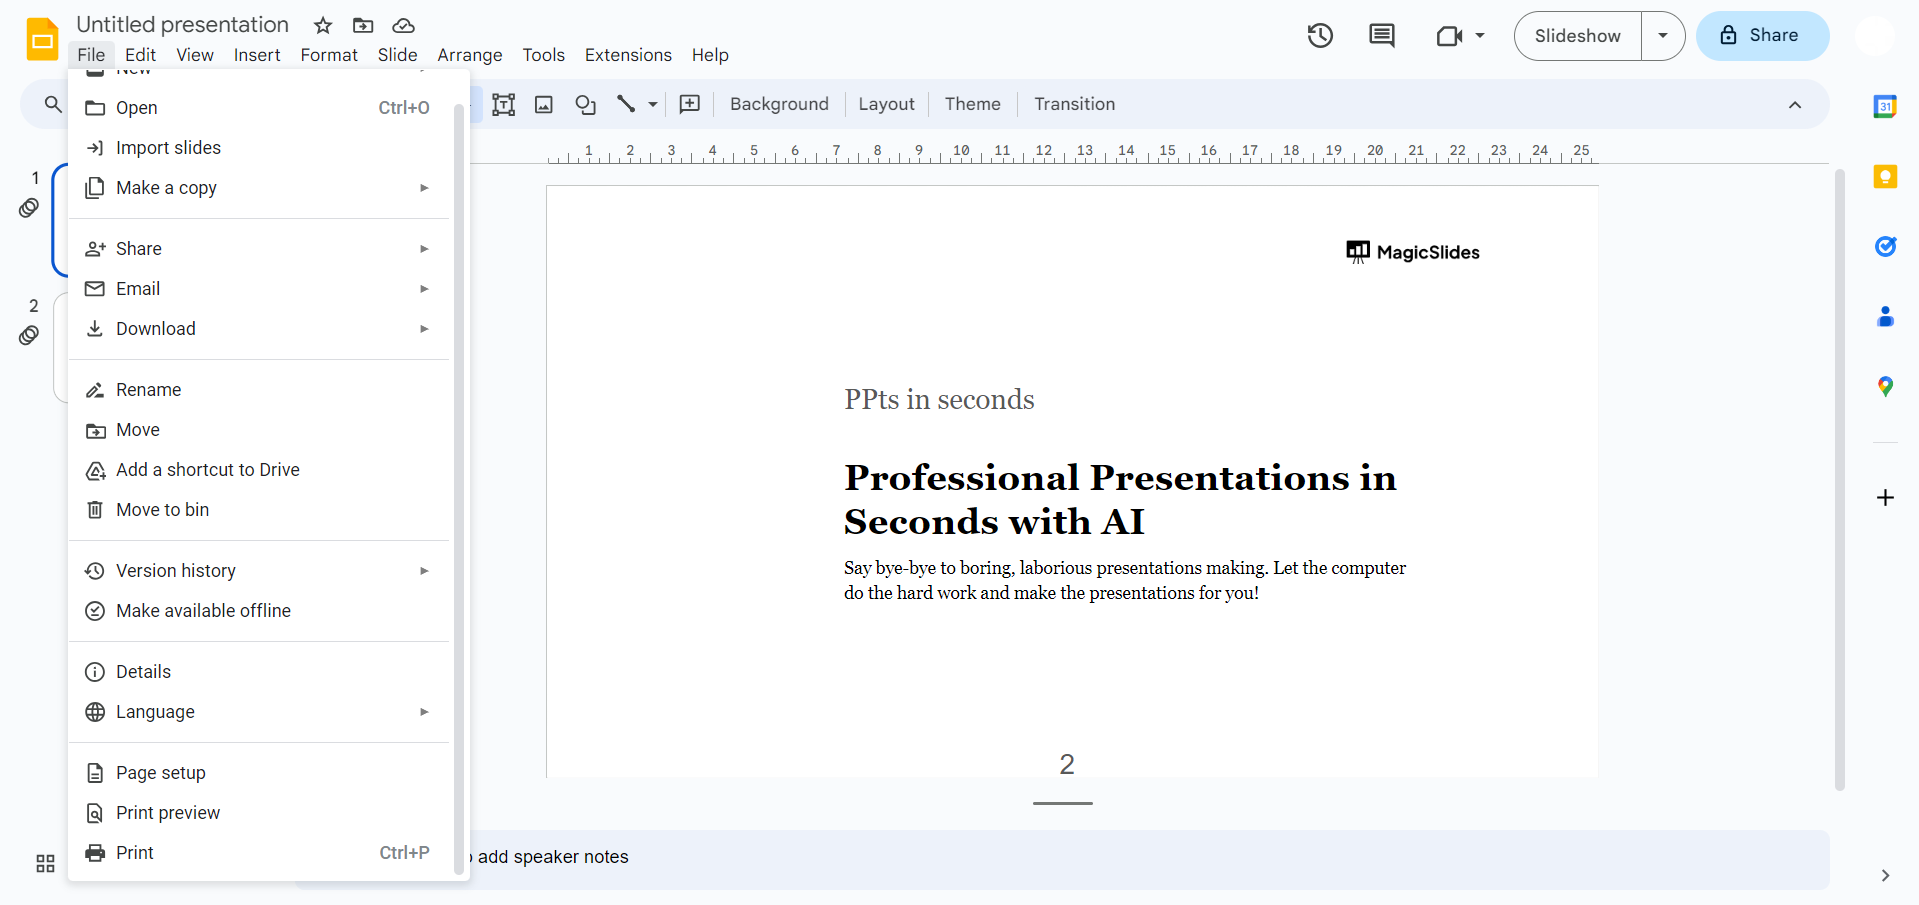
3. Select Print:
Within the "File" menu, scroll down and locate the "Print" option. A single click on "Print" propels you into the next phase of the printing journey, where customization options await.
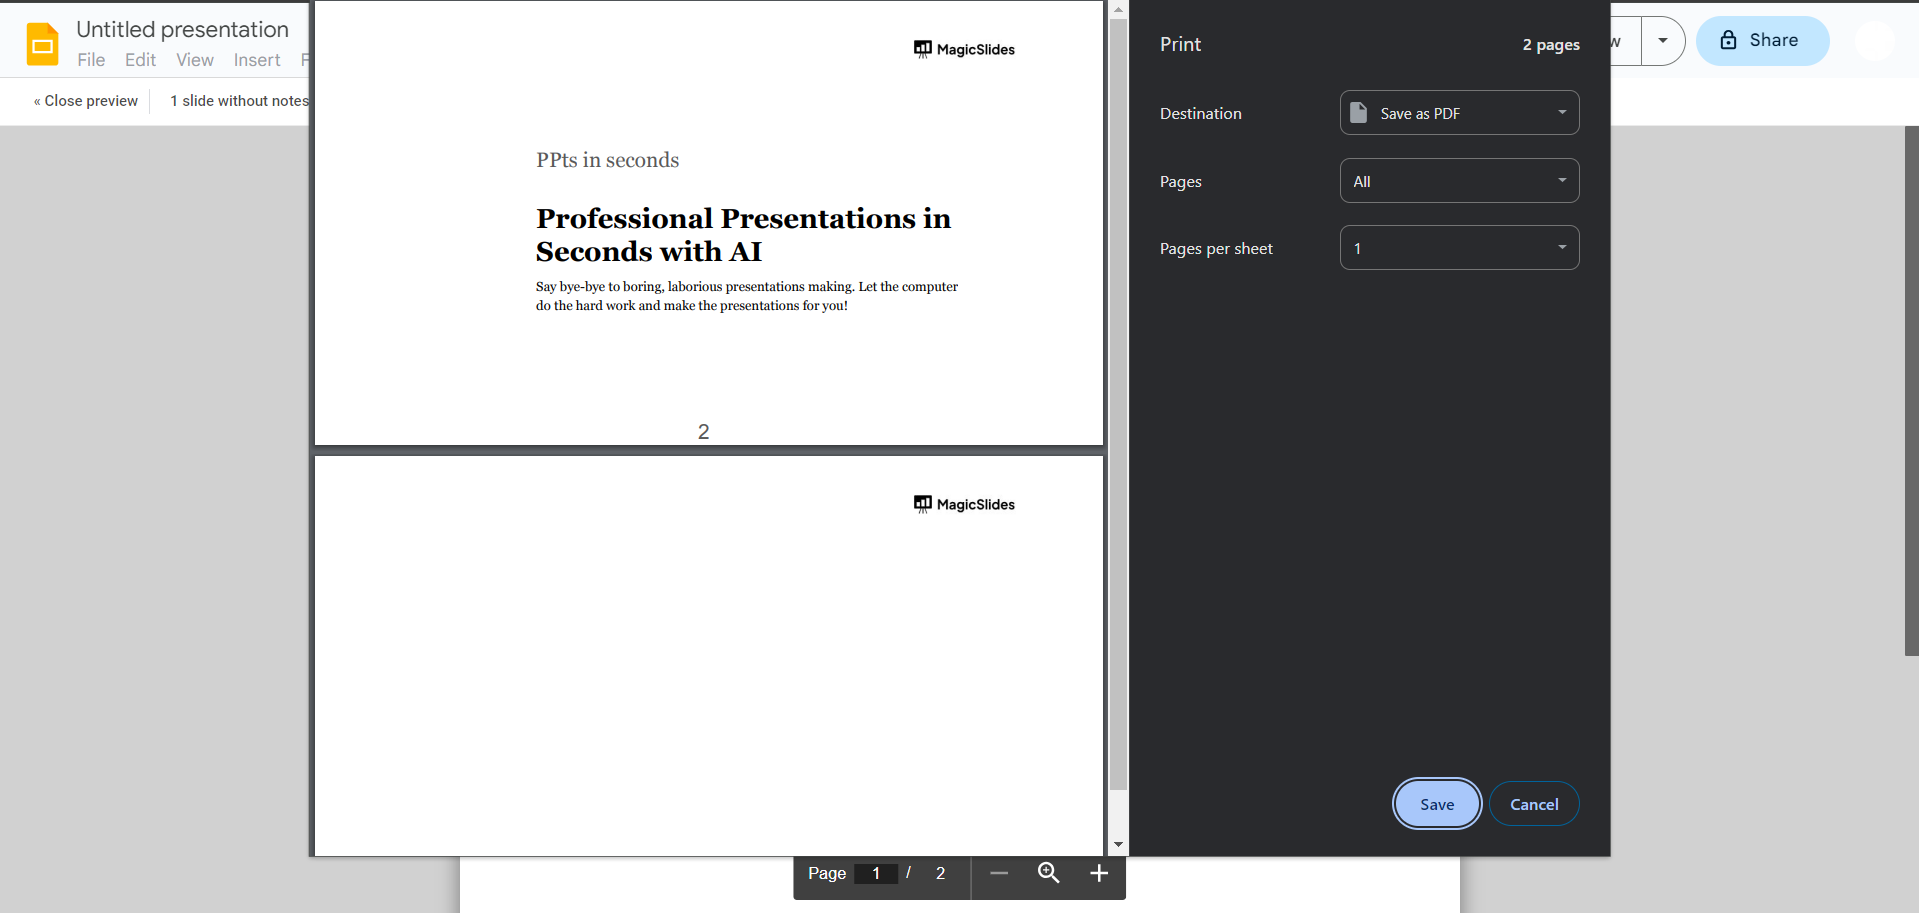
4. Configure Print Settings:
The "Print" option opens a window that allows you to fine-tune your printing preferences. Tailor the experience by adjusting the number of copies, selecting color preferences, and defining the layout. This step ensures your printed presentation aligns with your vision.
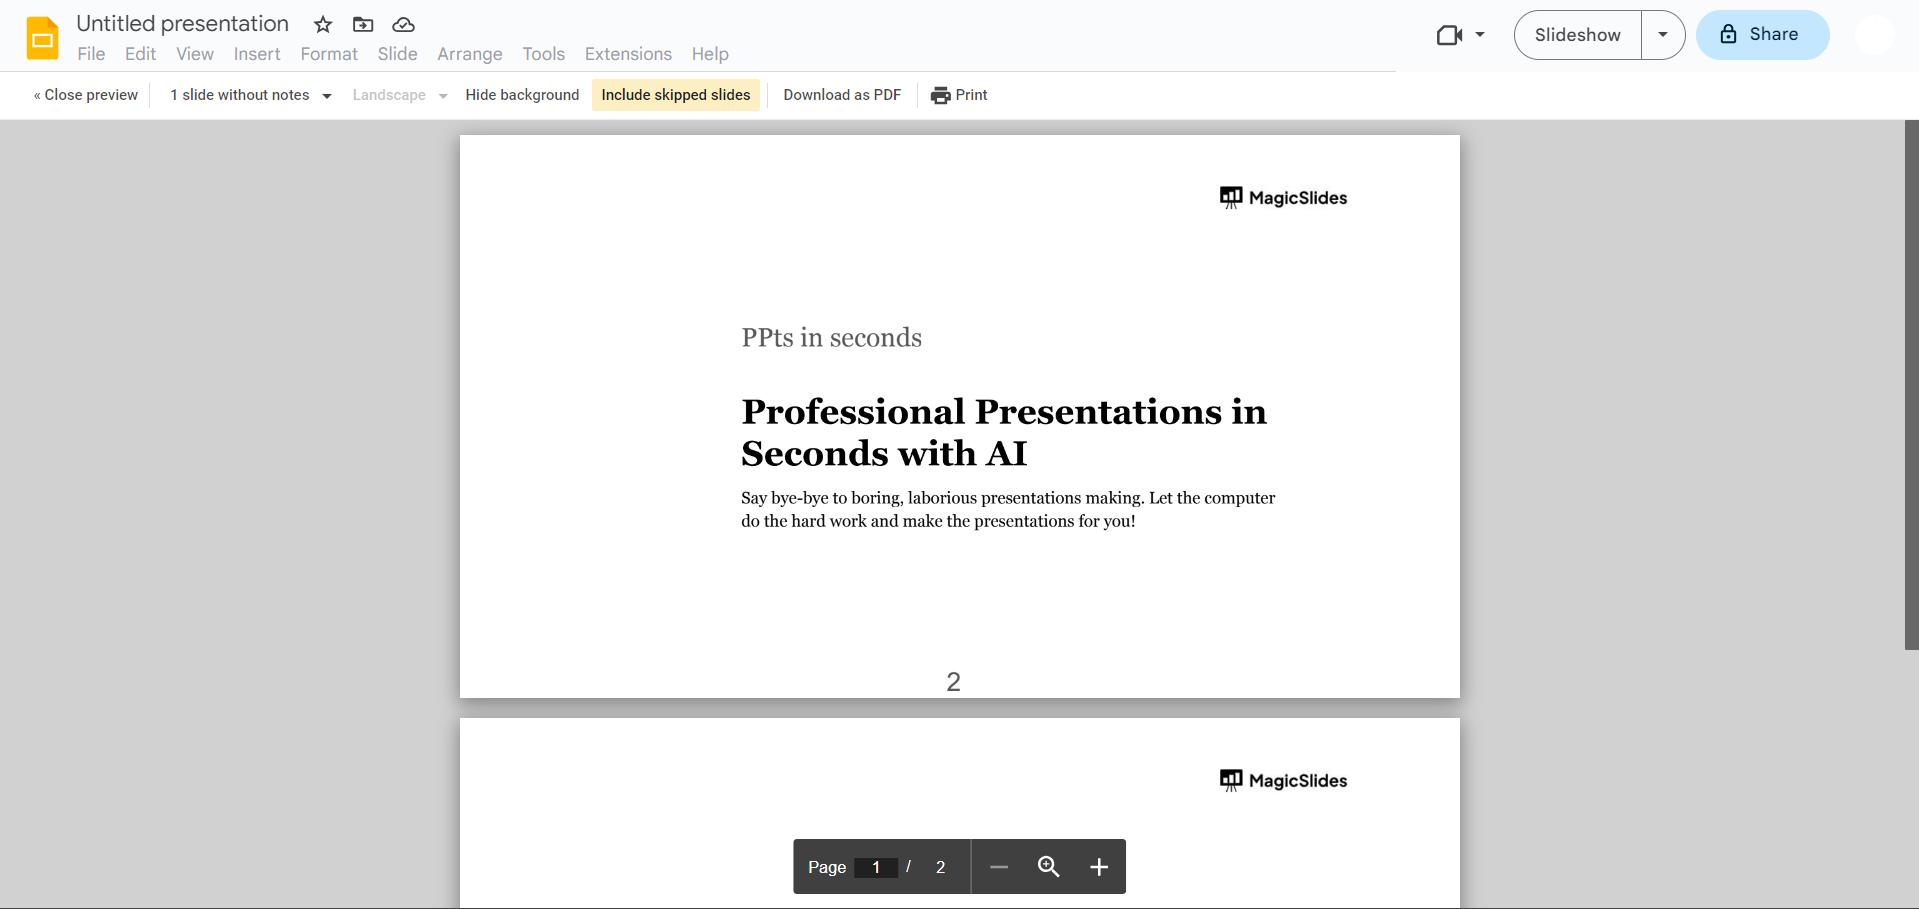
5. Preview (Optional):
For those who appreciate a sneak peek before the final print, the "Preview" option becomes a valuable ally. Take a moment to visualize how each slide will appear on paper, making any necessary adjustments for optimal presentation quality.
6. Choose Printer:
Having fine-tuned your preferences, it's time to connect with your hardware. Select the printer you intend to use for this printing endeavor. Ensure your chosen printer is well-maintained and properly connected to avoid any hiccups in the process.
7. Print:
The final click seals the deal. Press "Next" or "Print," depending on your version of Google Slides. Your selected printer receives the command, and the humming of machinery marks the transformation of digital slides into tangible, printed reality.
Conclusion:
Whether you're distributing handouts, archiving your work, or simply prefer the feel of a hard copy, mastering the art of printing ensures your message transcends the screen and leaves a lasting impression. With these straightforward steps, your Google Slides presentation can now make its mark beyond the pixels, offering a versatile and tangible form that suits your diverse communication needs.
Frequently Asked Questions:
Q1: Can I print a Google Slides presentation directly from the web?
Ans: Absolutely! Open your presentation on Google Slides, access the "File" menu, and select "Print."
Q2: How do I customize the color settings when printing my slides?
Ans: During the printing process, in the "Print settings" window, you can adjust color preferences to suit your needs.
Q3: Is it possible to print only specific slides rather than the entire presentation?Ans: Currently, Google Slides doesn't offer an in-built feature to print specific slides directly. However, you can manually select and copy-paste desired slides into a new presentation for printing.
Q4: Can I print speaker notes or annotations with my Google Slides presentation?Ans: Unfortunately, Google Slides doesn't provide a direct option to print speaker notes or annotations. You may need to use alternative methods like taking screenshots or copying content into a separate document for printing.
Check out our new blogs here:
13 Best AI Writing Software In 2024: https://www.magicslides.app/blog/13-Best-AI-Writing-Software-in-2024
How To Create A Group In Slack Applaication: https://www.magicslides.app/blog/how-to-create-a-group-in-slack-application
How To Download Powerpoint On Mac: https://www.magicslides.app/blog/how-to-download-powerpoint-on-mac
Google Gemini AI Vs ChatGPT: A Comprehensive Analysis: https://www.magicslides.app/blog/google-gemini-ai-vs-chat-gpt-a-comprehensive-analysis


