How to Skew Text Boxes in Google Slides


Create visually dynamic presentations by skewing text boxes in Google Slides using shapes and creativity
Skewing text boxes in Google Slides can give your presentation a creative and dynamic look.
Although Google Slides doesn’t offer a direct skewing tool, you can achieve this effect using creative adjustments.
This guide will walk you through the steps to skew text boxes and give your slides a professional edge.
How to Skew Text Boxes in Google Slides | Steps to Skew Text Boxes in Google Slides
Step 1: Open Your Presentation in Google Slides
Log in to your Google account and open Google Slides. Select the presentation you want to edit or create a new one.
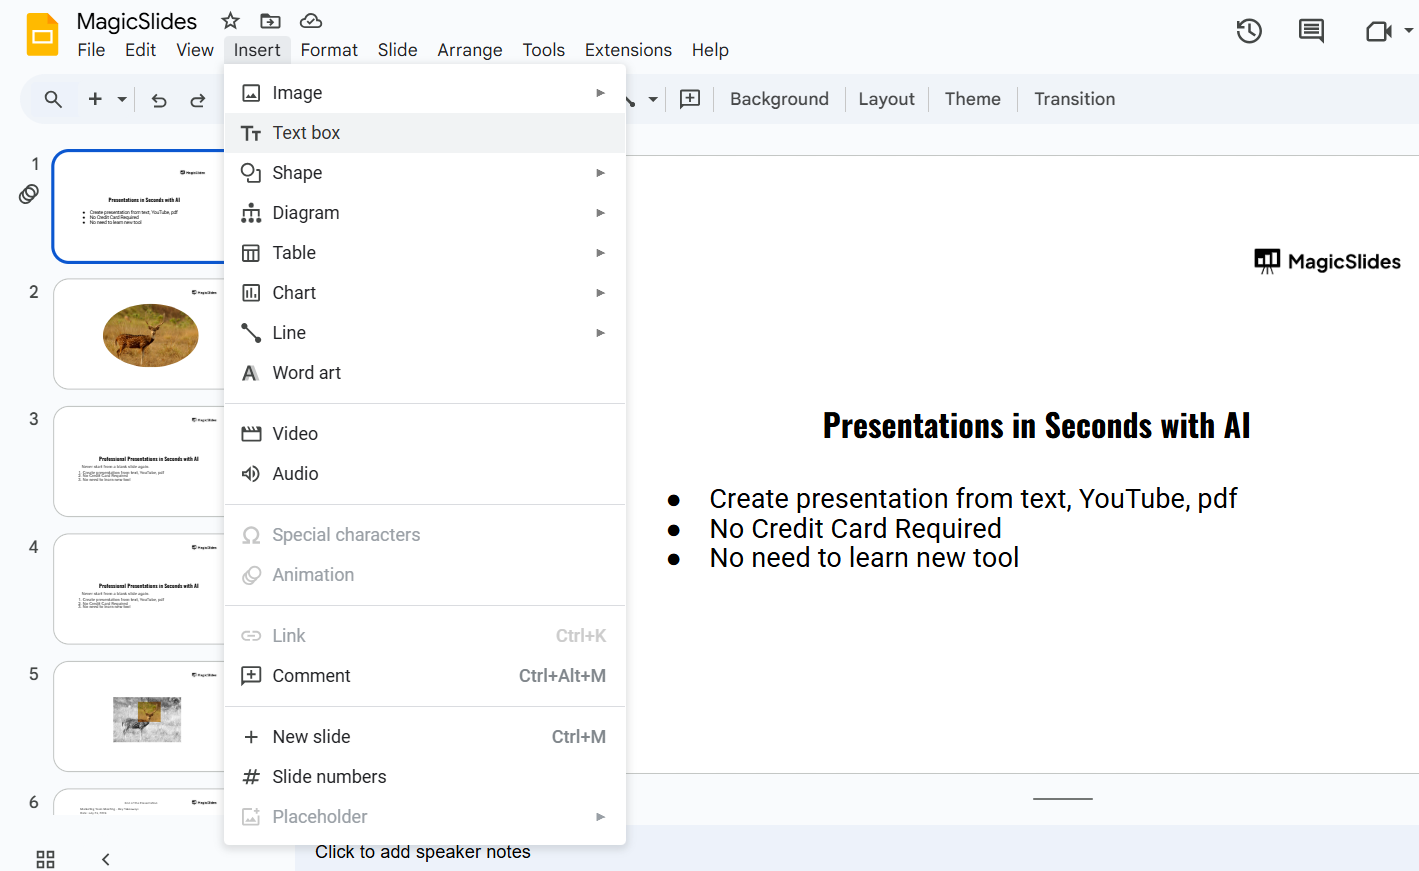
Step 2: Insert a Text Box
Click on “Insert” in the top menu and select “Text box.” Draw a text box on your slide and type the desired text.
Step 3: Add a Shape for Skewing
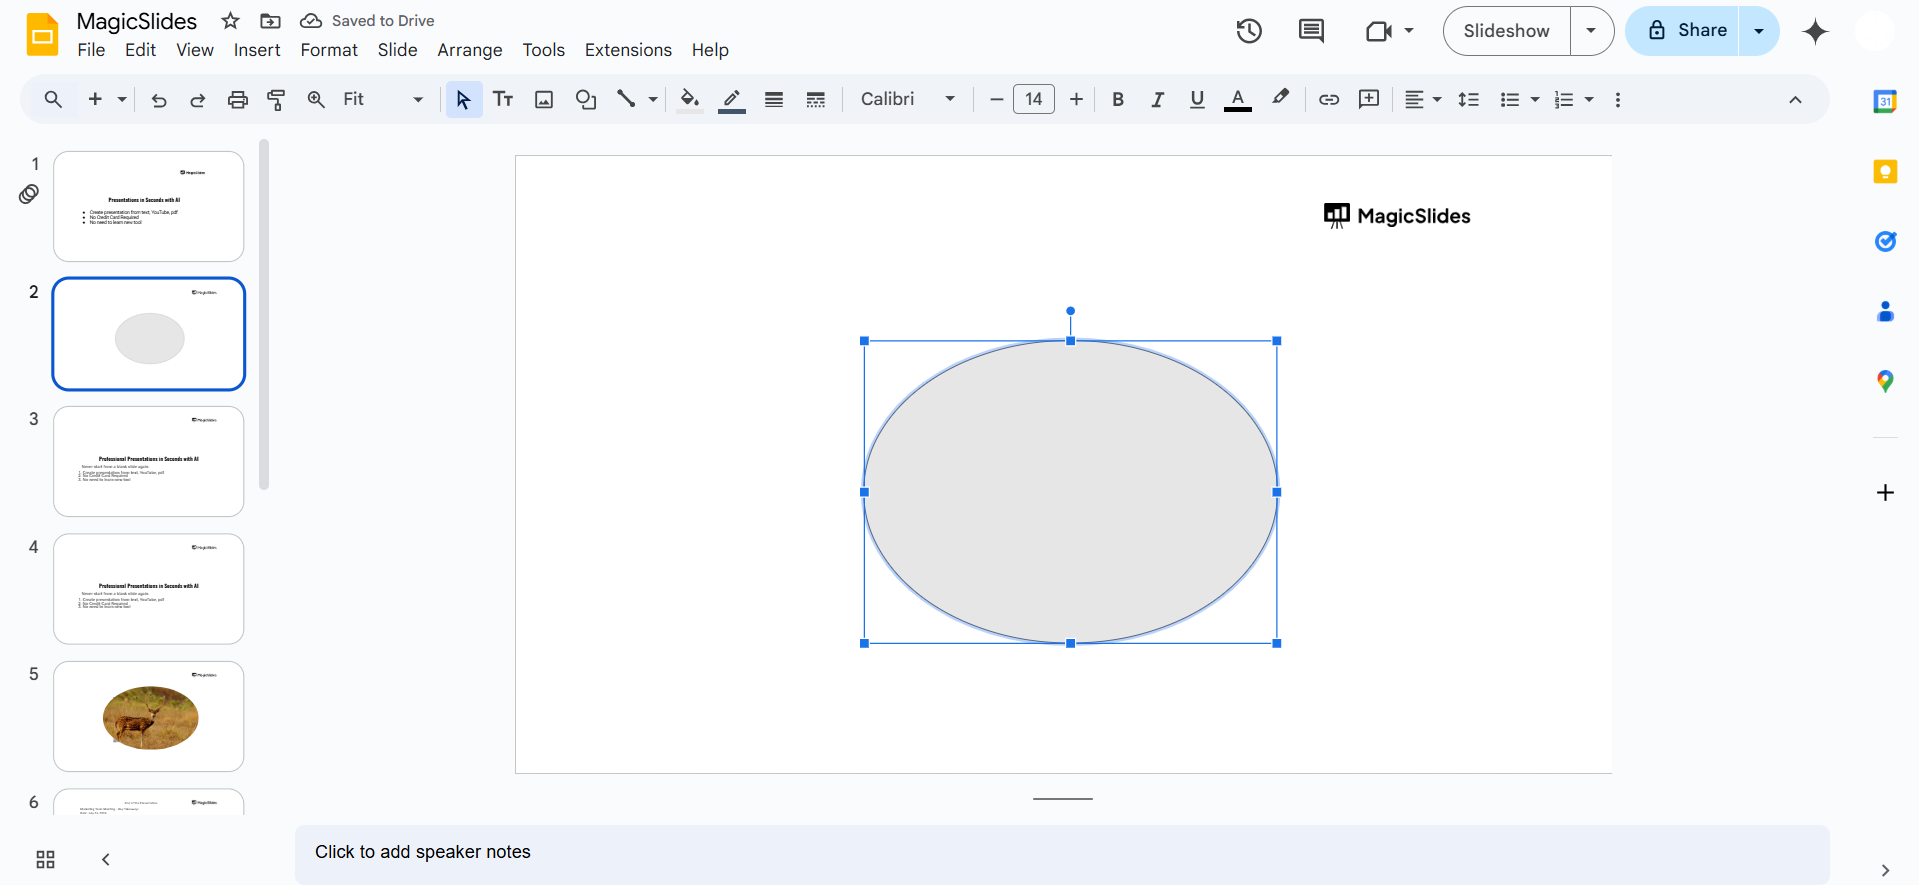
Go to the “Insert” menu, hover over “Shape,” and choose a parallelogram or trapezoid.
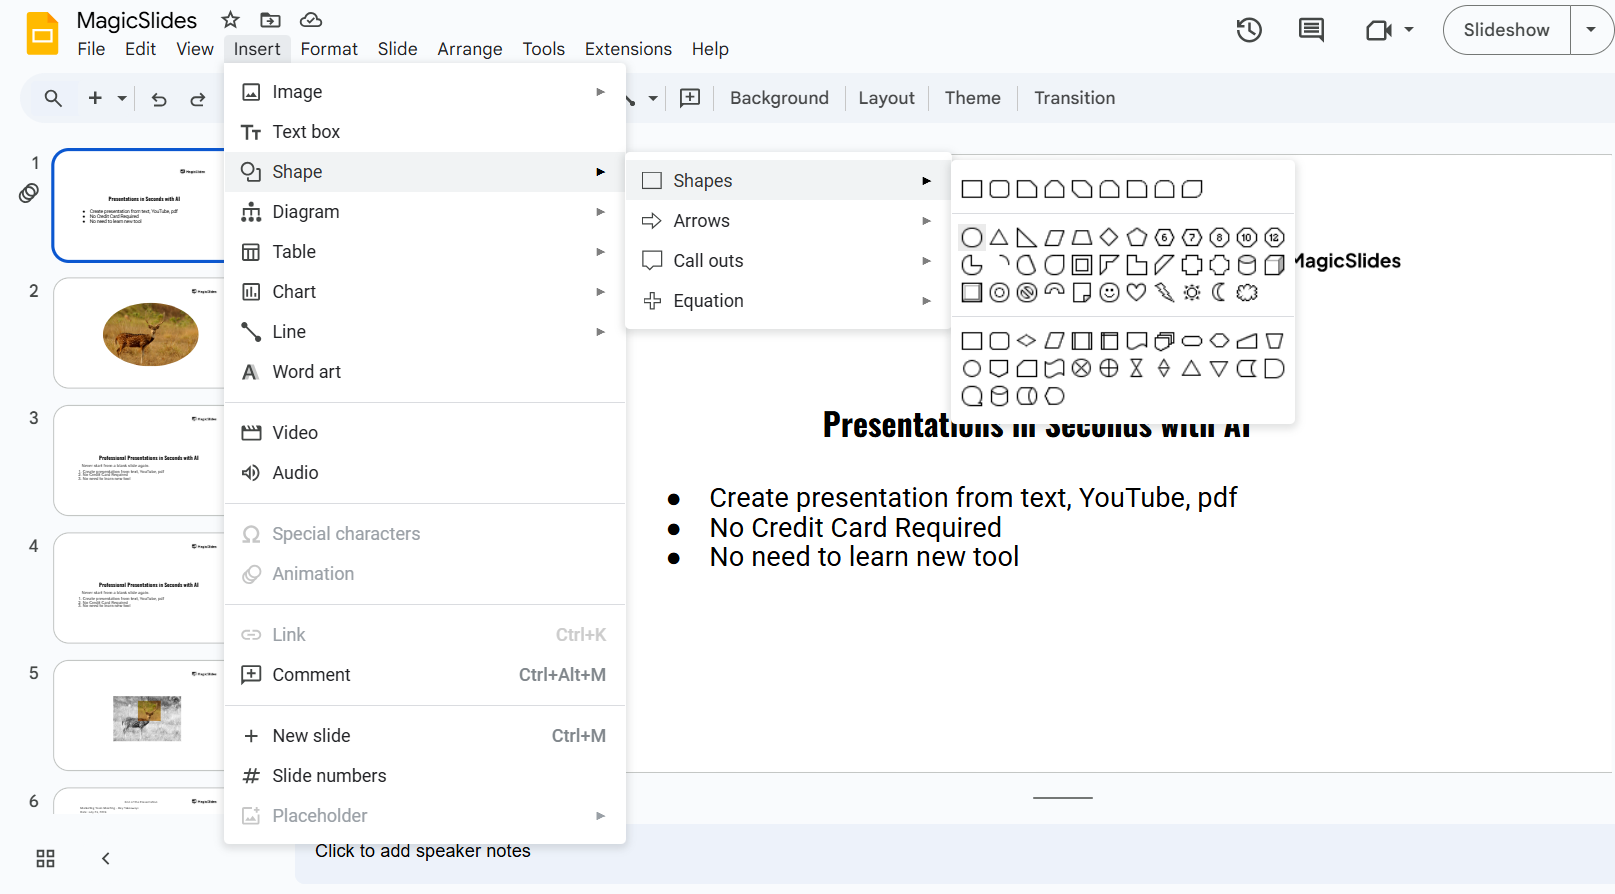
Click and drag to draw the shape. Adjust its size and position to fit your skewing needs.
Step 4: Adjust the Shape for Skewing
Use the handles on the corners of the shape to adjust its angle or skew.
Customize the shape’s rotation or resize it until it matches your desired skew effect.
Step 5: Combine the Text Box and Shape
Drag your text box over the shape and align it properly.
Right-click on the text box and select “Order” > “Bring to front.”
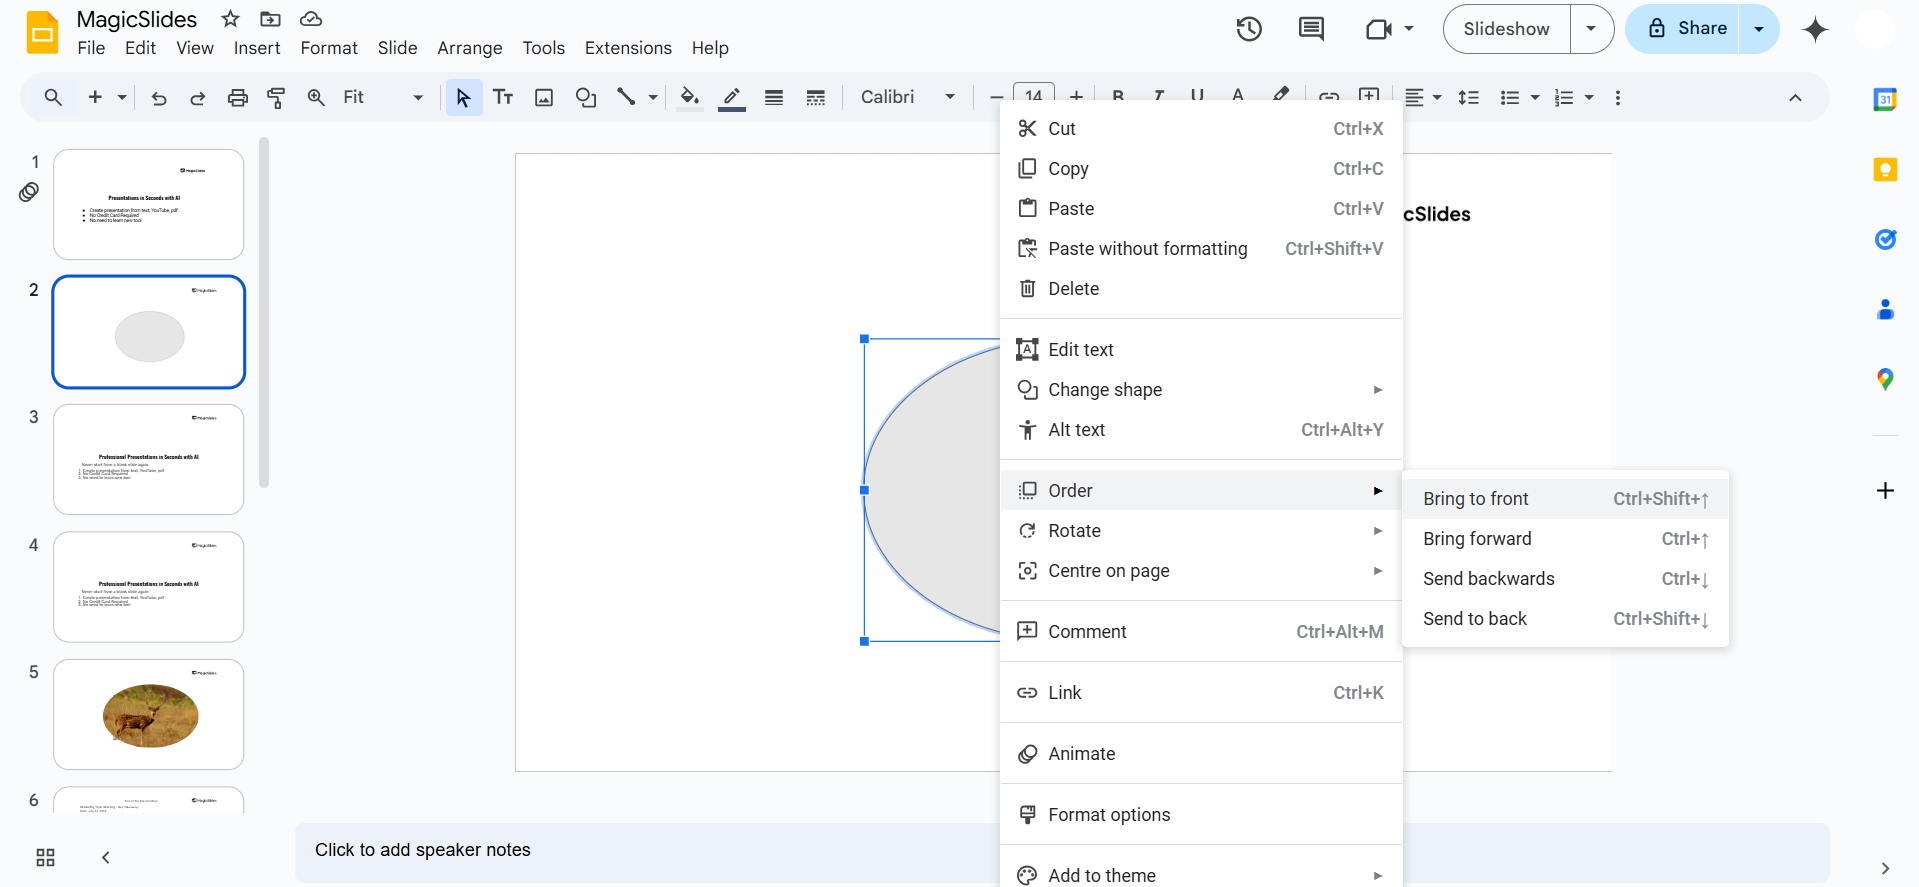
Adjust the alignment of the text box within the shape to create a skewed appearance.
Step 6: Group the Text Box and Shape
Select both the text box and the shape by holding Shift and clicking on each.
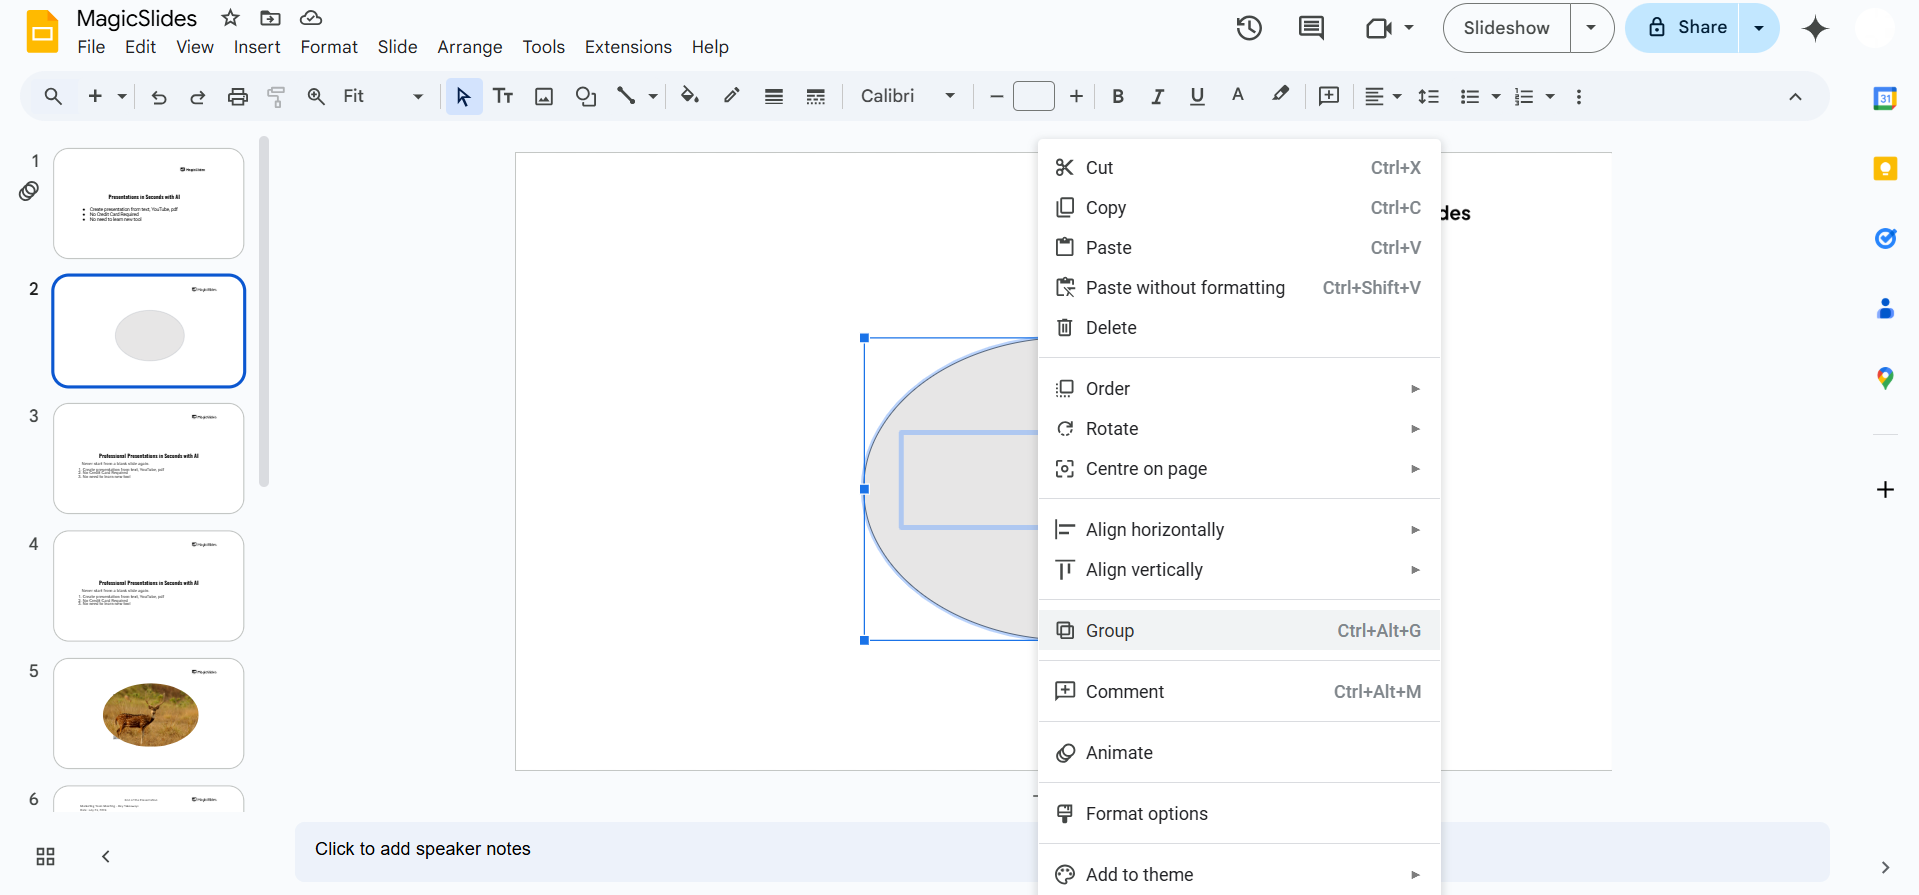
Right-click and choose “Group” to combine them into a single element.
Step 7: Final Adjustments
Move and resize the grouped element as needed.
Customize the color, border, or transparency of the shape to enhance the design.
After learning to skew text boxes in Google Slides, explore how to curve text in PowerPoint for even more creative text effects.
Conclusion
While Google Slides doesn’t have a direct skewing tool, you can easily achieve a skewed text box effect by combining text boxes with customizable shapes.
This method adds a dynamic and professional look to your presentations, making them visually appealing.
By following these steps, you can transform ordinary text boxes into unique design elements.
FAQs on Skewing Text Boxes in Google Slides
Can I directly skew a text box in Google Slides?
No, Google Slides doesn’t have a direct skewing option, but you can achieve the effect using shapes.
Can I adjust the skewed shape after grouping it with the text box?
Yes, you can ungroup the elements, adjust the shape, and regroup them as needed.
How can I make the skewed text box transparent?
Use the “Fill color” option in the shape formatting menu to adjust transparency or remove the fill color.
By using this approach, you can create visually impactful designs that elevate your Google Slides presentations!


