How to bring a picture to the front in google slides


Elevate your Google Slides design by mastering the art of bringing images to the forefront.
In the dynamic realm of digital presentations, visual elements take center stage, and Google Slides provides a canvas to weave compelling narratives. One crucial aspect of crafting an impactful presentation is the strategic arrangement of images. In Google Slides, arranging images to the forefront can significantly enhance the visual appeal of your presentation.
Follow this comprehensive guide to learn the nuanced steps of bringing an image forward.
How to bring a picture to the front in google slides
Step 1: Open Your Google Slides Presentation
Begin by accessing your Google Slides presentation. If you don't have one, create a new presentation or open an existing one where you want to adjust the image layering.

Step 2: Navigate to the Slide with the Image
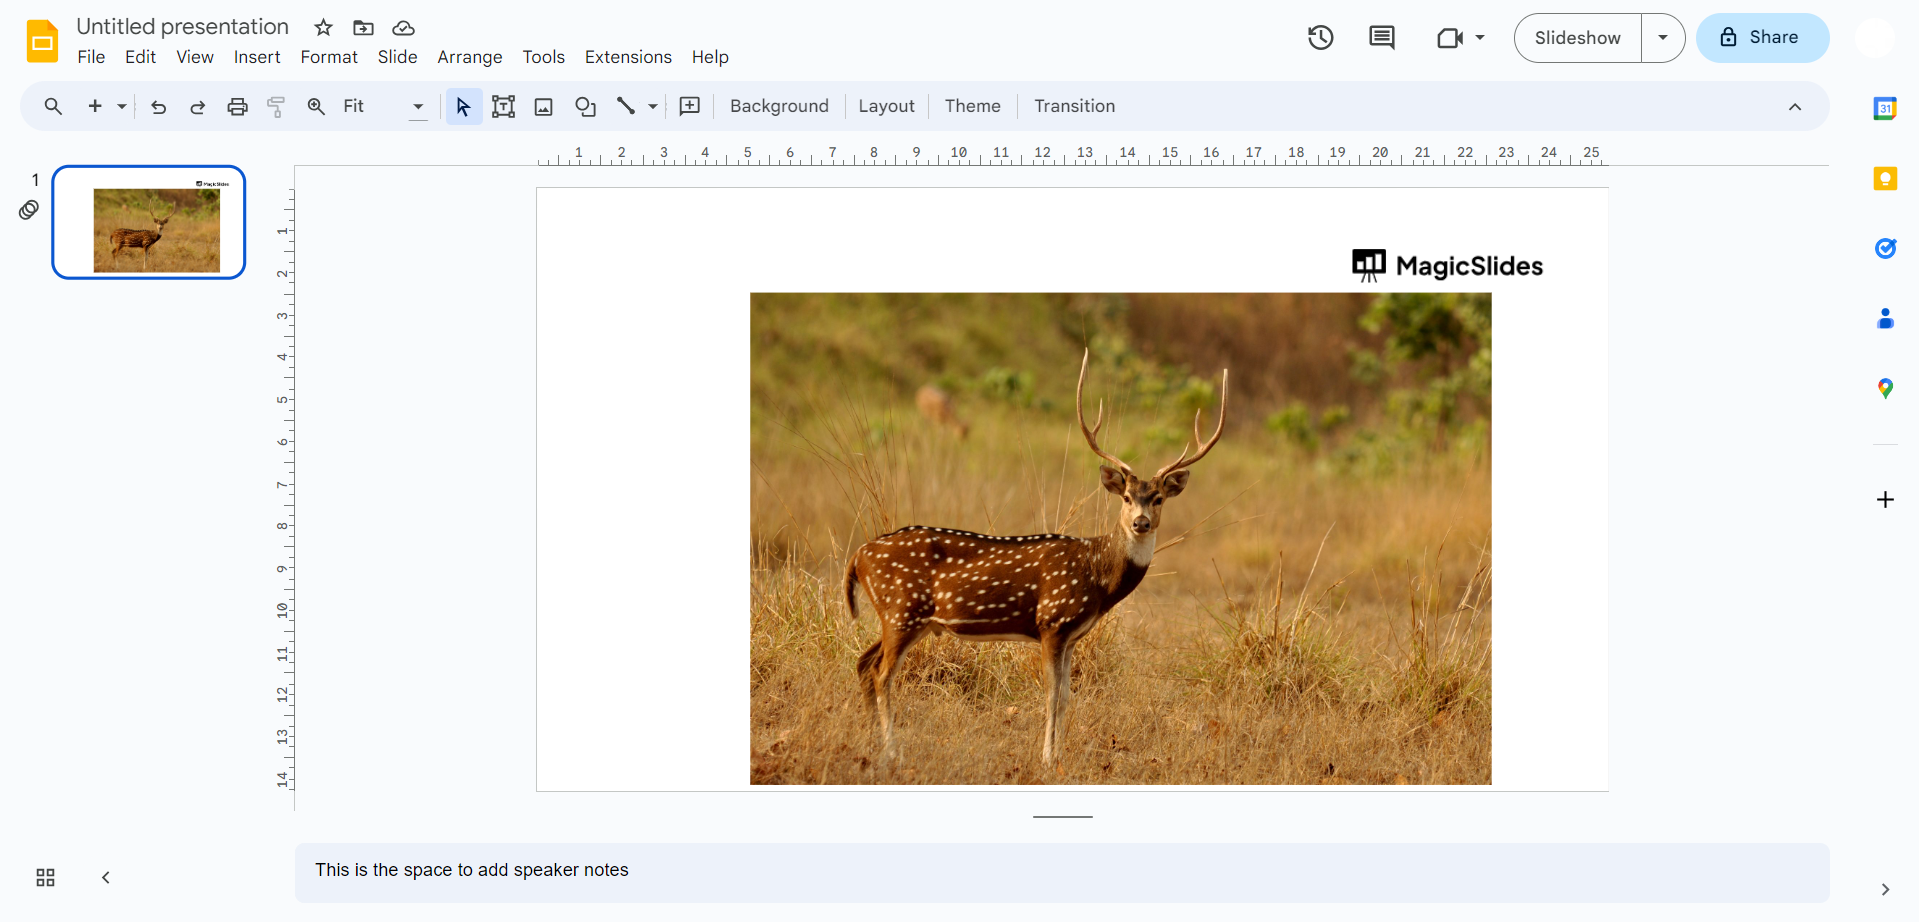
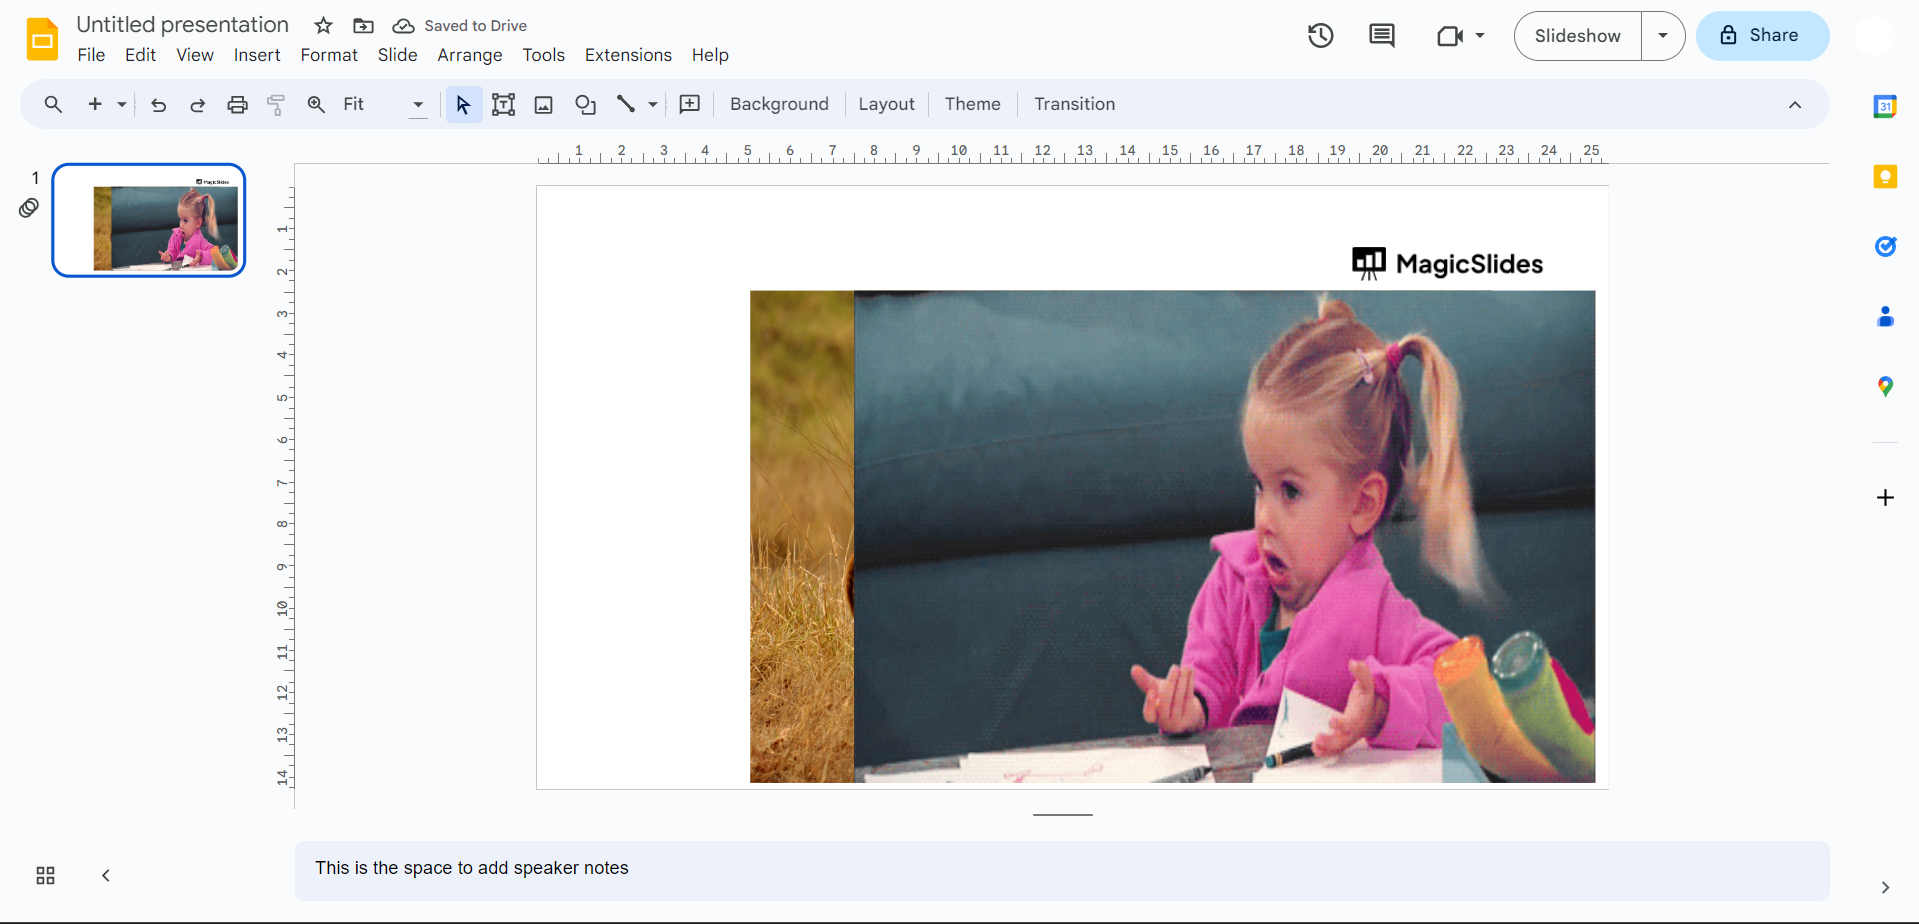
Identify the specific slide containing the image you wish to bring forward. Click on the slide to ensure you are working with the correct visual element.
Step 3: Click on the Image
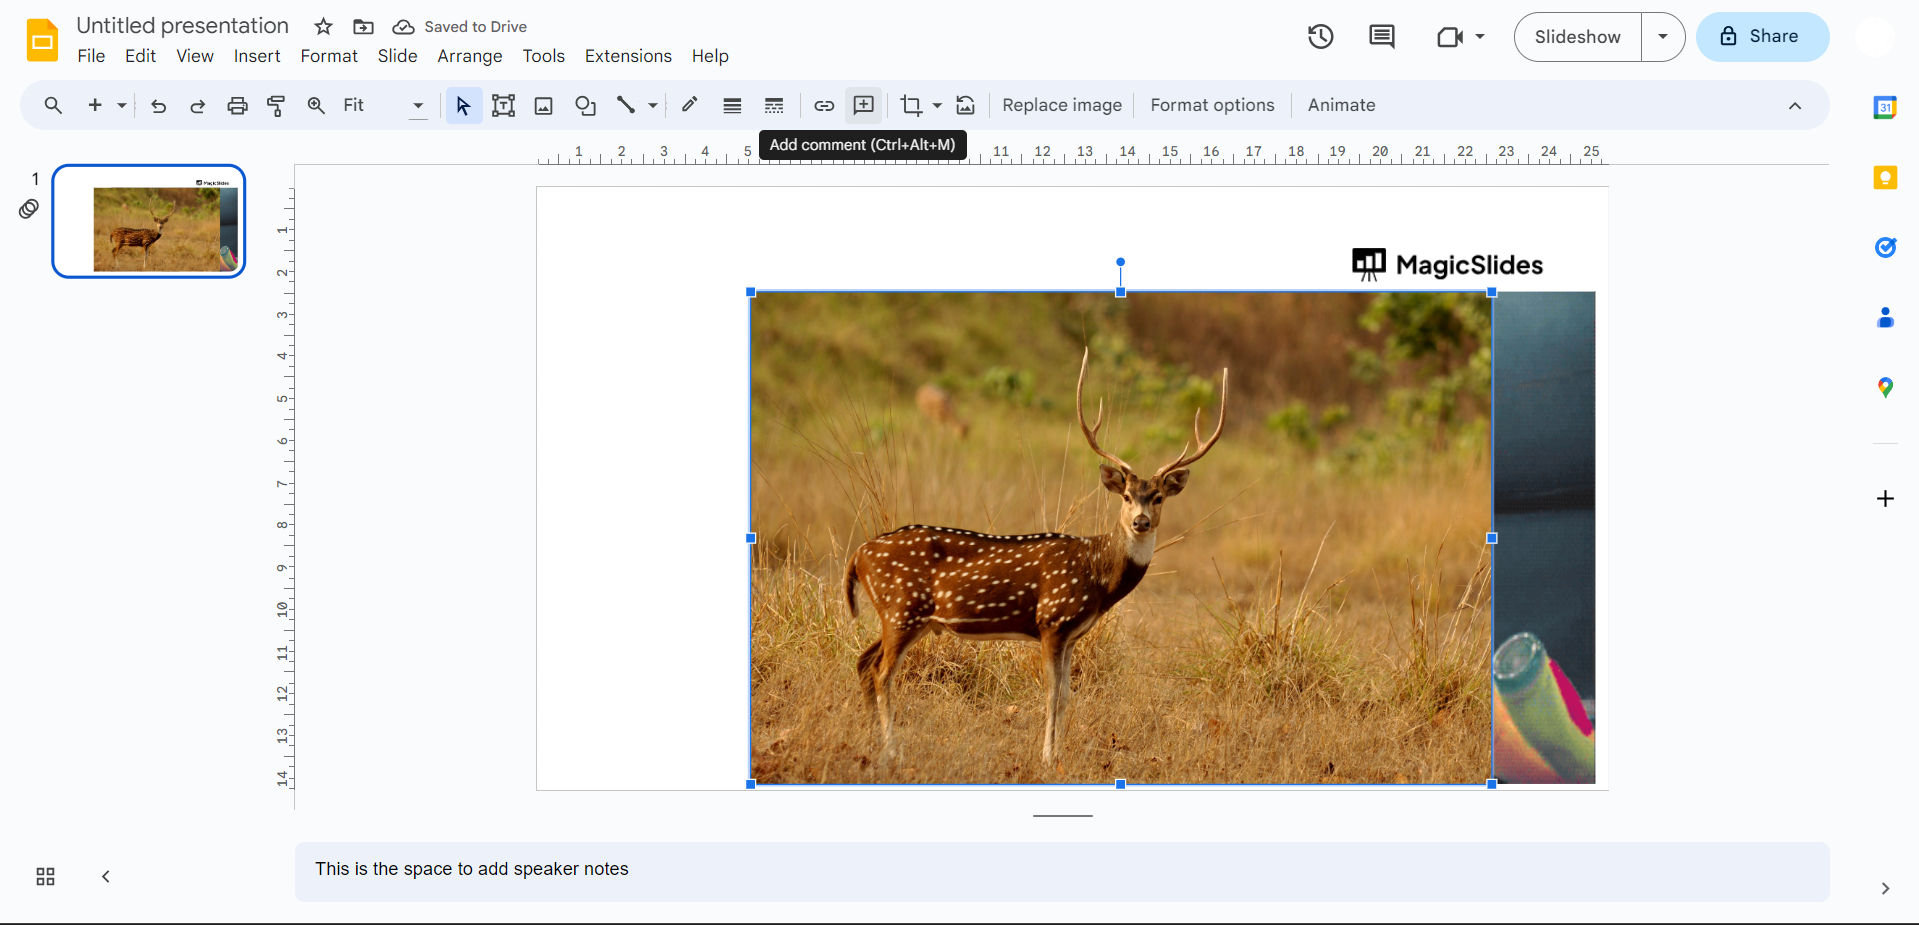
Locate the image on the selected slide and click on it. This action ensures that the subsequent adjustments apply specifically to the chosen image.
Step 4: Access the Arrange Tab
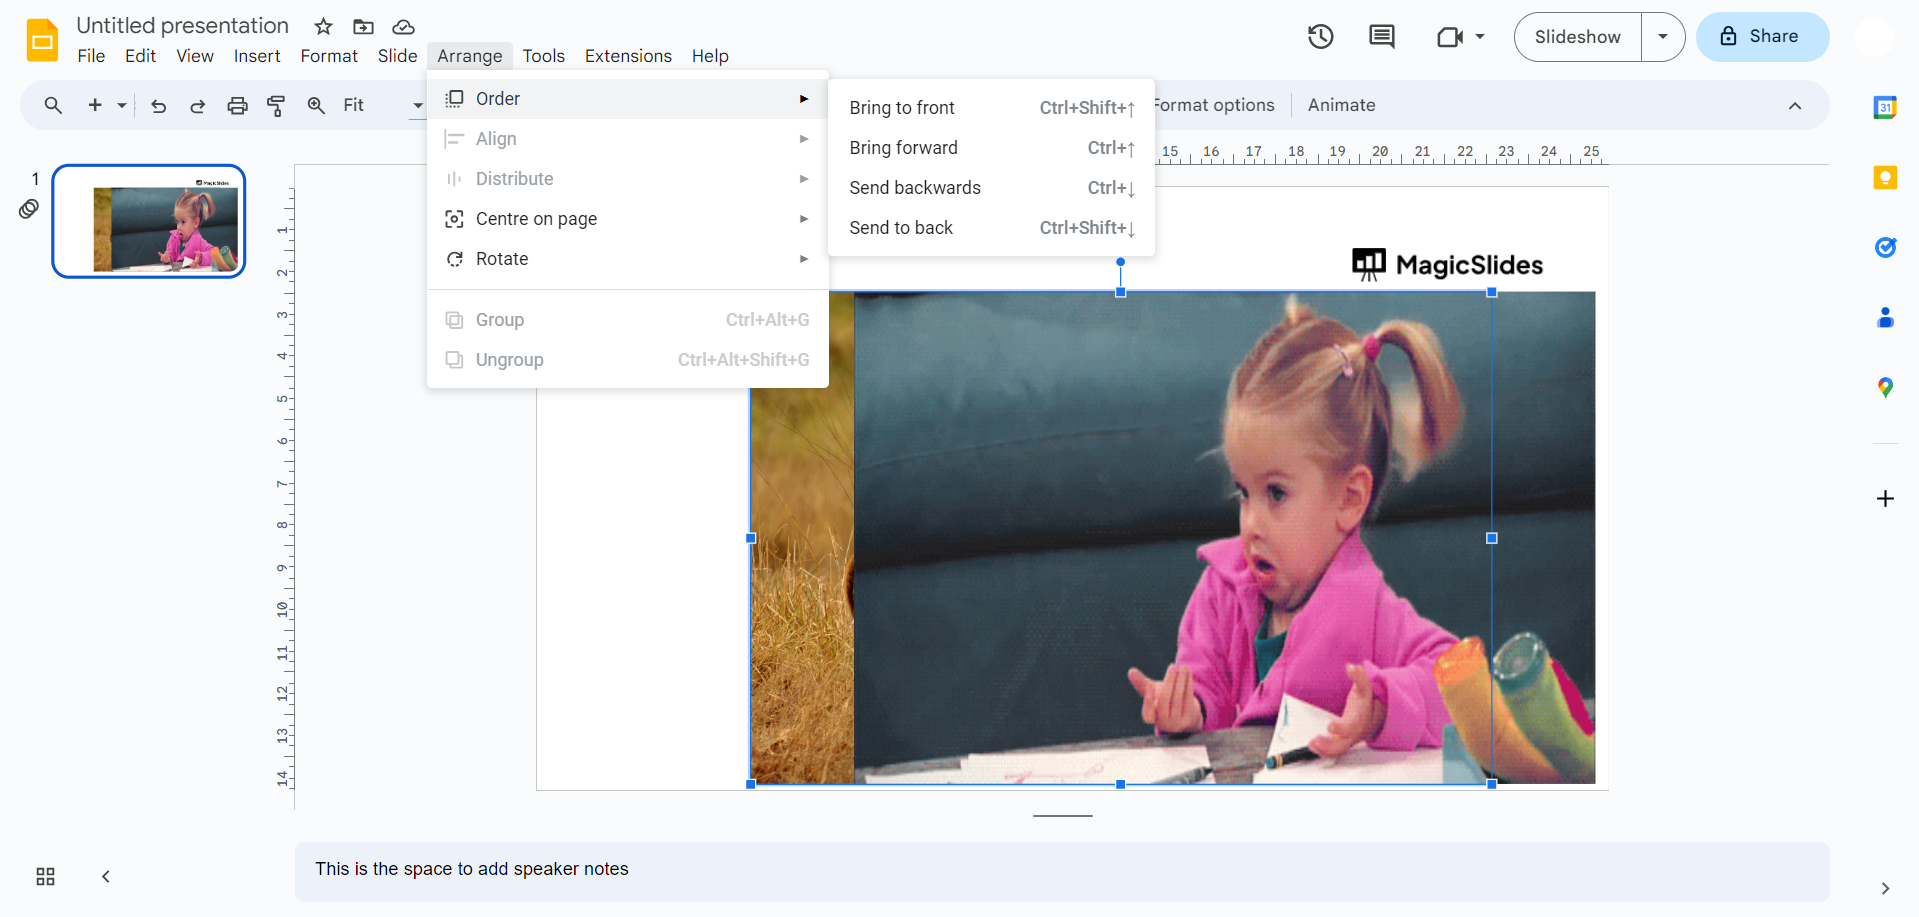
Look for the "Arrange" tab in the top menu bar. Click on this tab to reveal a set of options that allow you to manipulate the arrangement of objects within your slide.
Step 5: Select Order and Choose "Bring to Front"
Within the "Arrange" tab, click on the "Order" option. A dropdown menu will appear, presenting various arrangement choices. To bring the selected image to the front, click on "Bring to Front."
Conclusion:
As we draw the curtains on our exploration of bringing images forward in Google Slides, you've acquired a valuable skill that can transform your presentations. By diligently following these steps, you've successfully elevated your image's position in Google Slides, ensuring it takes the spotlight within your presentation. Experiment with layering to create visually appealing and organized slides that captivate your audience effortlessly.
Now that you’ve cropped the picture in shape put the picture in front of the slide which can make it look more appealing, know this simple trick from here
Frequently Asked Questions:
Can I bring multiple images forward simultaneously in Google Slides?
Unfortunately, Google Slides currently allows you to adjust the layering of one image at a time.
Will bringing an image forward affect its position on other slides in the presentation?
No, the layering adjustments are specific to the slide you are working on and won't impact other slides.
Is there a shortcut for bringing an image to the front in Google Slides?
As of now, Google Slides doesn't offer a keyboard shortcut for this action; you can use the Arrange tab.
Can I undo the "Bring to Front" action if I change my mind?
Yes, the undo option (Ctrl + Z or Cmd + Z on Mac) works for reversing any recent layering adjustments.


