How to Curve Text in Google Slides in A Few Simple Steps


Learn how to curve text in Google Slides quickly in this guide. With these steps, you can effortlessly integrate curved text.
Curving text in Google Slides isn’t as straightforward a procedure because Google Slides doesn’t offer a built-in curve text feature. Most of the users panic after listening that there is no native method for the same. But don’t worry, I’ll show you how to curve text in Google Slides using easy steps that anyone can follow.
Why Curve Text in Google Slides?
Curved text can instantly make your slides look more creative and visually appealing. It’s especially useful for:
- Making headings more attractive
- Designing circular logos or badges
- Creating attractive title slides
- Adding a creative touch to infographics or diagrams
Next, I’ll share some tricks to curve text simply and quickly.
Also read: How to Create a Presentation in Canva
How to Curve Text in Google Slides?
For curving text in Google Slides, I found three practical approaches. I tested all of them, and in the sections below, I explain each one step by step:
#Method 1. Curve Text Using Google Drawings
If you prefer not to use any third-party solution, then Google Drawings is the best option. Here are the steps to use it:
- Open Google Drawings.
- Insert WordArt, i.e. Insert > WordArt.
- Type your text.
- Right-click the WordArt > choose Format Options.
- Use “Size & Rotation” to rotate each letter in small increments.
- Drag letters manually to form a curve.
- Once done, download the final curved text as a PNG.
- Insert it into Google Slides.
This is time-consuming, but it gives you complete manual control.
#Method 2. Curve Text Manually Inside Google Slides
Another way to curve text in Google Slides is to use Google Slides, which can be used to curve text. To do so:
Step 1. Insert a circle shape.
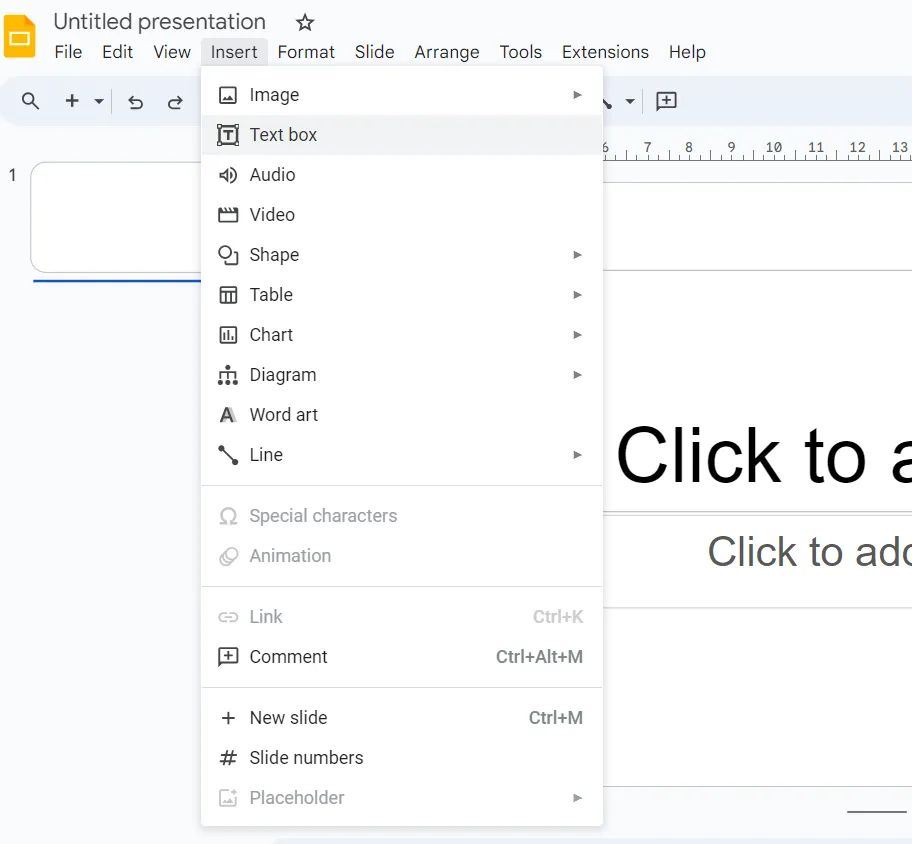
- Click Insert.
- Afterwards, select the Shape > Shapes.
- Now, hit the Circle option.
Step 2. Create individual text boxes for each letter.

Step 3. Place each text box along the edge of the circle.
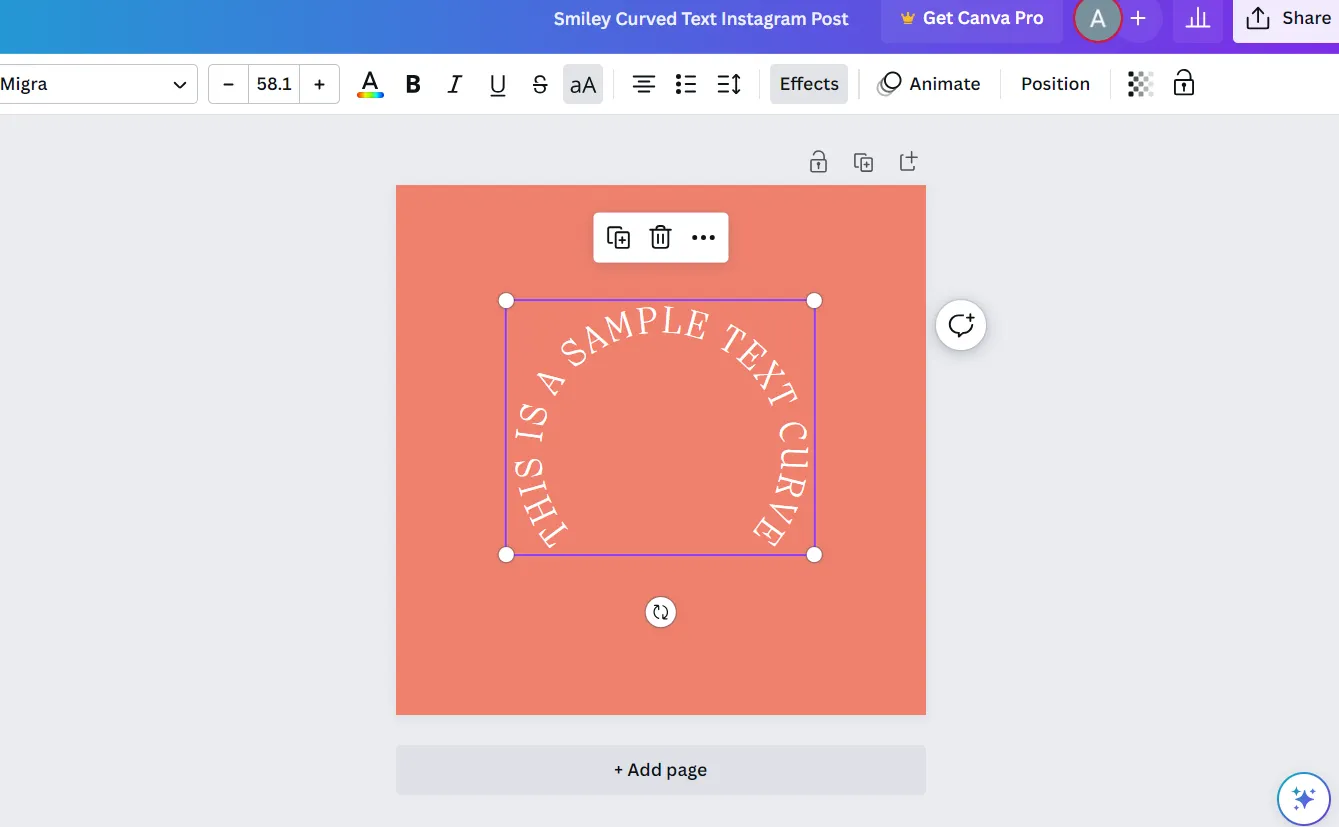
Step 4. Rotate each text box slightly using the rotation handle.
Step 5. Delete the circle shape once the curve looks good.
This works great for small headings, but it needs full manual intervention. However, if you need to automate this process, use the next option.
#Method 3. How to Curve Text in Google Slides Via Cutting-edge Option
After trying all the manual methods myself, I know they can take time, especially if you’re working on multiple slides. So if you don’t want to go through the manual steps every time, you can use an automated AI PPT Maker like MagicSlides.

When you’re in a hurry or want the curved text to look polished without manual intervention or exporting PNGs, just:
- Open this solution
- Enter topic
- Generate the presentation
- Adjust the curved text inside the AI-generated slides if needed
This is best when urgently needed to create multiple polished slides quickly. Additionally, you can try this for free before any commitment. I personally recommend this solution because it automatically curves text directly within slides.
Best Practices for Perfect Curve Text in Google Slides
Here are a few practical tips that help users avoid errors when using a manual solution for curving:
- Always use PNG with transparency.
- Adjust letter spacing before exporting.
- Avoid heavy fonts when creating curves.
- Use the Format > Recolour option in Google Slides to match the curved text with the slide theme.
Related article: Convert Canva Presentations to PowerPoint
Author’s Verdict
Curving text in Google Slides becomes simple once you know the right tools and tricks. Even though Slides doesn’t have a built-in curve feature, the mentioned methods help you to easily do so. Now that you’ve learned how to curve text in Google Slides, you’re ready to give your slides a more polished look.
People Also Ask
Q1. Can I curve text directly inside Google Slides?
No, Google Slides doesn’t provide a built-in curved text option.
Q2. Can I edit the curved text after inserting it?
Not directly inside Google Slides, edit it in the tool you used, like MagicSlides AI, then re-export.
Q3. Will the text become blurry?
If you export the PNG in high resolution, it stays sharp.
Q4. Can I curve text around a logo?
Yes, use the circular curve option in any online tool and insert it around the logo.


