How to Outline an Image in Canva [Updated 2026 Guide]


How to Outline an Image in Canva using simple step-by-step solutions. Learn how to add an outline to an image in Canva for free in 2026.
How to Outline an Image in Canva [Step-by-Step 2026 Tutorial]
Understanding how to outline an image in Canva will help you to improve the look of any design. I personally use this technique when I create a presentation in Canva. Adding a clean outline makes everything look more professional, whether you’re creating thumbnails, social media posts, or blog graphics. In this guide, I’ll show you how to add an outline to an image in Canva using free solutions, so you can get expected results in just a few clicks.
Why Create an Outline for Images in Canva?
If you’re here, you probably already understand the need for outlining images. I personally use outlines in Canva because they instantly improve clarity. Here are some of the main reasons users outline images in Canva:
- Makes the subject stand out
- Improves visual focus
- Adds a professional touch
- Boosts readability
- Perfect for thumbnails and ads
One personal tip from my experience: always outline your photo whenever using it in YouTube thumbnails or social media platforms, because it instantly make PPT attractive boosts click-through rate.
How to Get the Perfect Images Before Outlining Them in Canva?
Before outlining an image in Canva, make sure you’re working with the right visual, because outlines work well with polished images. For the same, you can try MagicSlides AI image Creator for free and generate high-quality images that already match your topic.
This saves your time finding the right images from the search engines (Google, Bing, etc) or making them manually. Not only this, but you can create visuals with outlines or attractive borders. So, don’t waste time on further manual efforts, just opt for this now, and get the outlined images in seconds.
Still, if you want to learn how to do so manually, then let me explain the same in the next sections.
How to Outline an Image in Canva?
Below are all the methods for both Canva Pro and free users that I researched and found recently to create an image outline, i.e.
#Method 1. Using Background Remover (Canva Pro)
This is the cleanest and most professional method, and doesn’t require any add-ons or extensions, as background remover is a built-in feature of Canva Pro. Here are the steps for the same:
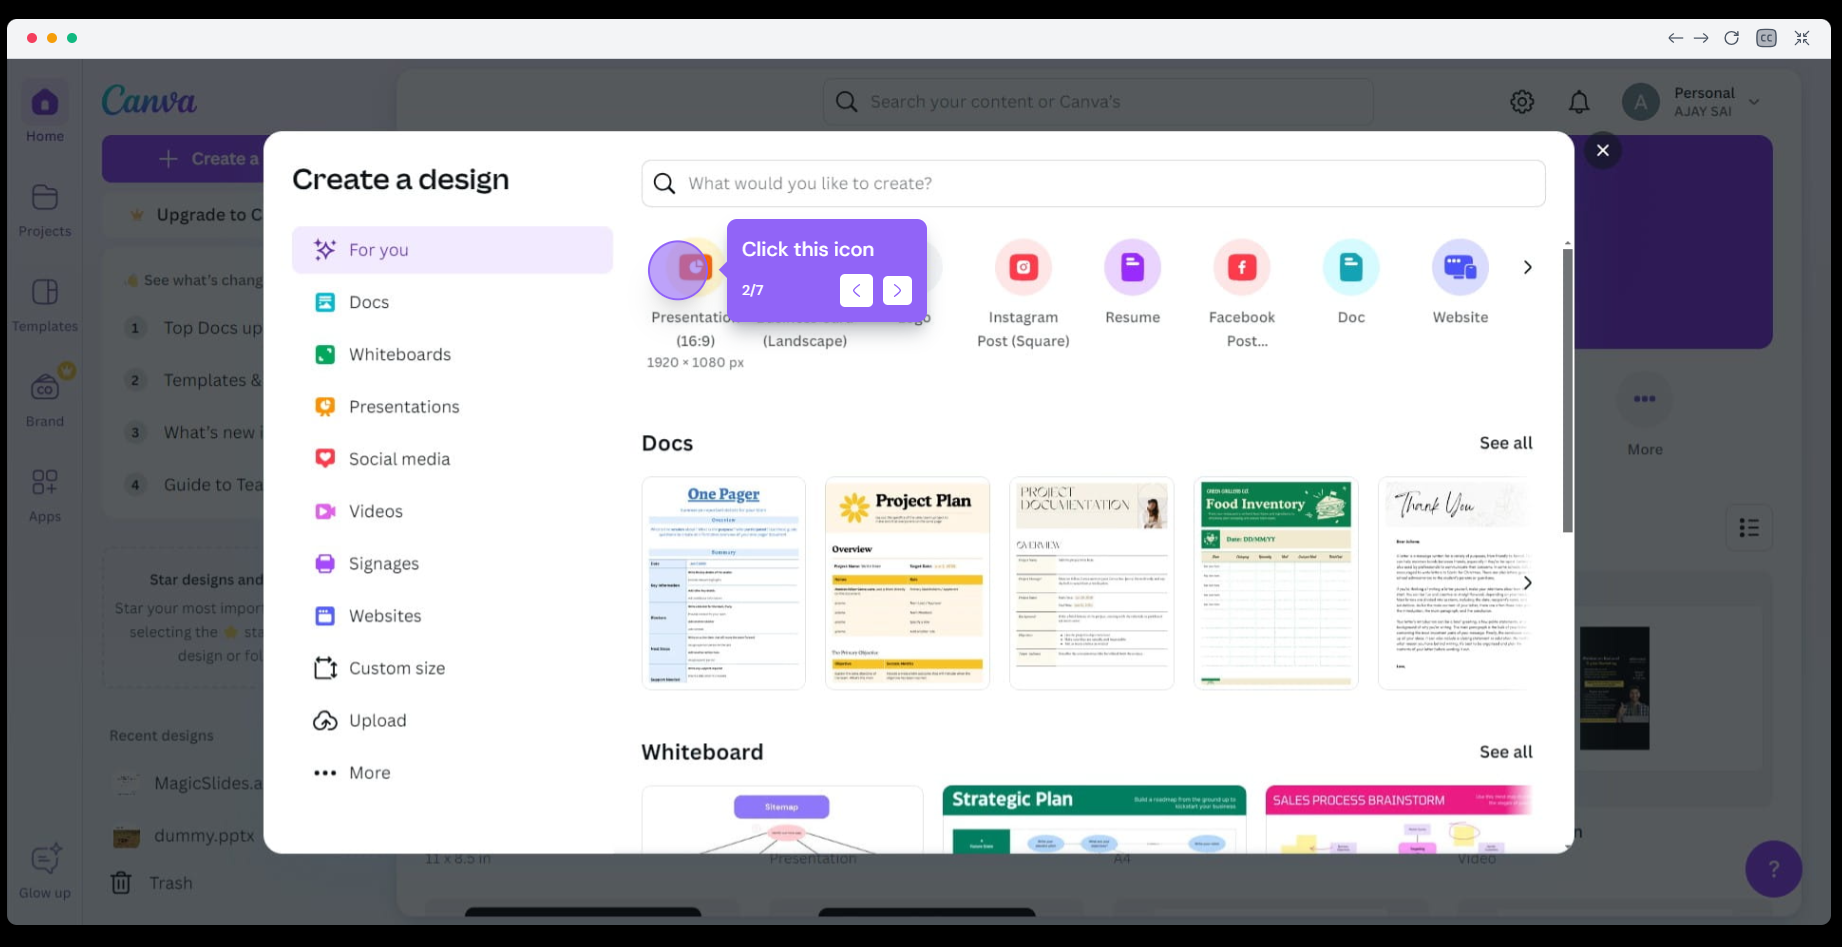
#Step 1. Click Uploads > Upload Files and select your image. Then drag it onto the canvas.
#Step 2. Select the image > Edit photo > Background Remover. Now you have a clean cut-out for outlining.
#Step 3. Press Ctrl + D (or Cmd + D on Mac) to duplicate it.
#Step 4. Select the bottom copy, then:
- Click Edit photo
- Open Shadows
- Choose Glow
#Step 5. Now change these settings:
- Blur – 0
- Transparency – 100
- Size – 10-20
- Color – White / Black / Any Color
This quickly creates a clean outline around the image. Adjust the size to make the outline thicker, or change colour as desired.
#Method 2. How to Outline an Image in Canva (Free Version)
If you don’t have Canva Pro, this method will work. To do so, follow these instructions:
#Step 1. Upload and place the image on the canvas.
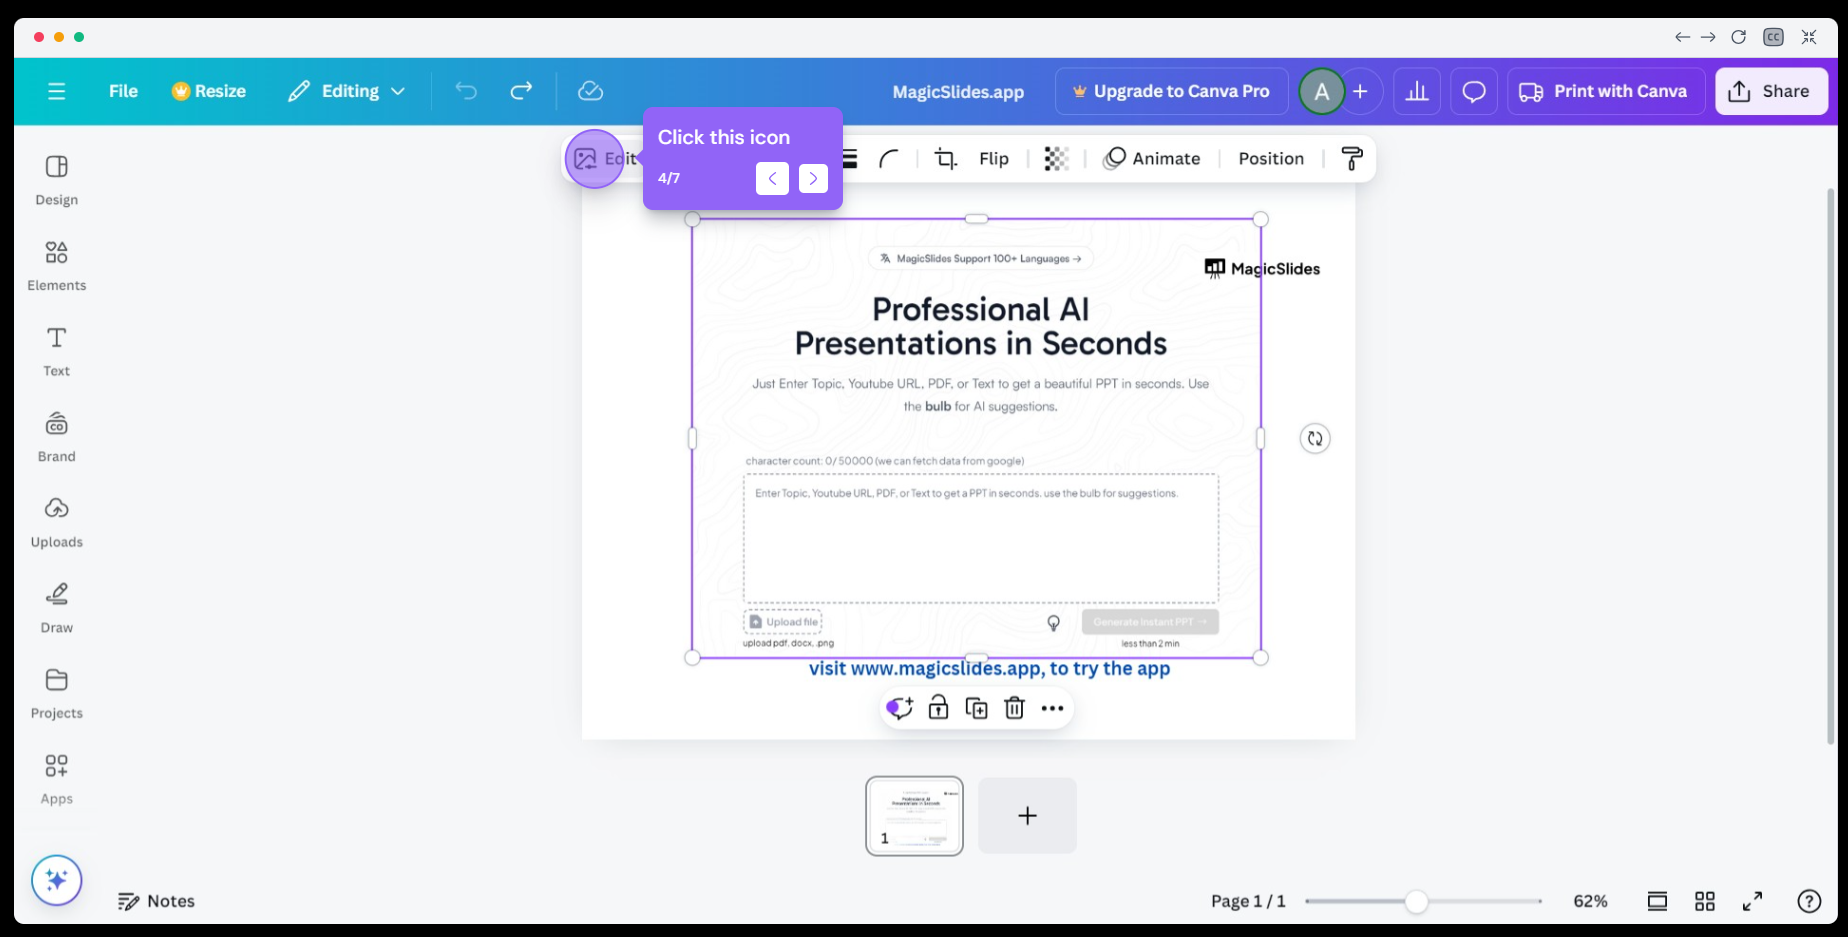
#Step 2. Click on the image and from the left corner click on Edit photo.
#Step 3. Now go to Effects and click on Shadows.
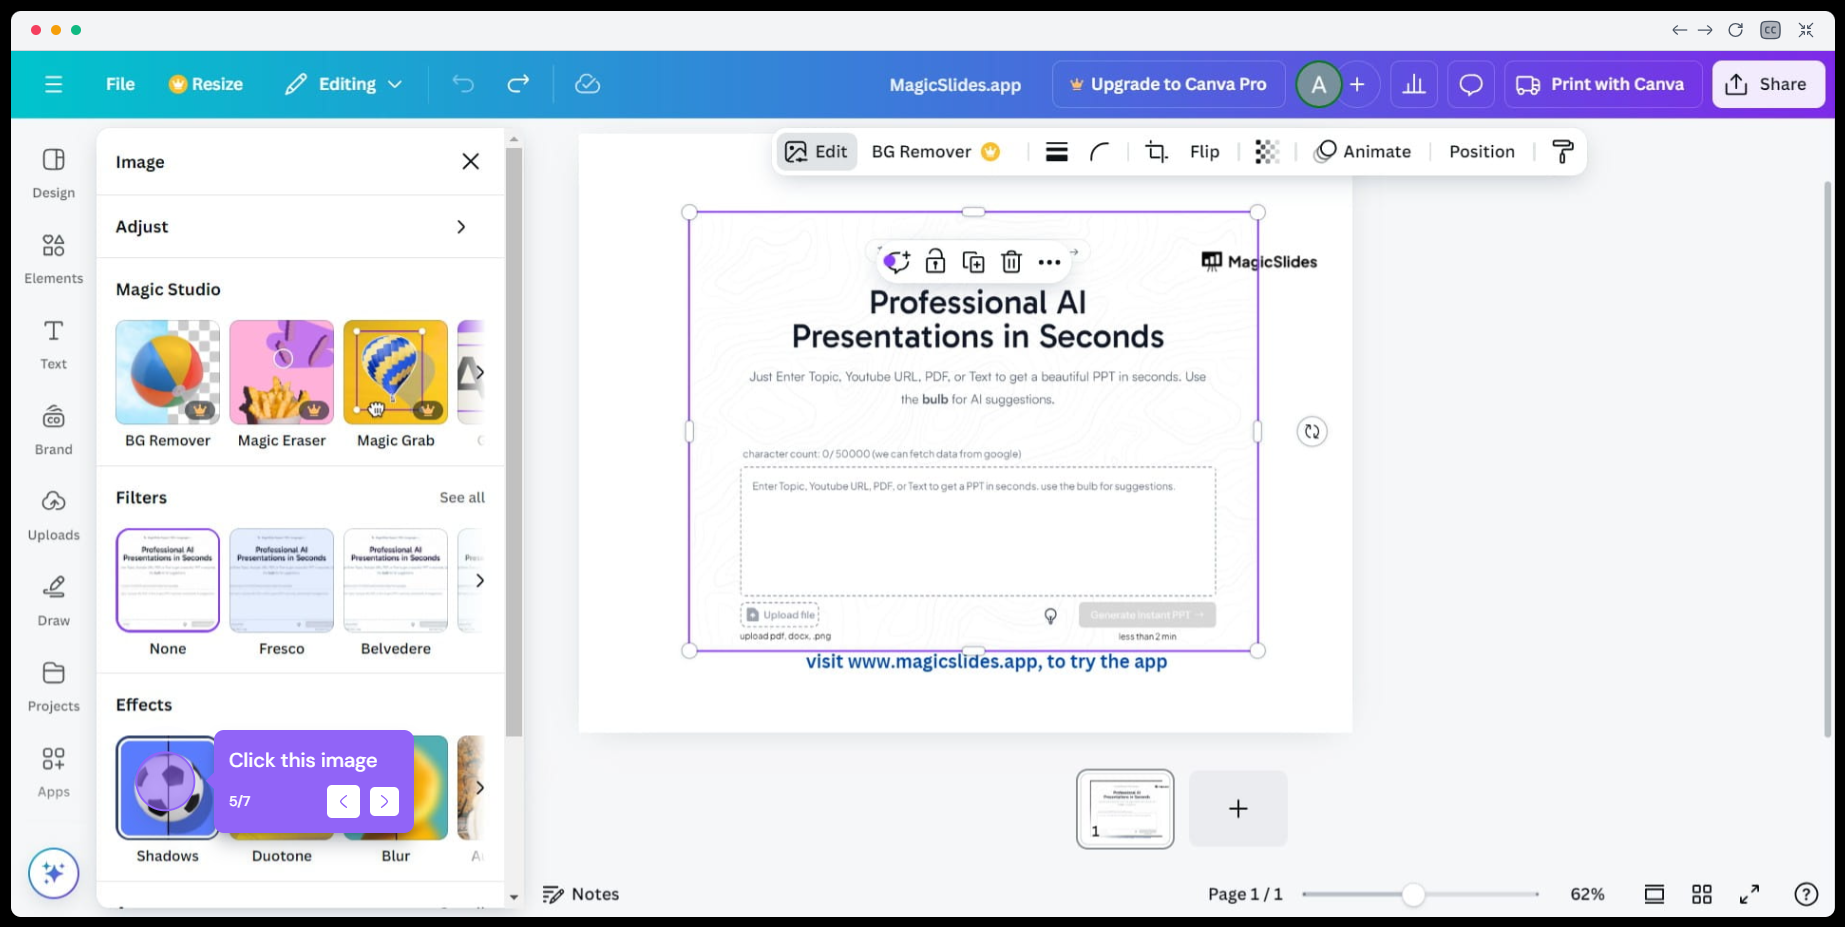
#Step 4. Select Outline, and it will outline the Image in Canva, as shown below.
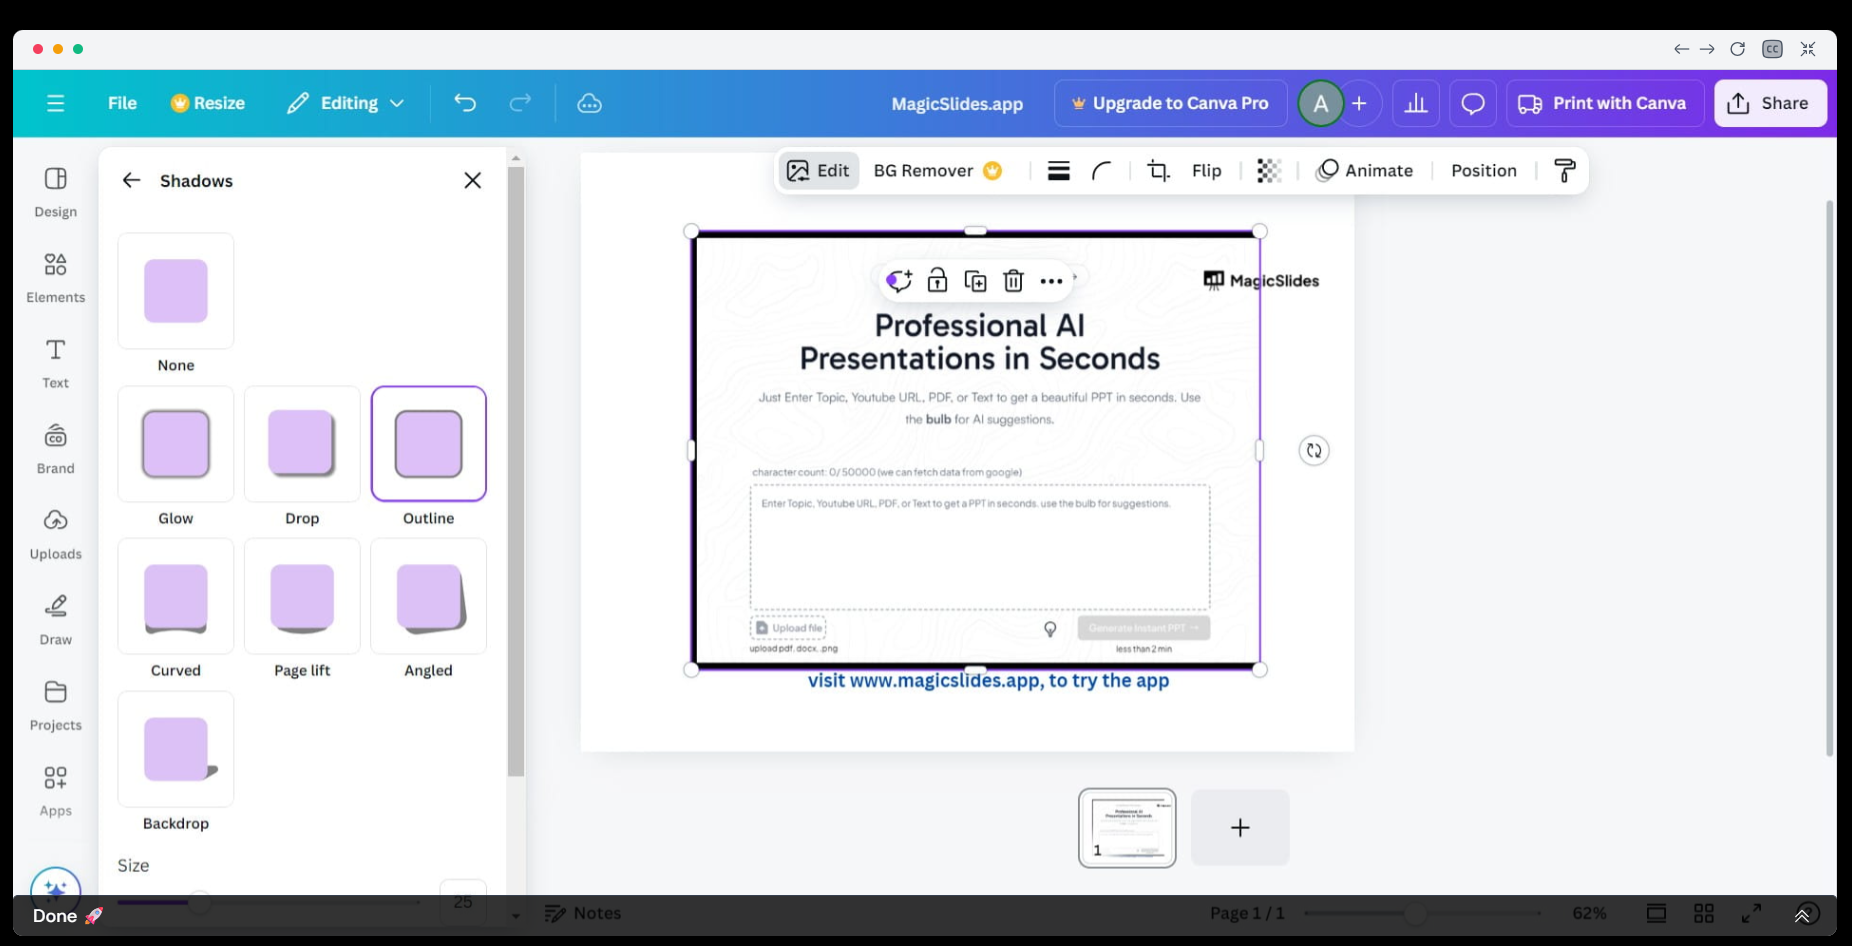
#Step 5. Now adjust:
- Blur > 0
- Transparency > 100
- Size > Increase
- Colour> White or black
This adds an outline around the entire image.
#Method 3. How to Outline a Transparent PNG in Canva
If you already have a PNG with a transparent background, then:
- Upload it
- Click the image
- Use Edit photo > Glow
- Set blur to 0
- Increase size
- Choose outline colour
This method works especially well when you later download Canva as PPT and want your images to stay in MS PowerPoint.
Best Colours to Use for Outlines
Image outline colour is based on image colour, but still, here are some suggestions for a professional look:
- White = Clean
- Black = Bold
- Yellow = Attention-grabbing
- Brand colour = Professional branding
I repeat: always pick a colour that contrasts with the background. Don’t use green or any other colour that looks unprofessional until your contrast allows it.
Where I Personally Use Image Outlines
I use this Canva outline trick in:
- YouTube thumbnails
- Instagram posts
- Blog feature images
- Product promos
- Pinterest pins
- Course covers
It’s one of the simplest design upgrades that positively impacts user attention.
Author’s Verdict
Now you know how to outline an image in Canva the same way I do. We covered both free and Canva Pro users' methods simply and with a proper set of instructions. I hope you enjoyed this informative journey and gained complete knowledge on how to add an outline to an image in Canva.
People Also Ask
Q1. Can I outline an image in Canva for free?
Yes, you can outline an image in Canva for free by using the Glow effect inside the Shadows tool.
Q2. Why does my Canva outline look blurry?
When the outline looks blurry, it’s usually because the Blur setting in the Glow effect is turned up. Set Blur to 0 to fix it.
Q3. Can I change the outline colour in Canva?
Yes. When you use the Glow effect, Canva allows you to choose any colour for the outline, i.e. white, black, etc.
Q4. How to make the outline thicker in Canva?
Increase the Size slider inside the Glow effect.
Q5. Does outlining images help with design quality?
Absolutely, outlining images improves visual clarity and makes designs look more professional.
Q6. Can I outline text and images the same way in Canva?
The Glow trick works for both images and text.
Q7. Is Canva better than Photoshop for outlining images?
For quick and simple designs, Canva is much faster than Photoshop.


