How to Mask an Image in Google Slides (Step-by-Step)


Learn how to mask an image in Google Slides step by step. Easily turn photos into circles, shapes, or rounded images using the built-in Mask image tool.
Masking an image in Google Slides is a simple way to change the shape of a photo without using a separate image-editing tool. You can turn a regular rectangular image into a circle, rounded shape, or other shapes directly in Google Slides using the Mask image option.
In this guide, you’ll learn how to mask an image in Google Slides step by step, including how to make an image circular, place an image inside a shape, and adjust the image after applying the mask.
How to Mask an Image in Google Slides
Google Slides has a built-in Mask Image feature that lets you crop an image into a specific shape. You can use it to create circular profile pictures, rounded images, or other shaped photos without editing the image in another application.
Step 1: Insert the Image:
- Open your Google Slides presentation.
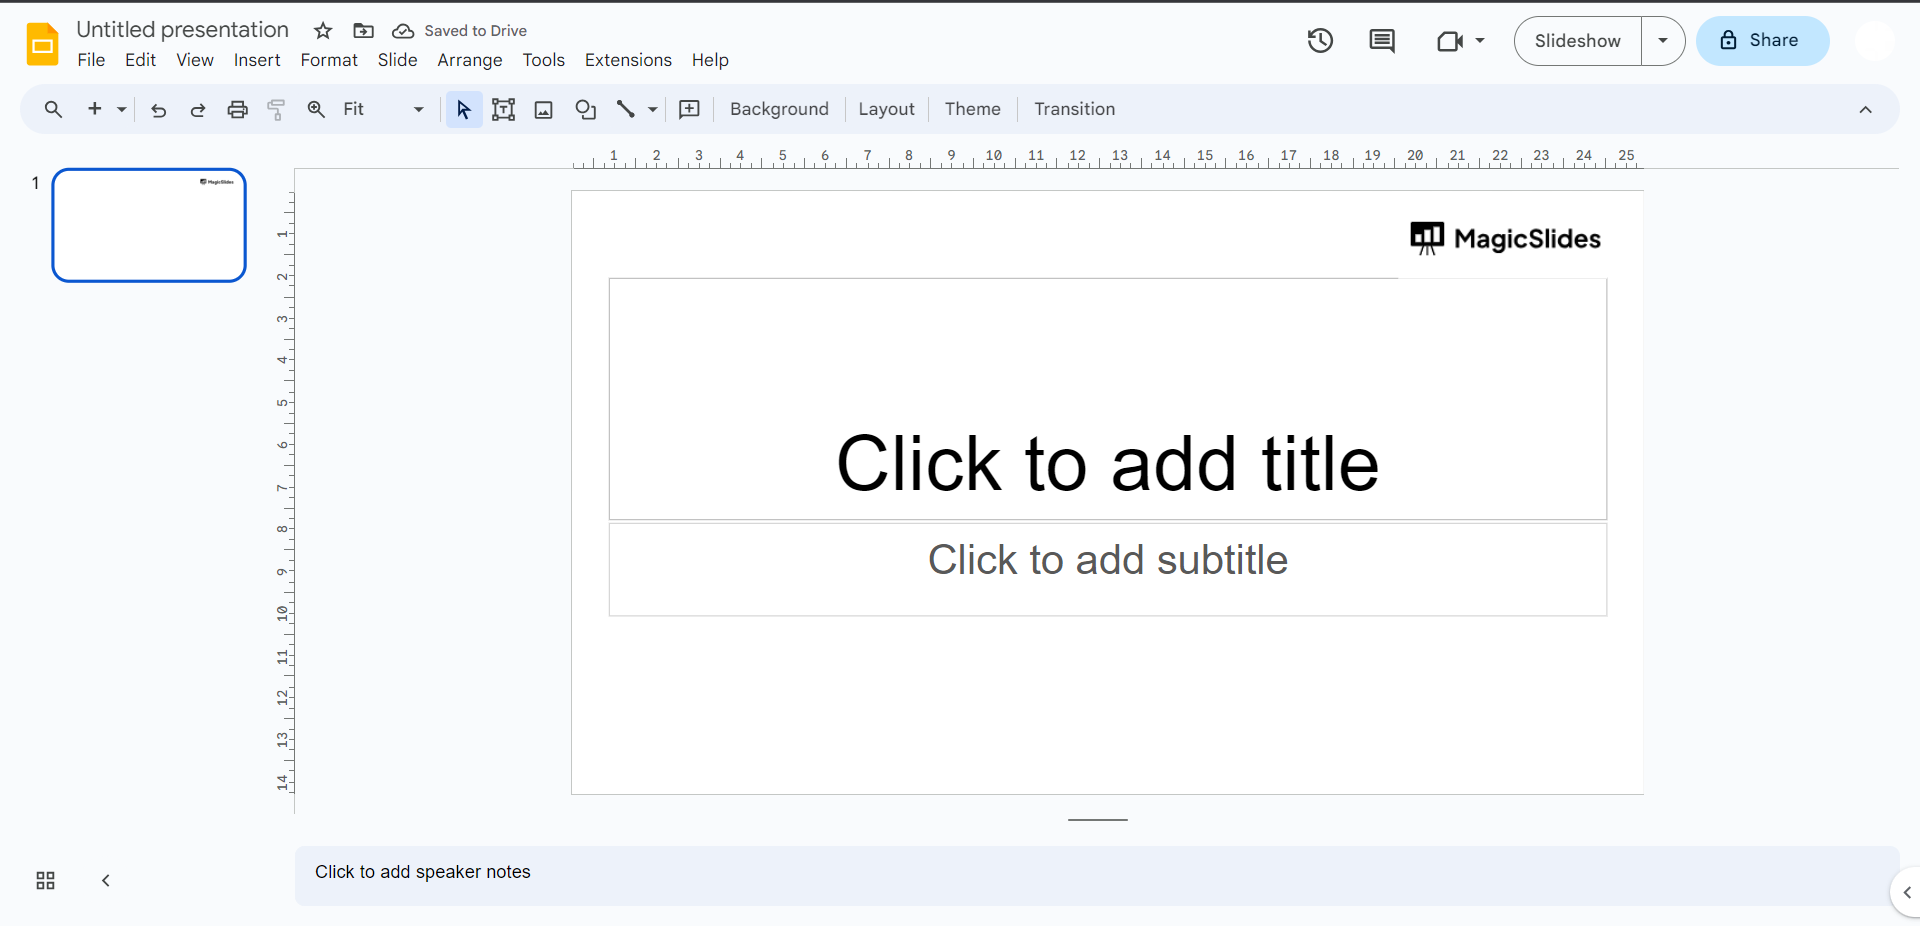
- Click on the slide where you want to insert the masked image.
- Go to the “Insert” menu and choose “Image.”
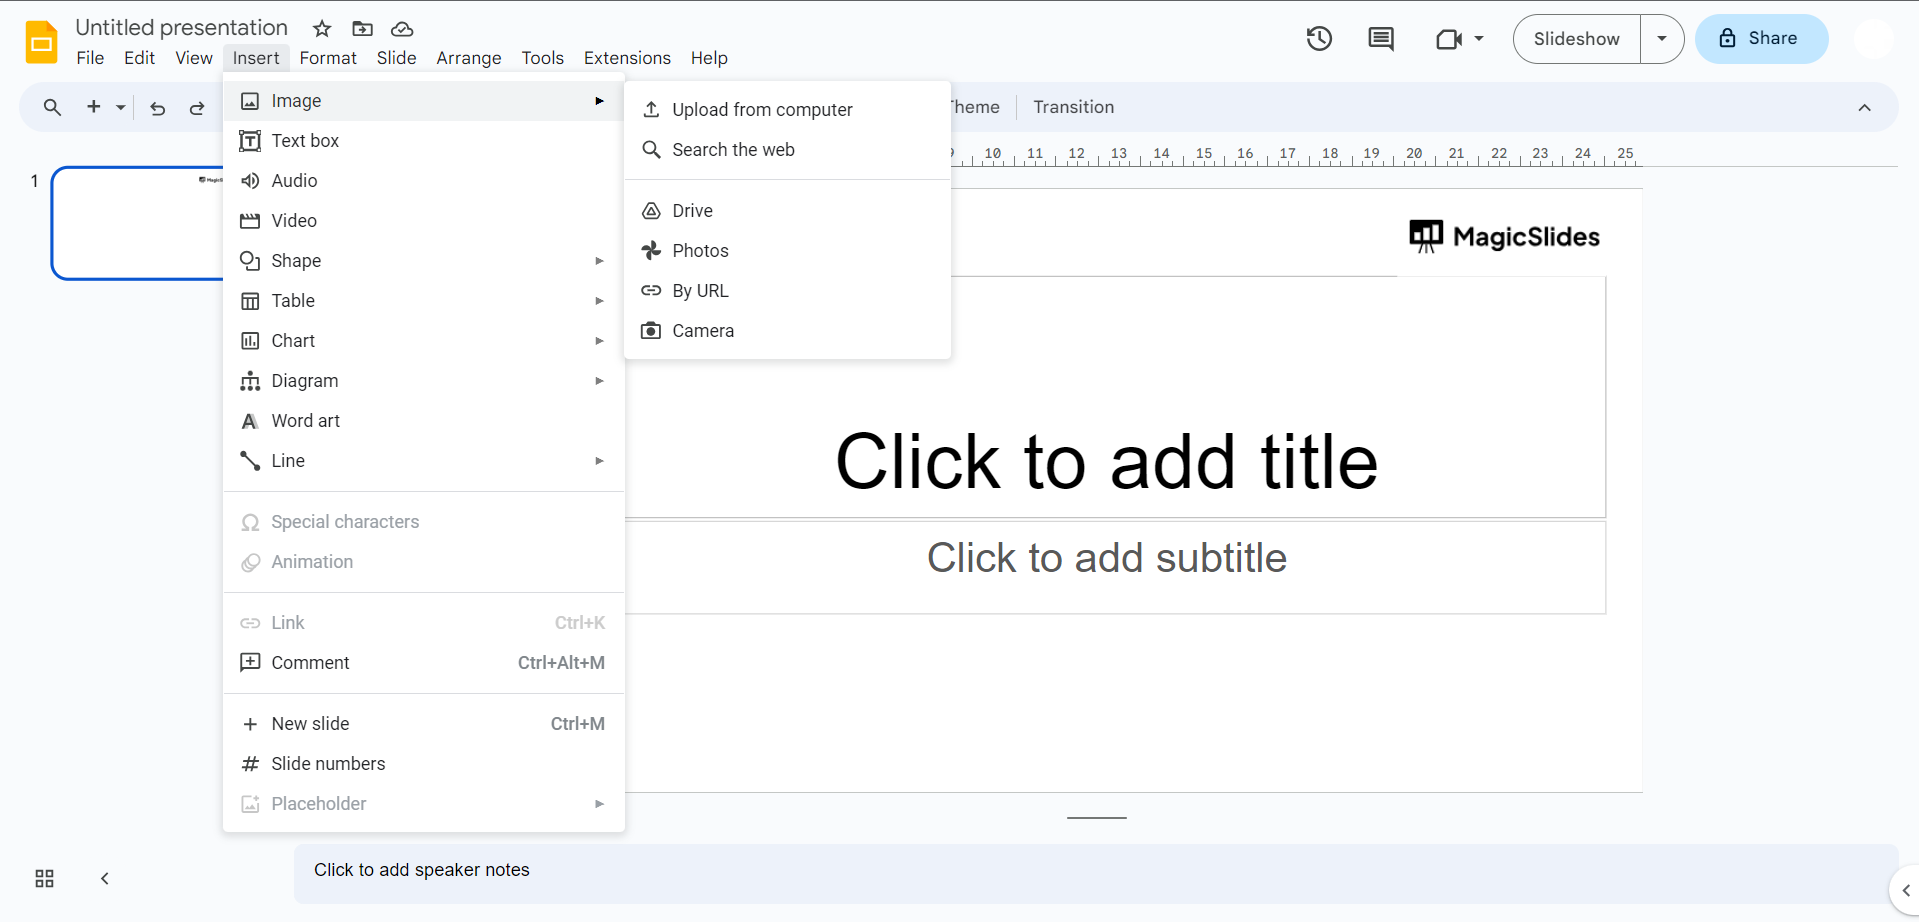
- Upload or select the image you want to mask.
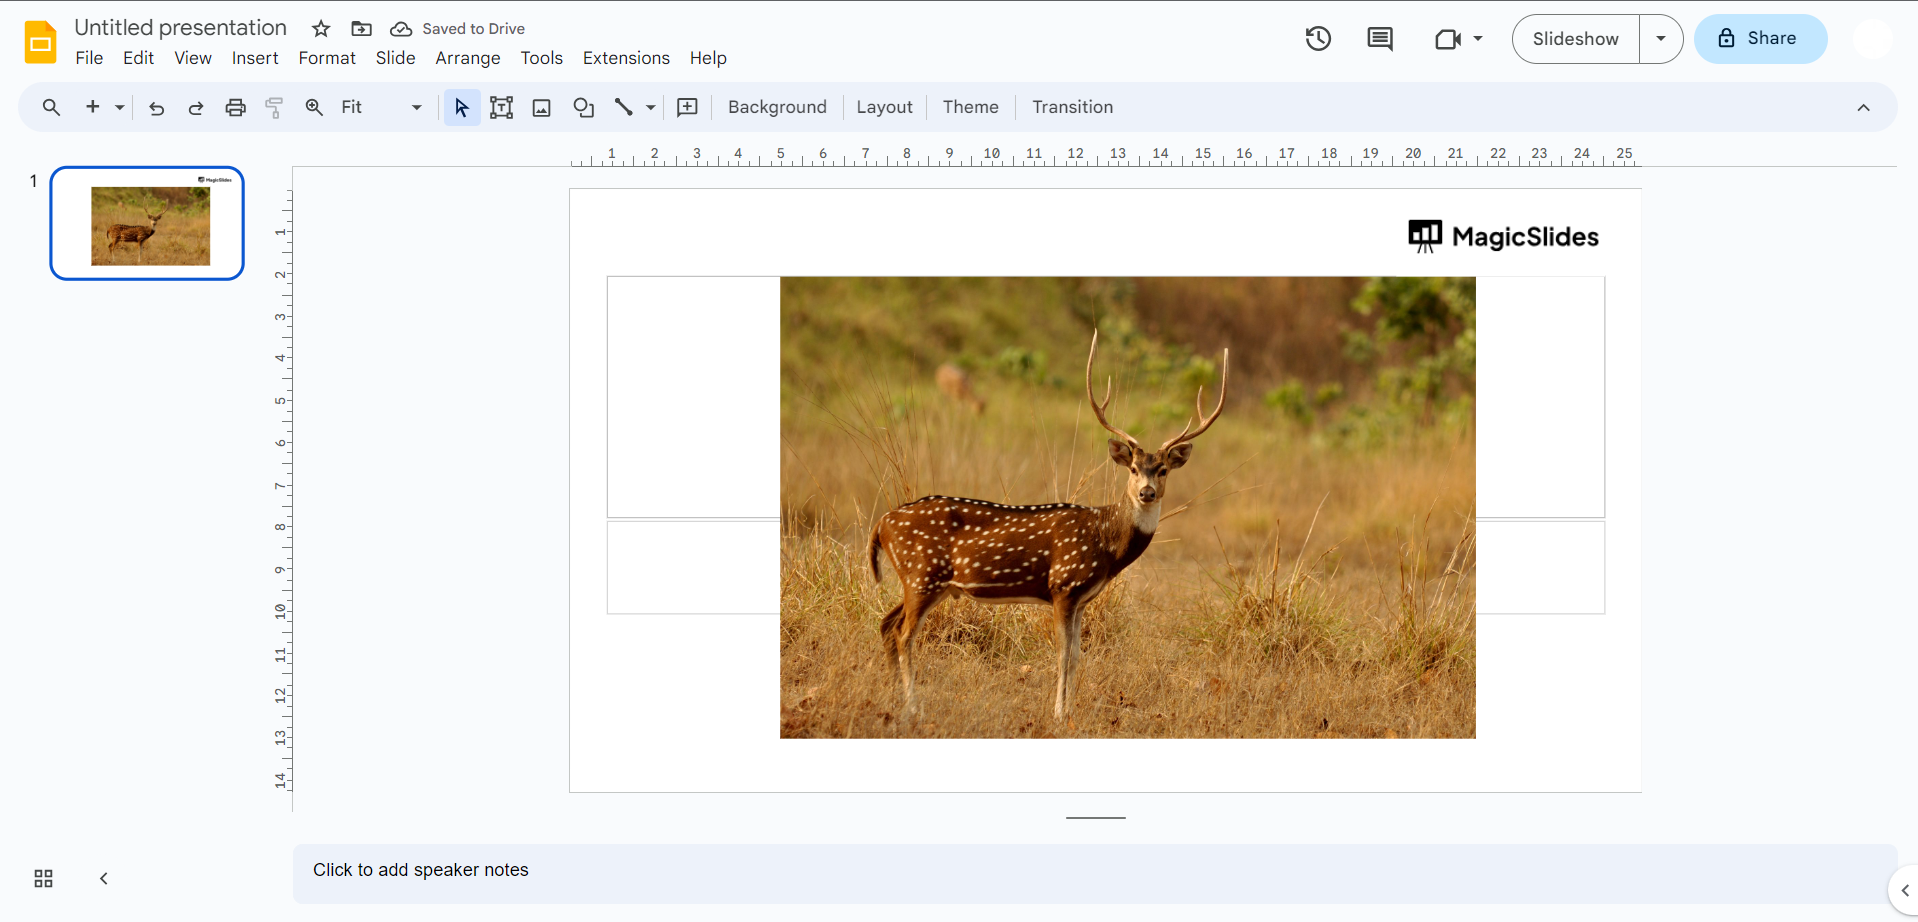
Step 2: Position the Image:
- Resize and adjust the shape to cover the desired portion of the image you want to mask.
Step 3: Crop the Image:
- Position and resize the shape until the underlying image is masked to your preference by clicking the dropdown next to the crop button when the image is selected.
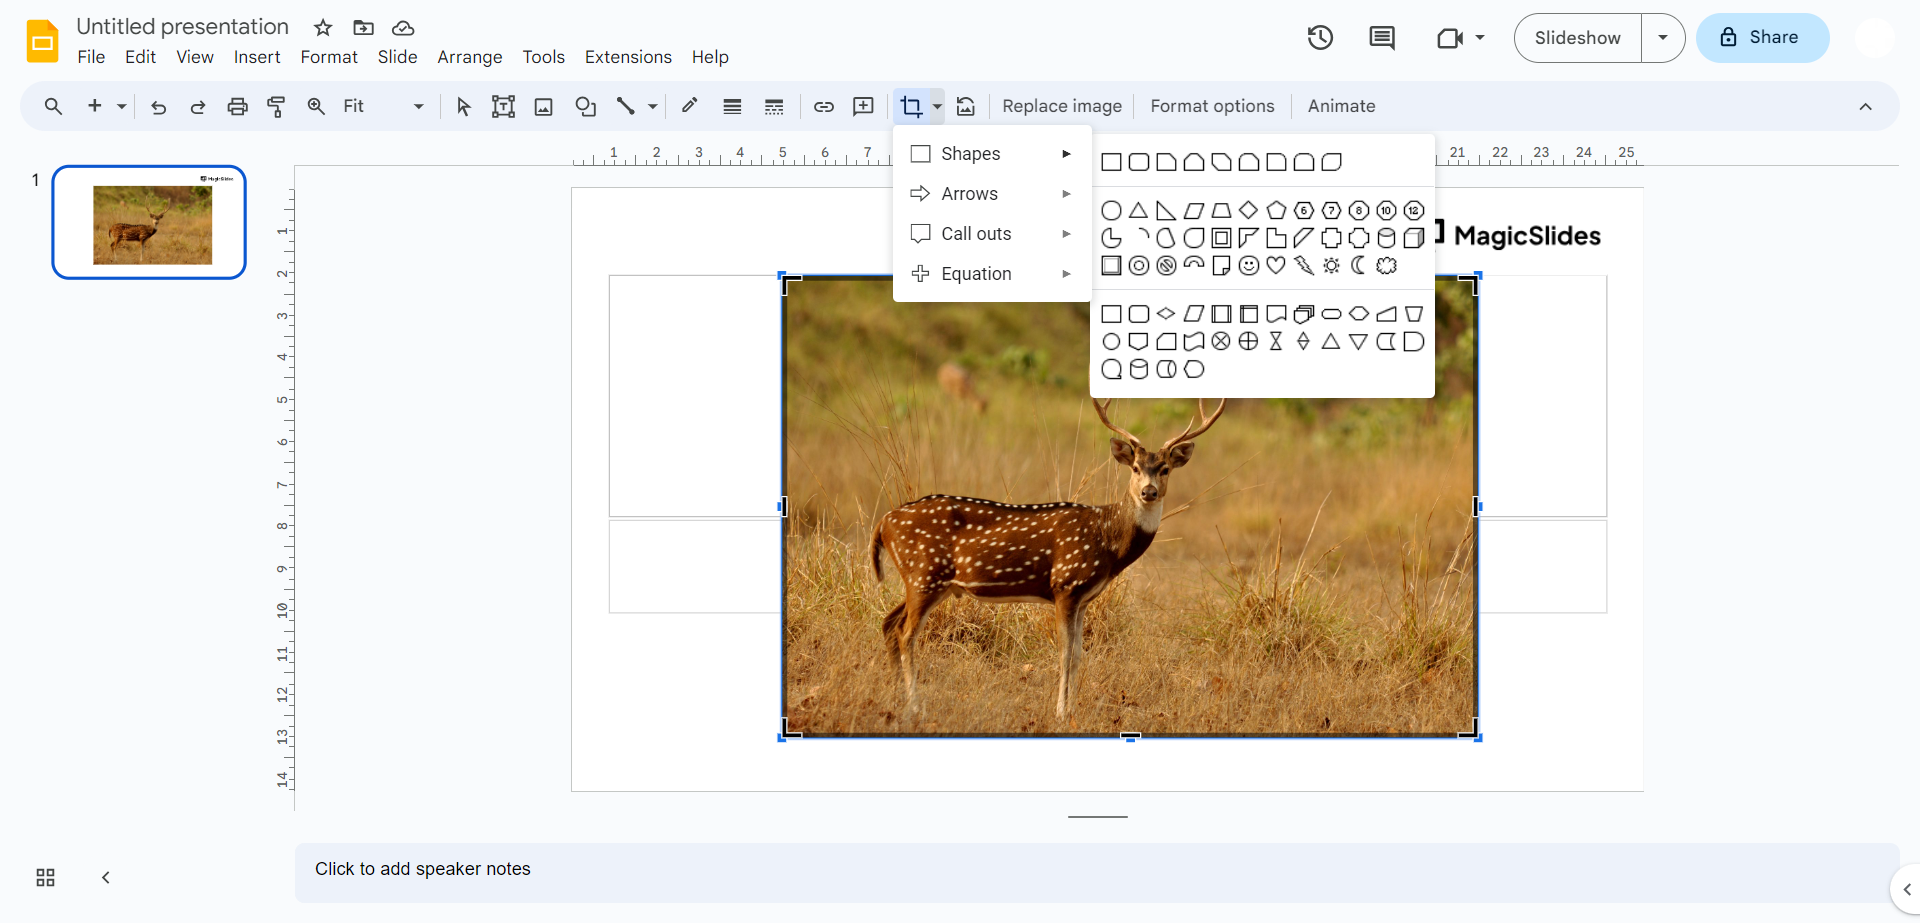
- Now reselect the crop symbol to apply the changes; the image will be masked now.
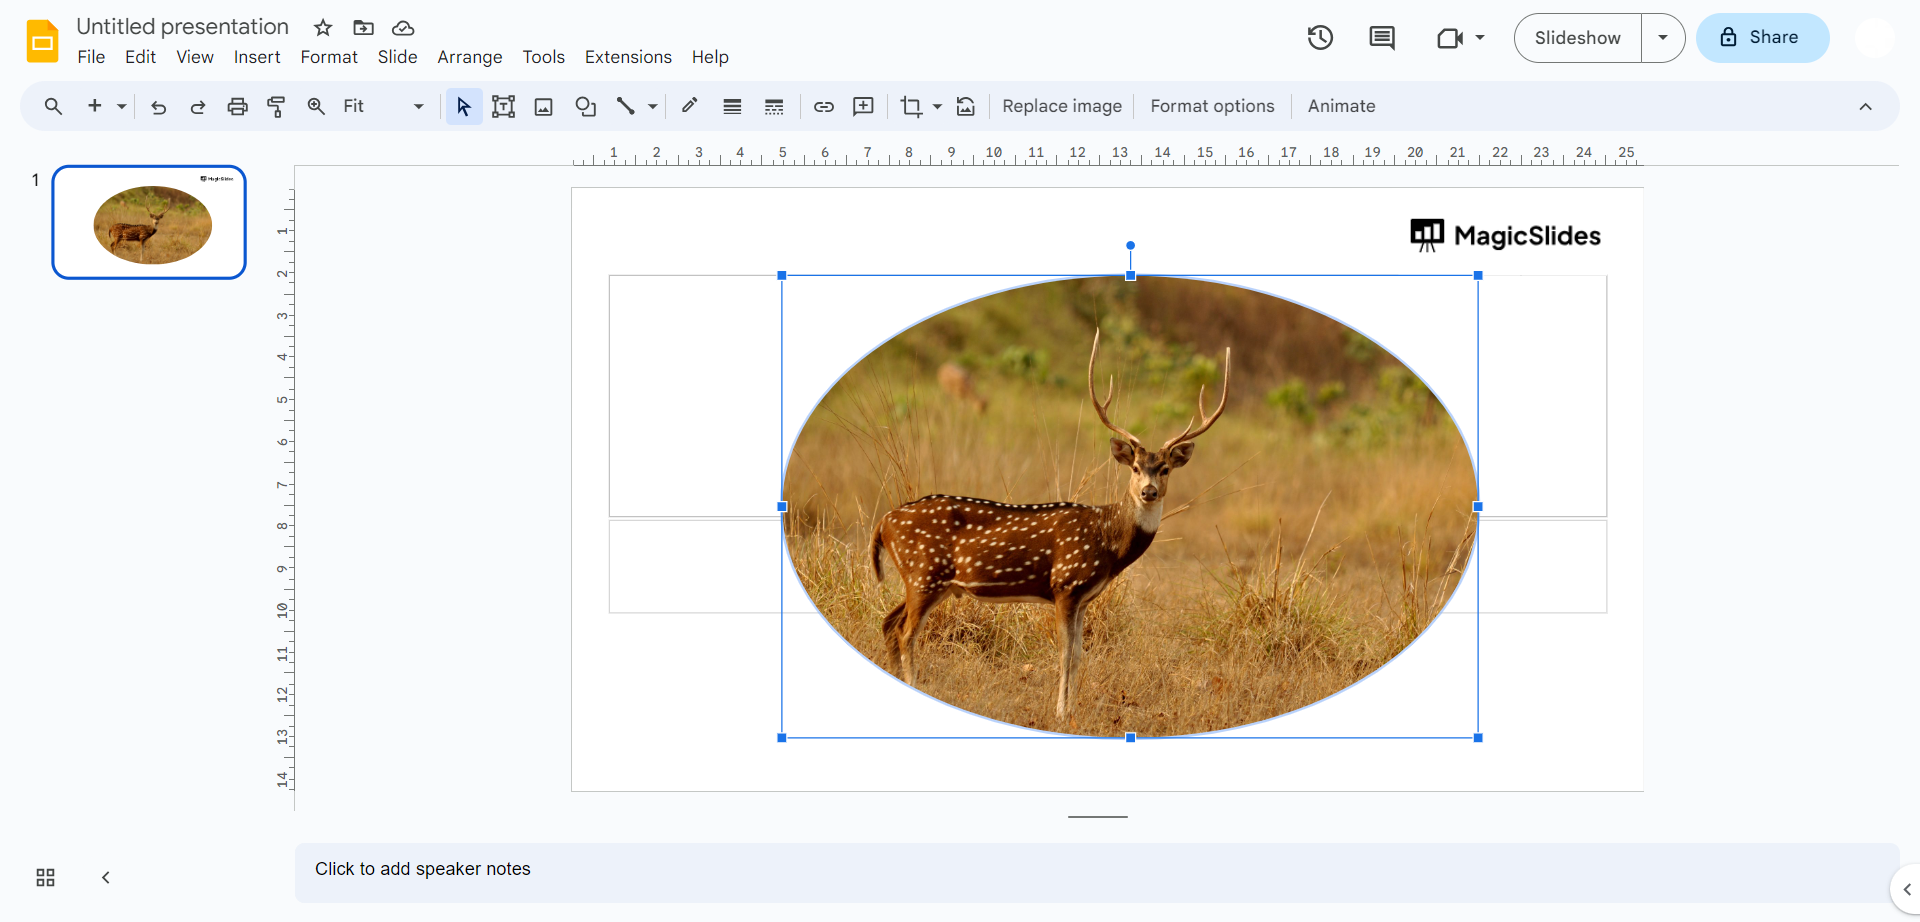
- Click anywhere on the slide to deselect, and the image is masked now!
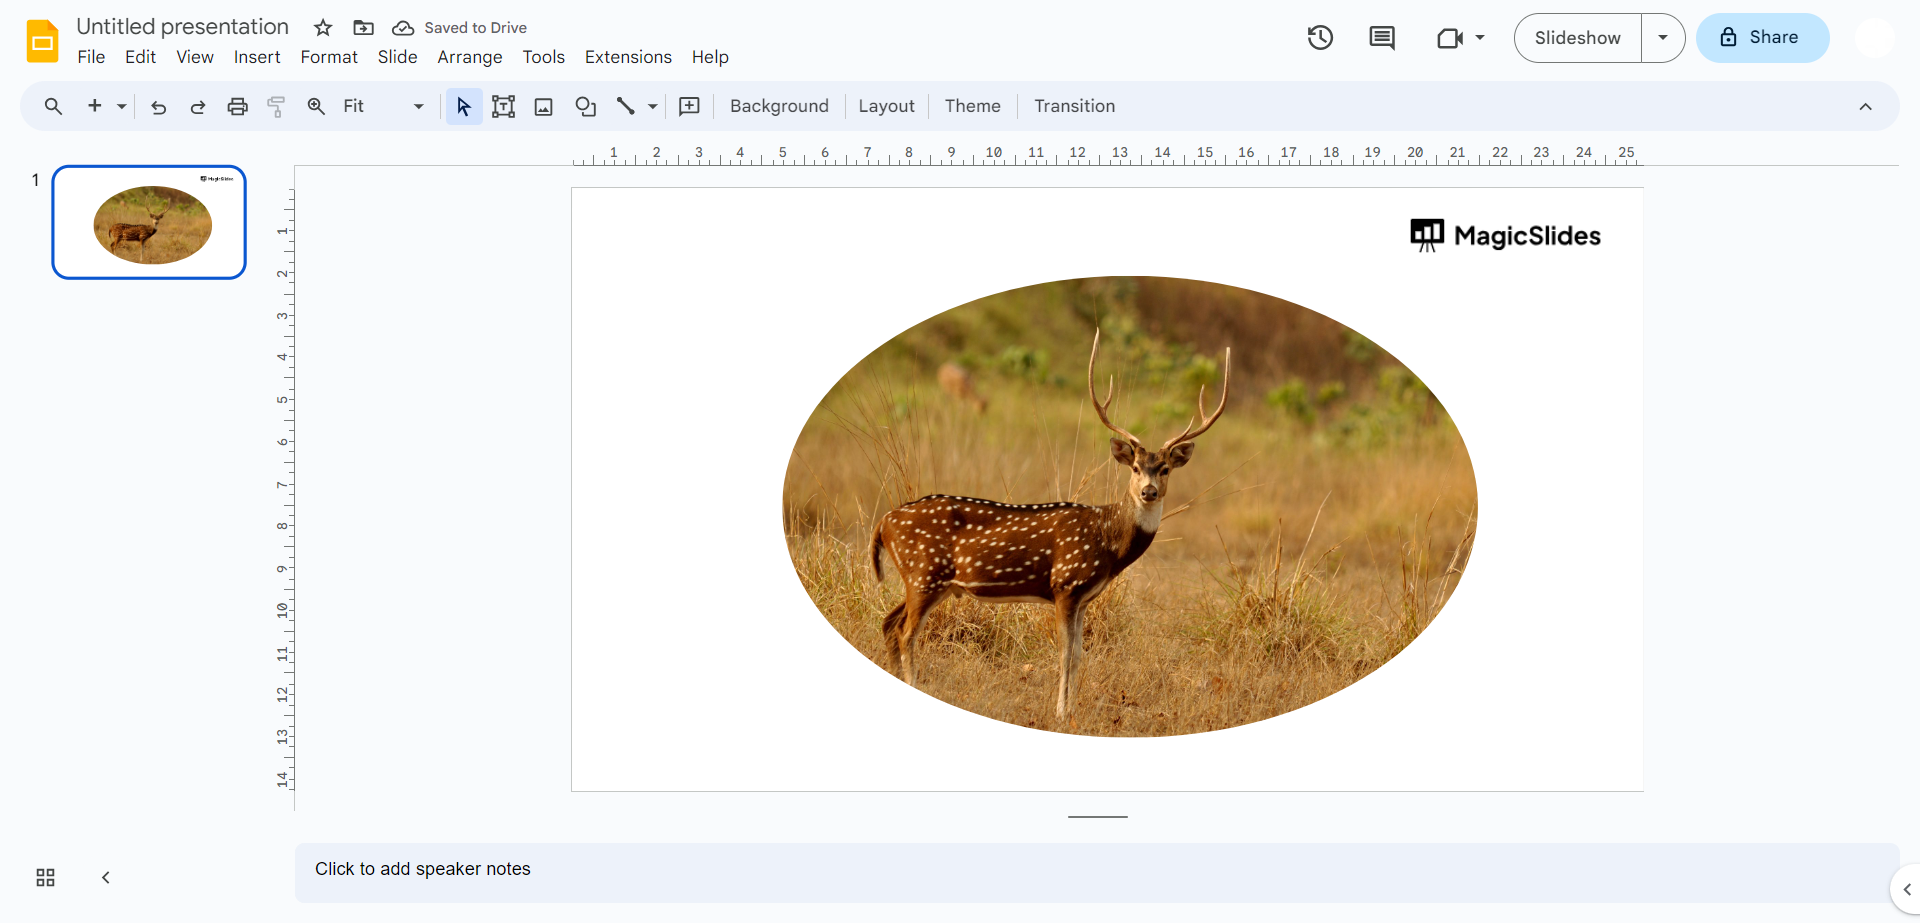
How to Put an Image in a Shape in Google Slides
You can also use the Mask image feature to put a photo into different shapes in Google Slides. This lets you create more visual layouts without manually placing a shape over the image.
To put an image in a shape:
- Select the image you want to change.
- Click the dropdown arrow next to the Crop button.
- Select Mask image.
- Choose a shape from the available options.
- Adjust the image position if needed by double-clicking the masked image.
- Click anywhere outside the image to apply the changes.
You can use different shapes depending on your presentation’s design, such as circles, rounded rectangles, arrows, and other available shapes.
How to Change the Shape of an Image in Google Slides
If you want to change an image from its original rectangular shape, you can use Google Slides’ Mask image tool. It lets you quickly apply a different shape without editing the original photo.
To change the shape of an image:
- Click the image on your slide.
- Select the drop-down arrow next to Crop in the toolbar.
- Choose Mask image.
- Select the shape you want to apply.
- Double-click the image to reposition or resize the photo inside the shape.
- Click outside the image to finish.
You can repeat these steps at any time to try a different shape or adjust how the image fits inside the mask.
Create Better Google Slides With MagicSlides
If you regularly create presentations in Google Slides, MagicSlides Google Slides Addon can help you build presentations faster with AI. Instead of creating every slide manually, you can use it to generate presentation content and turn your ideas into structured slides.

Whether you’re creating a business presentation, lesson, pitch deck, or report, MagicSlides can help you save time on the design and content creation process.
After masking and shaping your images in Google Slides, you can use MagicSlides to create the rest of your presentation more efficiently.
Conclusion
Masking an image in Google Slides is a quick way to make your presentations more visually appealing without using separate image-editing software. With the Mask image option, you can turn images into circles, rounded rectangles, and other shapes in just a few clicks.
You can also crop images, reposition them within a mask, and change the mask shape whenever needed. Once you know where to find these tools, customizing images in Google Slides becomes simple and takes only a few seconds.
Also read: How to Remove Background in PowerPoint: Step-by-Step Guide
Frequently Asked Questions
Q1. Can I mask an image into a circle in Google Slides?
Yes. Select the image, click the dropdown next to Crop, choose Mask image, and then select the circle shape.
Q2. Can I change the mask shape after applying it?
Yes. Select the masked image, open the Mask image menu again, and choose a different shape.
Q3. Can I move the image inside the mask?
Yes. Double-click the masked image to adjust its position and size within the selected shape.
Q4. Does masking delete the original image?
No. Masking changes how the image is displayed on the slide. You can change the mask or remove it later.
Q5. Can I use a custom shape to mask an image?
Google Slides provides a selection of built-in shapes for masking images. If you need a completely custom shape, you may need to use an external image-editing tool and then insert the finished image into your presentation.
Also read: How to Delete a Slide in PowerPoint: Easy Step-by-Step Guide


